

Introduction
This article explains the different features and sections available inside a room. Understanding these options helps you manage room contents, boxes, and important metadata efficiently.
Step 1: Review Room Sections
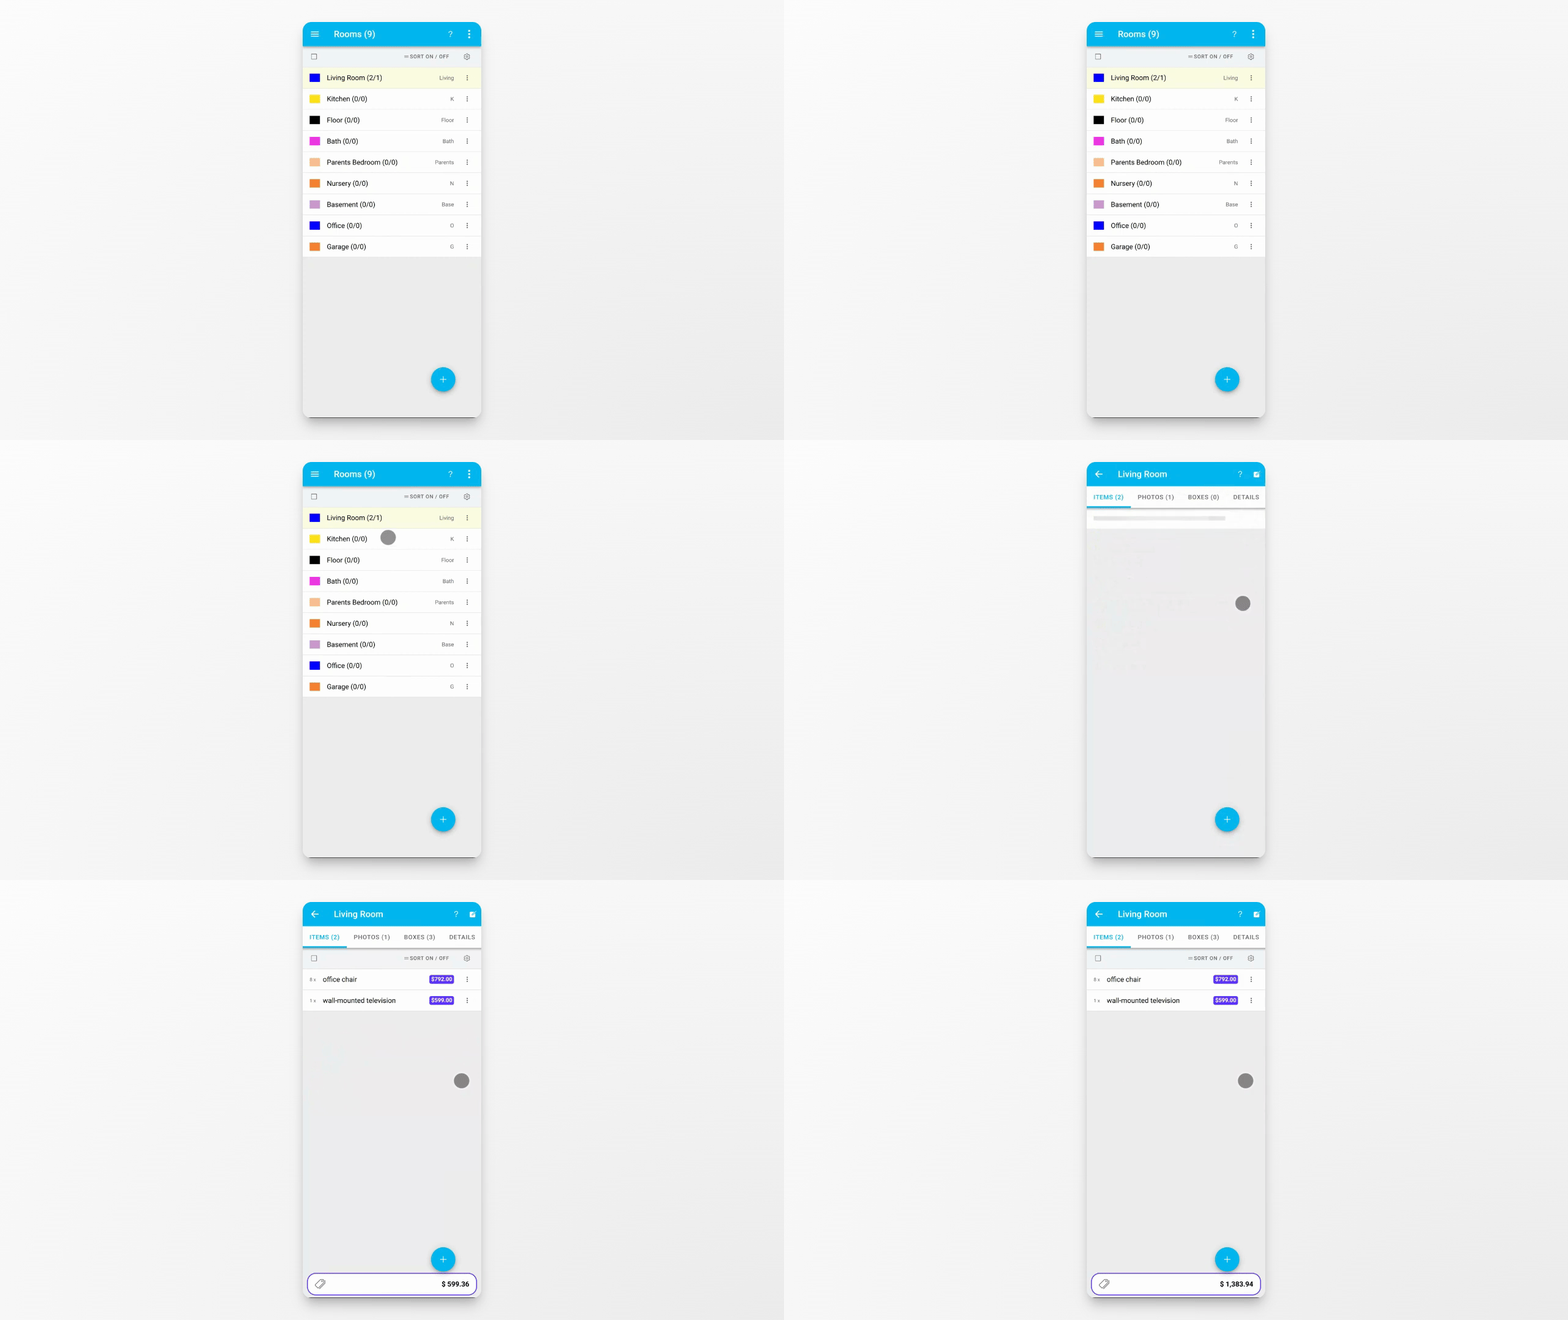
The room details are divided into four main items: Items, Photos, Boxes, and Details. Each tab provides specific information and actions related to the room.
Step 2: Add Items and Photos
In the Items and Photos tabs, you can add objects and upload images that belong to the room. This helps keep an organized inventory and visual record of room contents.
Step 3: Manage Boxes
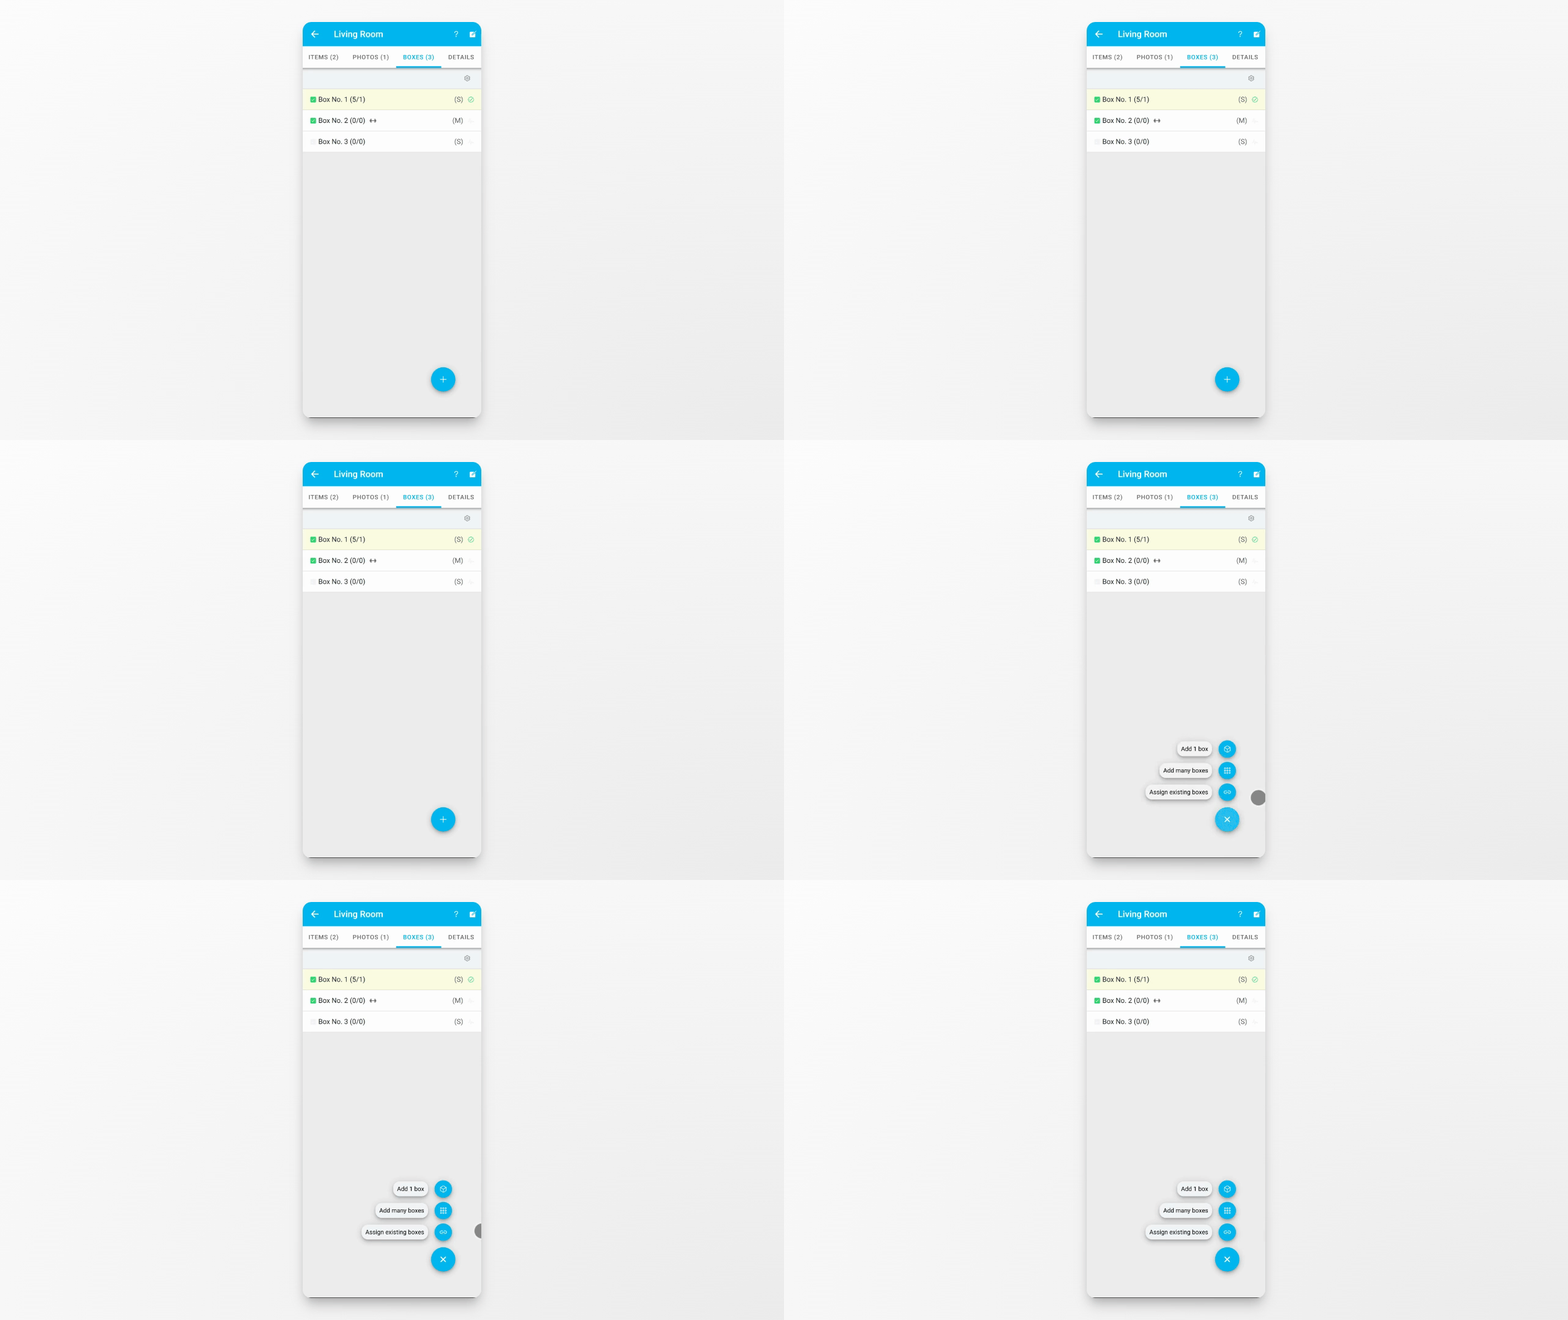
Go to the Boxes tab to view all boxes assigned to the room. Here, you can see which boxes are linked to the room for easy tracking.
Step 4: Create or Assign Boxes
Create new boxes or assign existing ones to the room with just a few taps. This allows for flexible organization and quick updates to your room's box inventory.
Step 5: View Room Details
The Details tab provides a summary of key information, including the assigned room color, total volume, and metadata such as creation and last update times.
Step 6: Access and Print QR Code
You can access the automatically generated QR code for the room and print it directly if needed. This makes it easy to label and identify rooms quickly.
Conclusion
Now you know how to navigate the room's features, manage items, boxes, and access important details like the QR code. Use these tools to keep your rooms organized and up to date.