
Introduction
This guide will walk you through the process of adding a photo to a room, including editing details, linking items, and saving your changes. Understanding this workflow helps keep your room records organized and enhances inventory management.
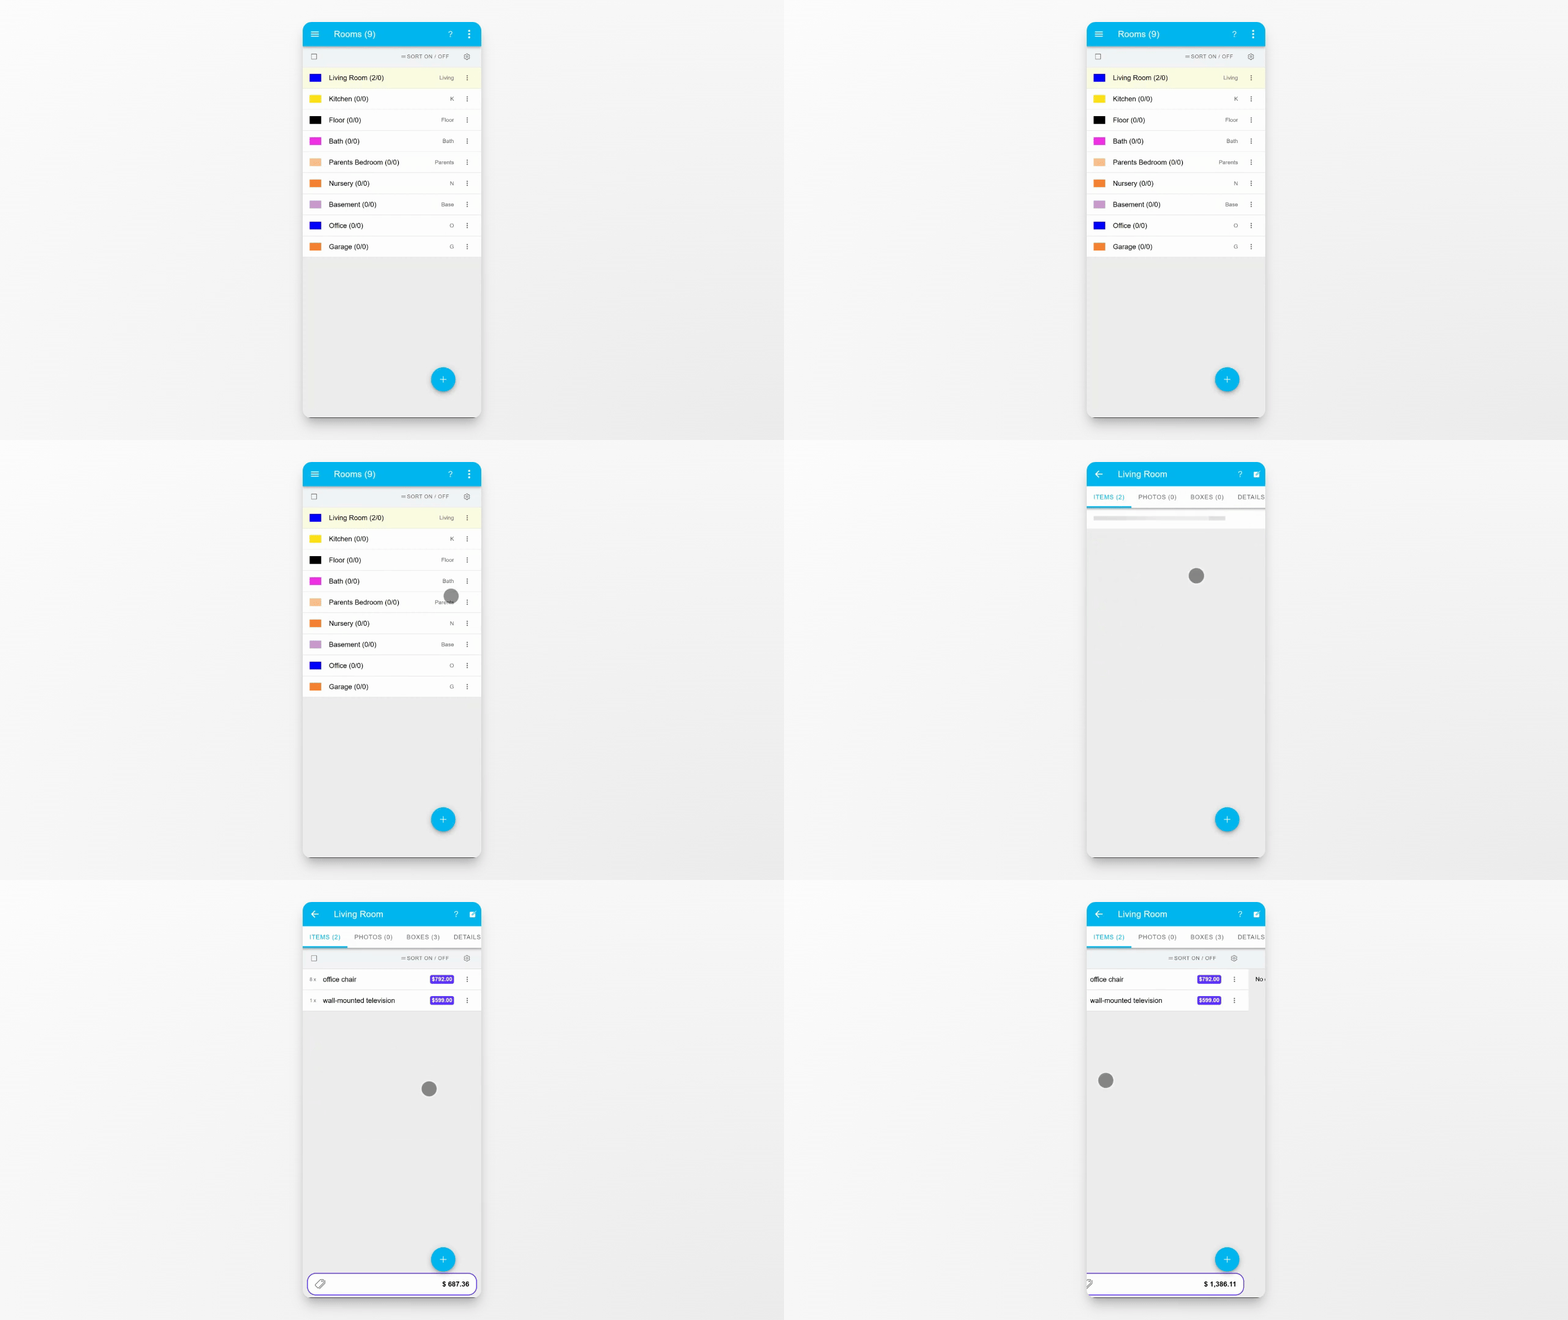
Step 1: Add a New Photo
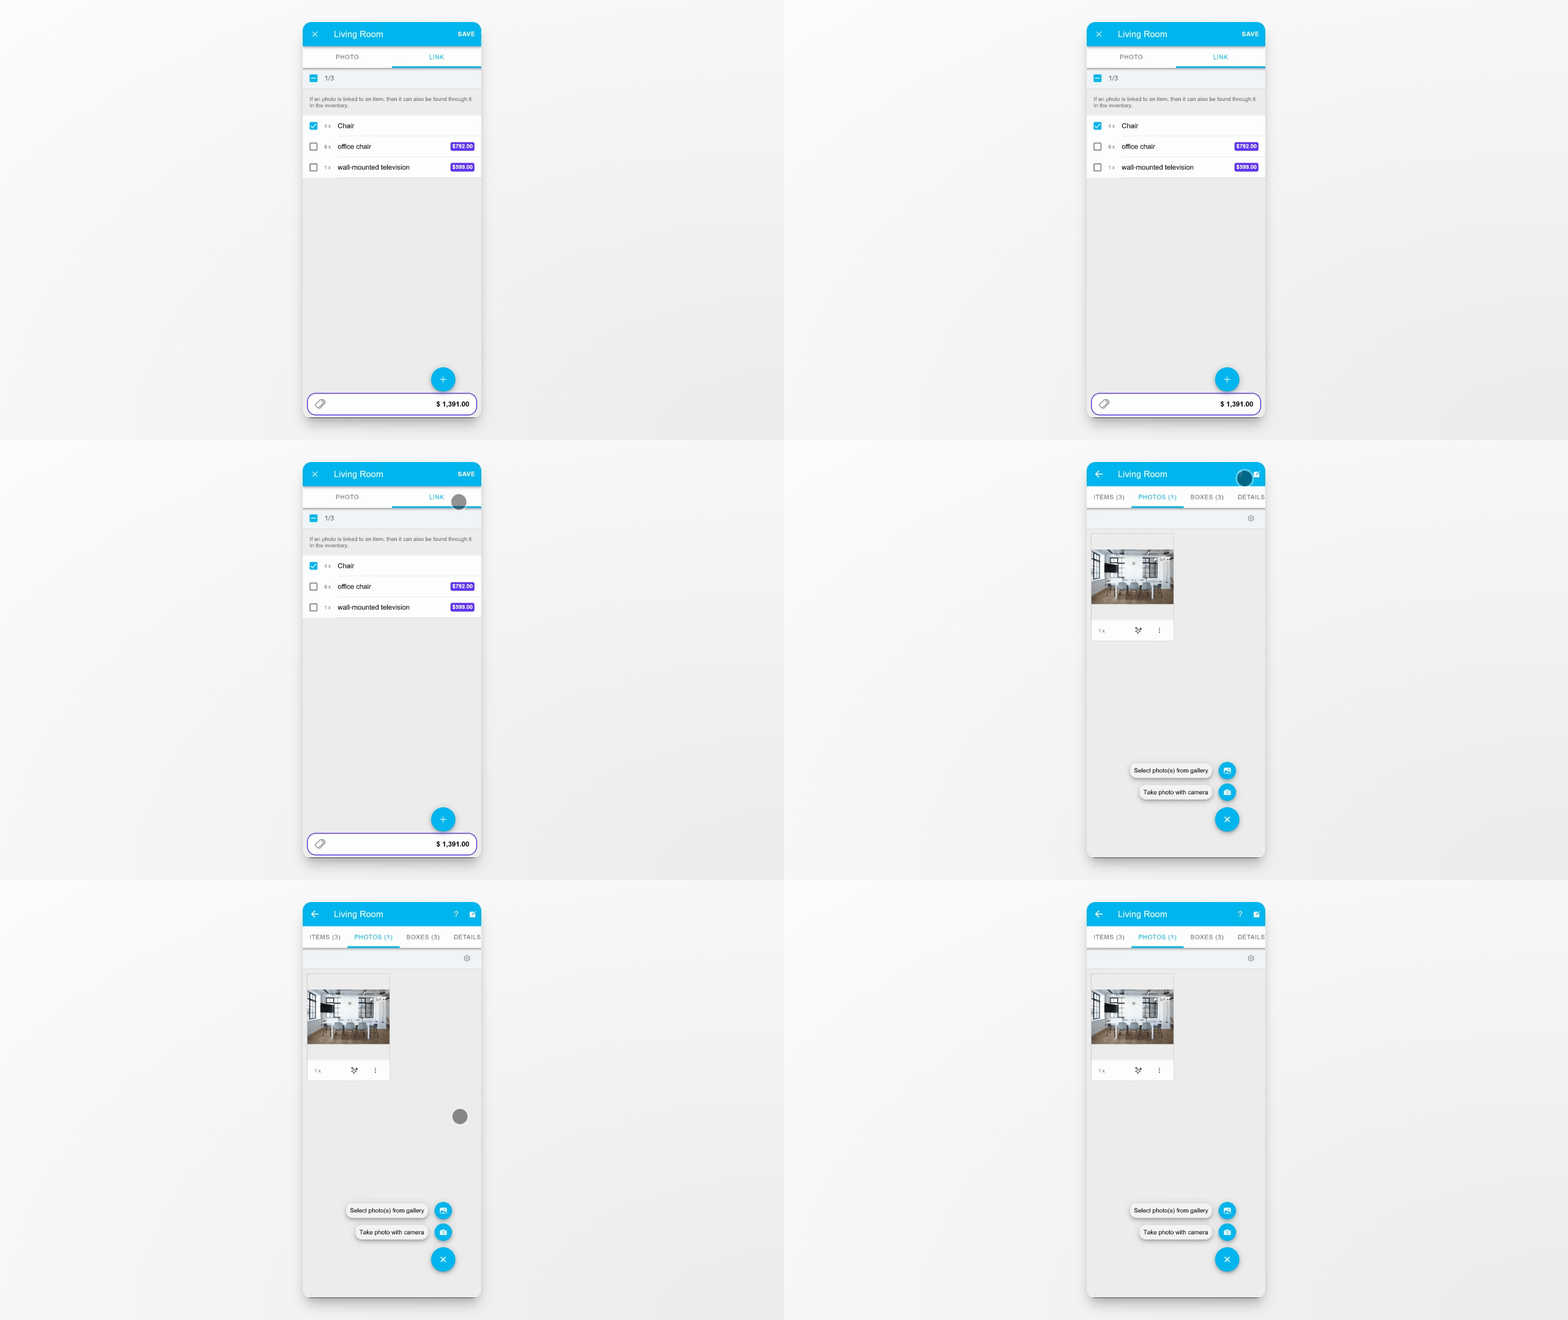
Tap the plus button to start adding a new photo to the room.
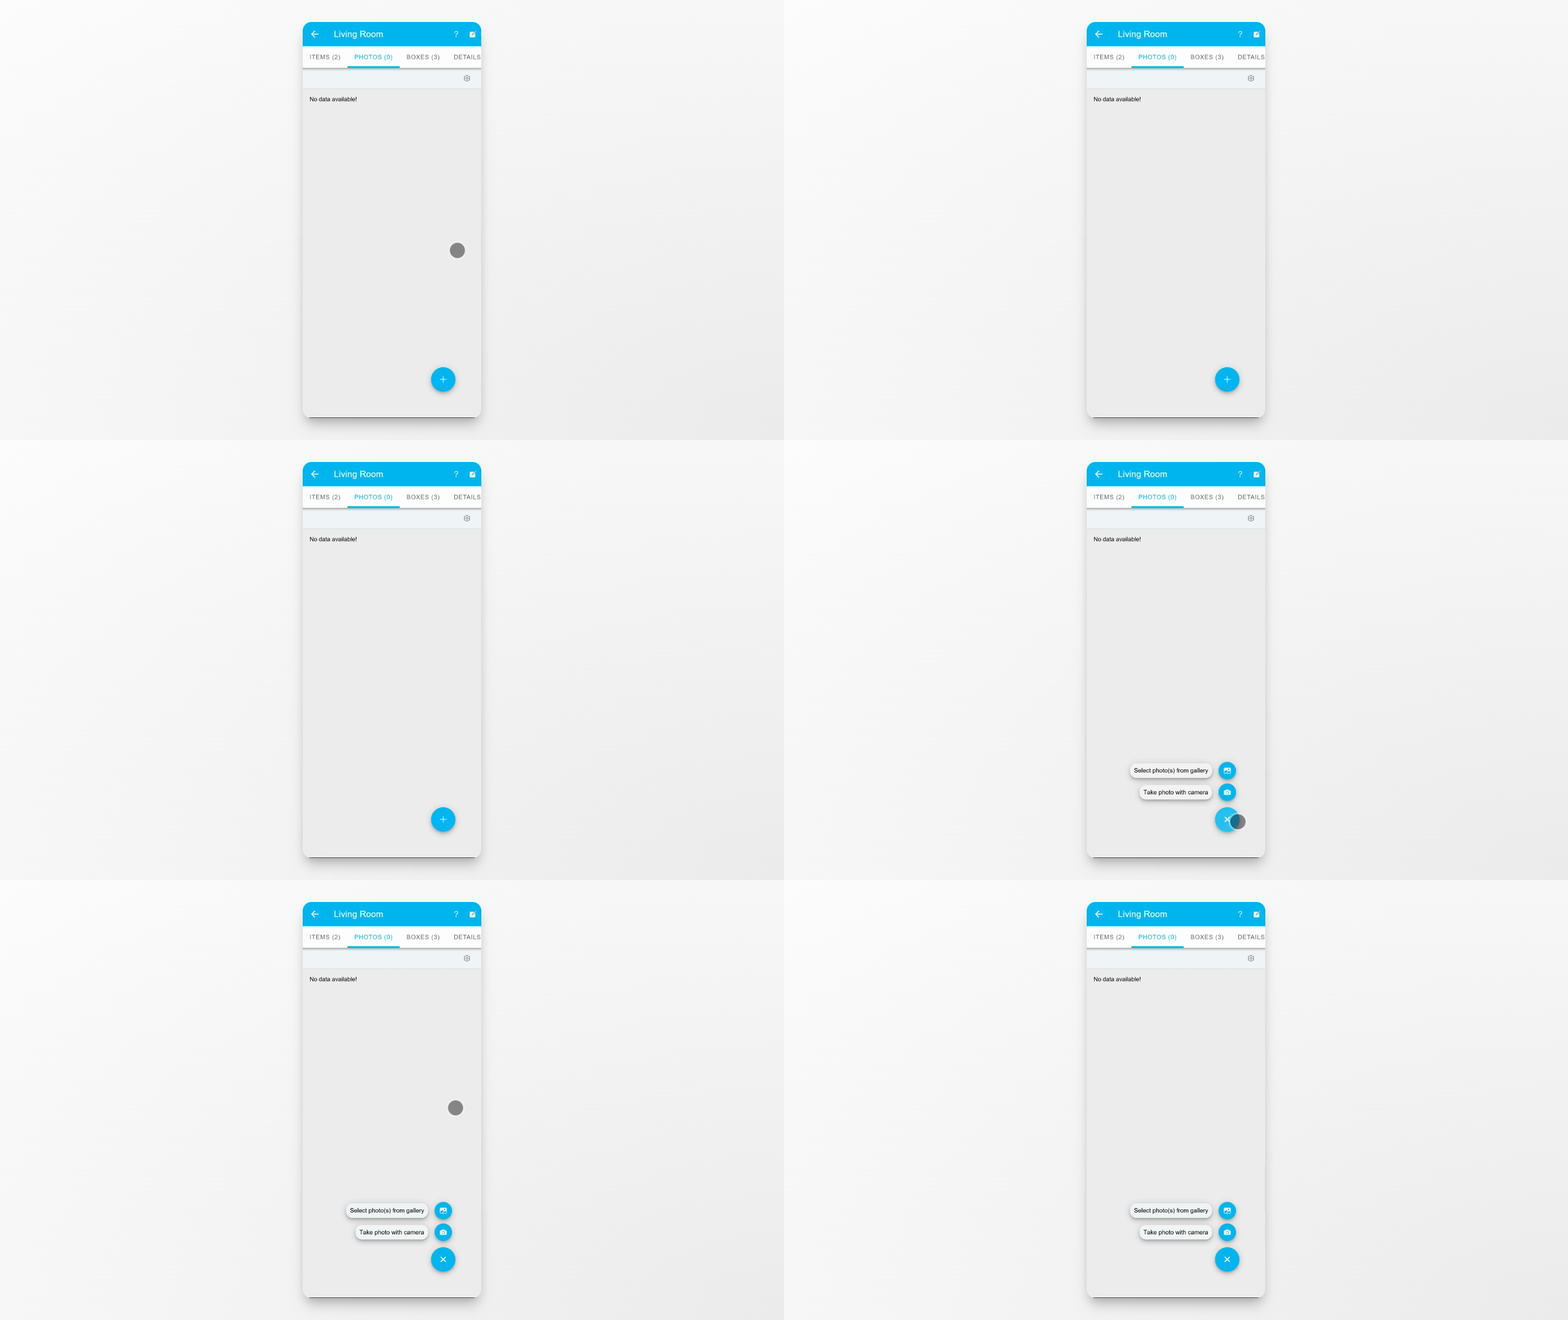
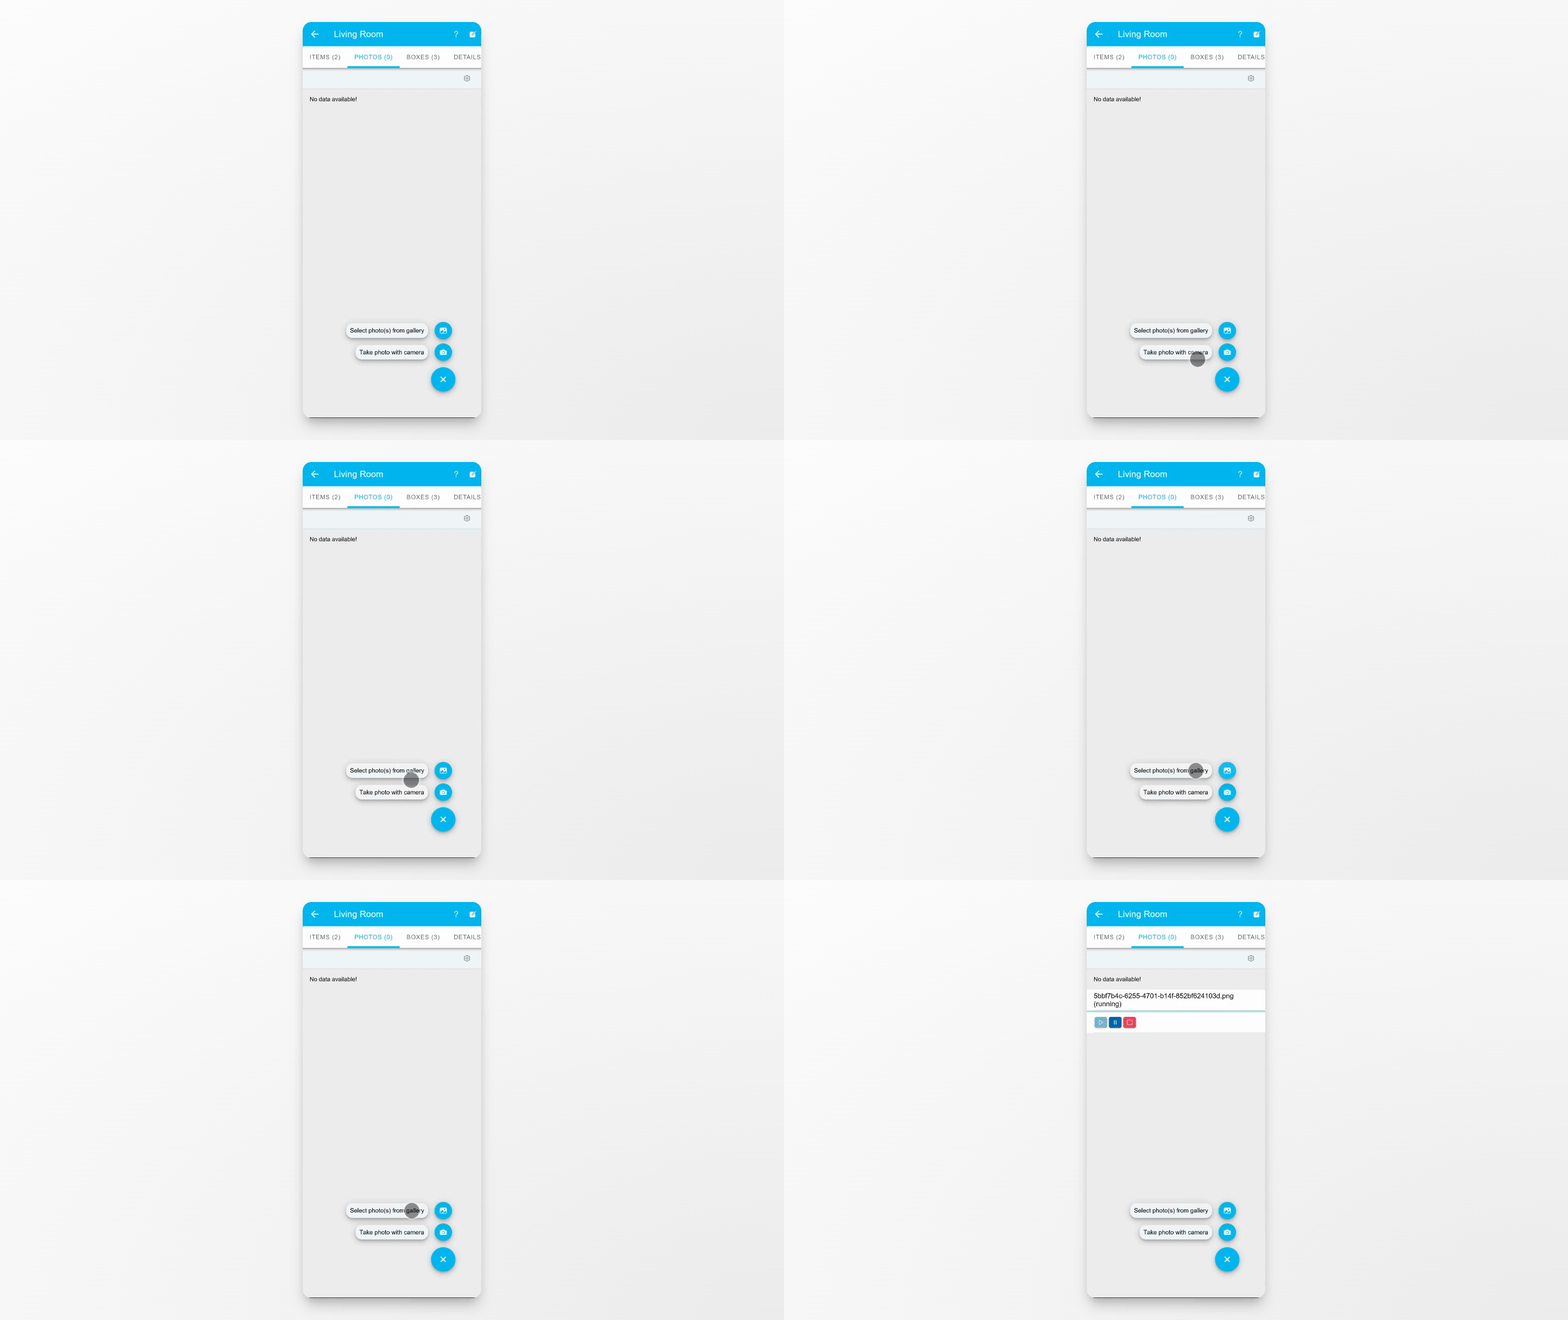
Step 2: Choose Photo Source
Select a photo either by using your device's camera or by picking one or more from the gallery.
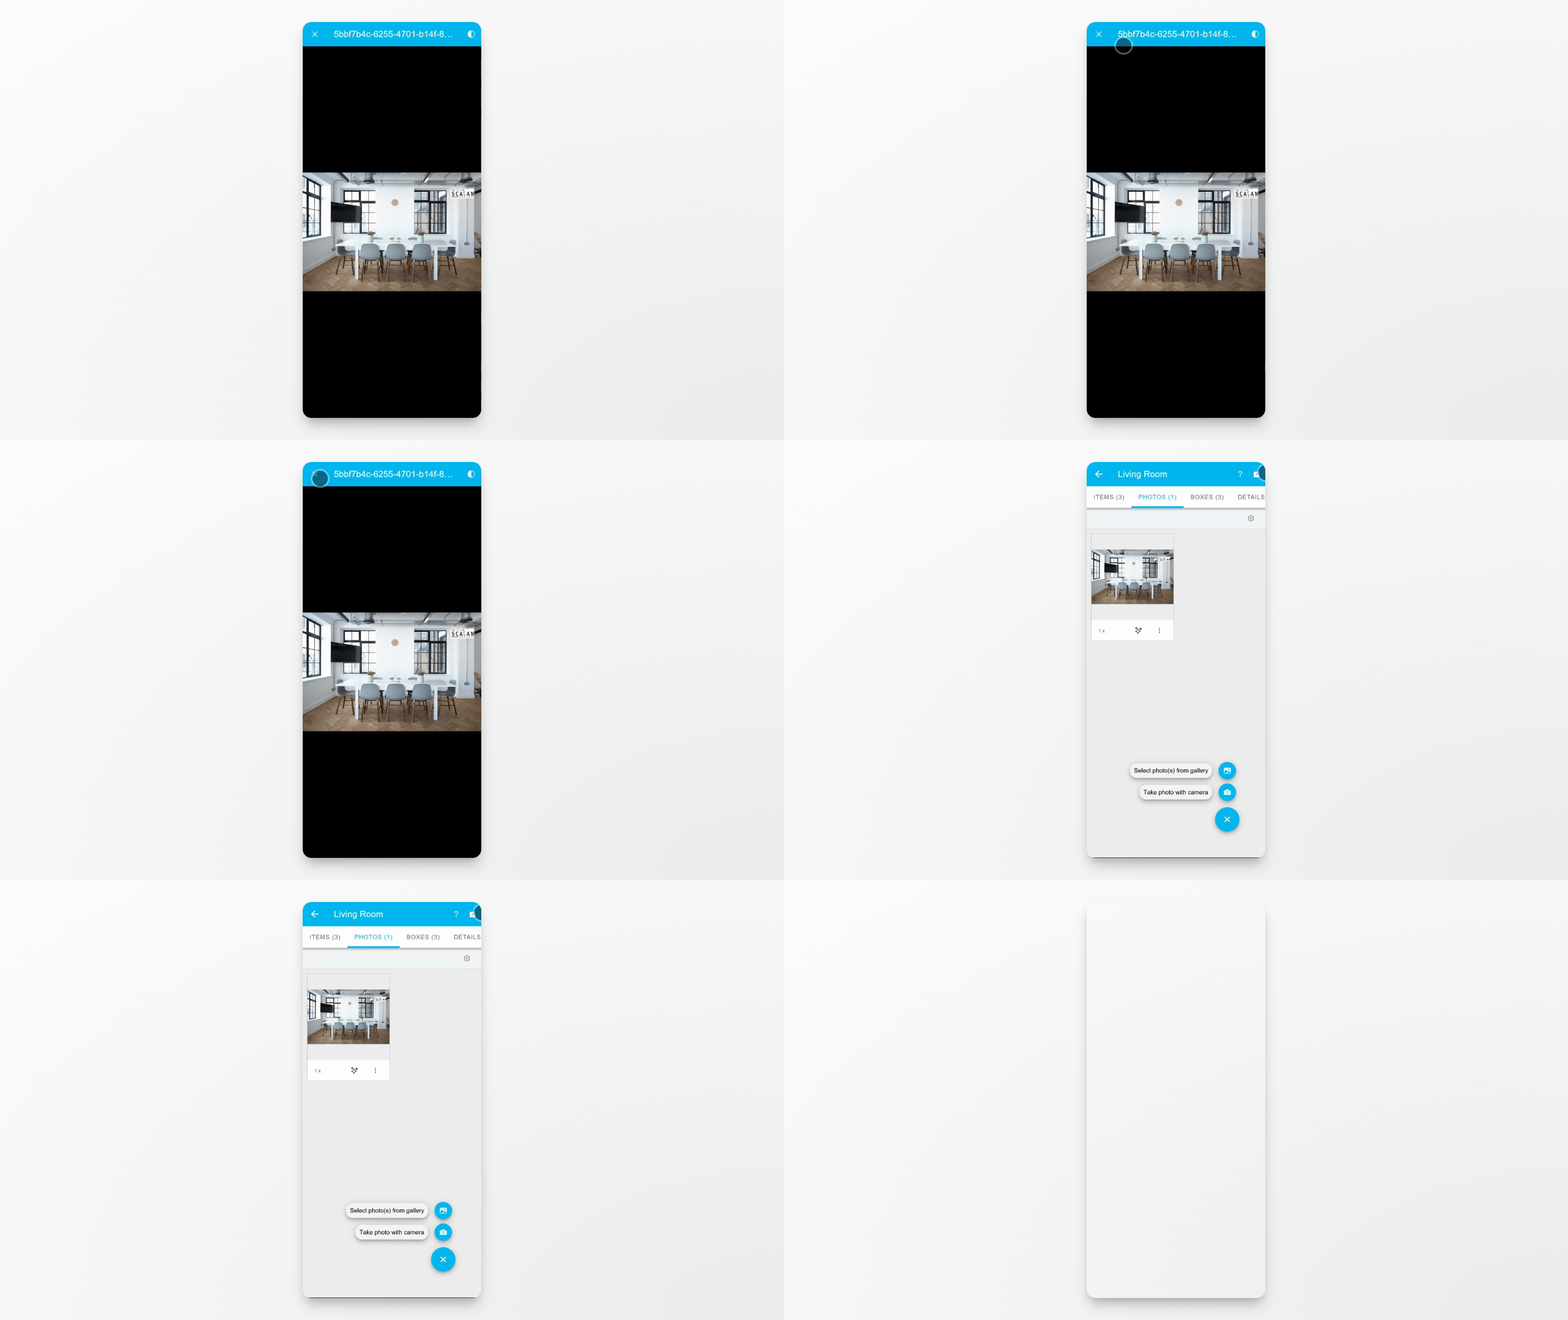
Step 3: Open Edit Screen
After selecting the photo, tap on it to open the edit screen where you can make changes.
Step 4: Enter Details
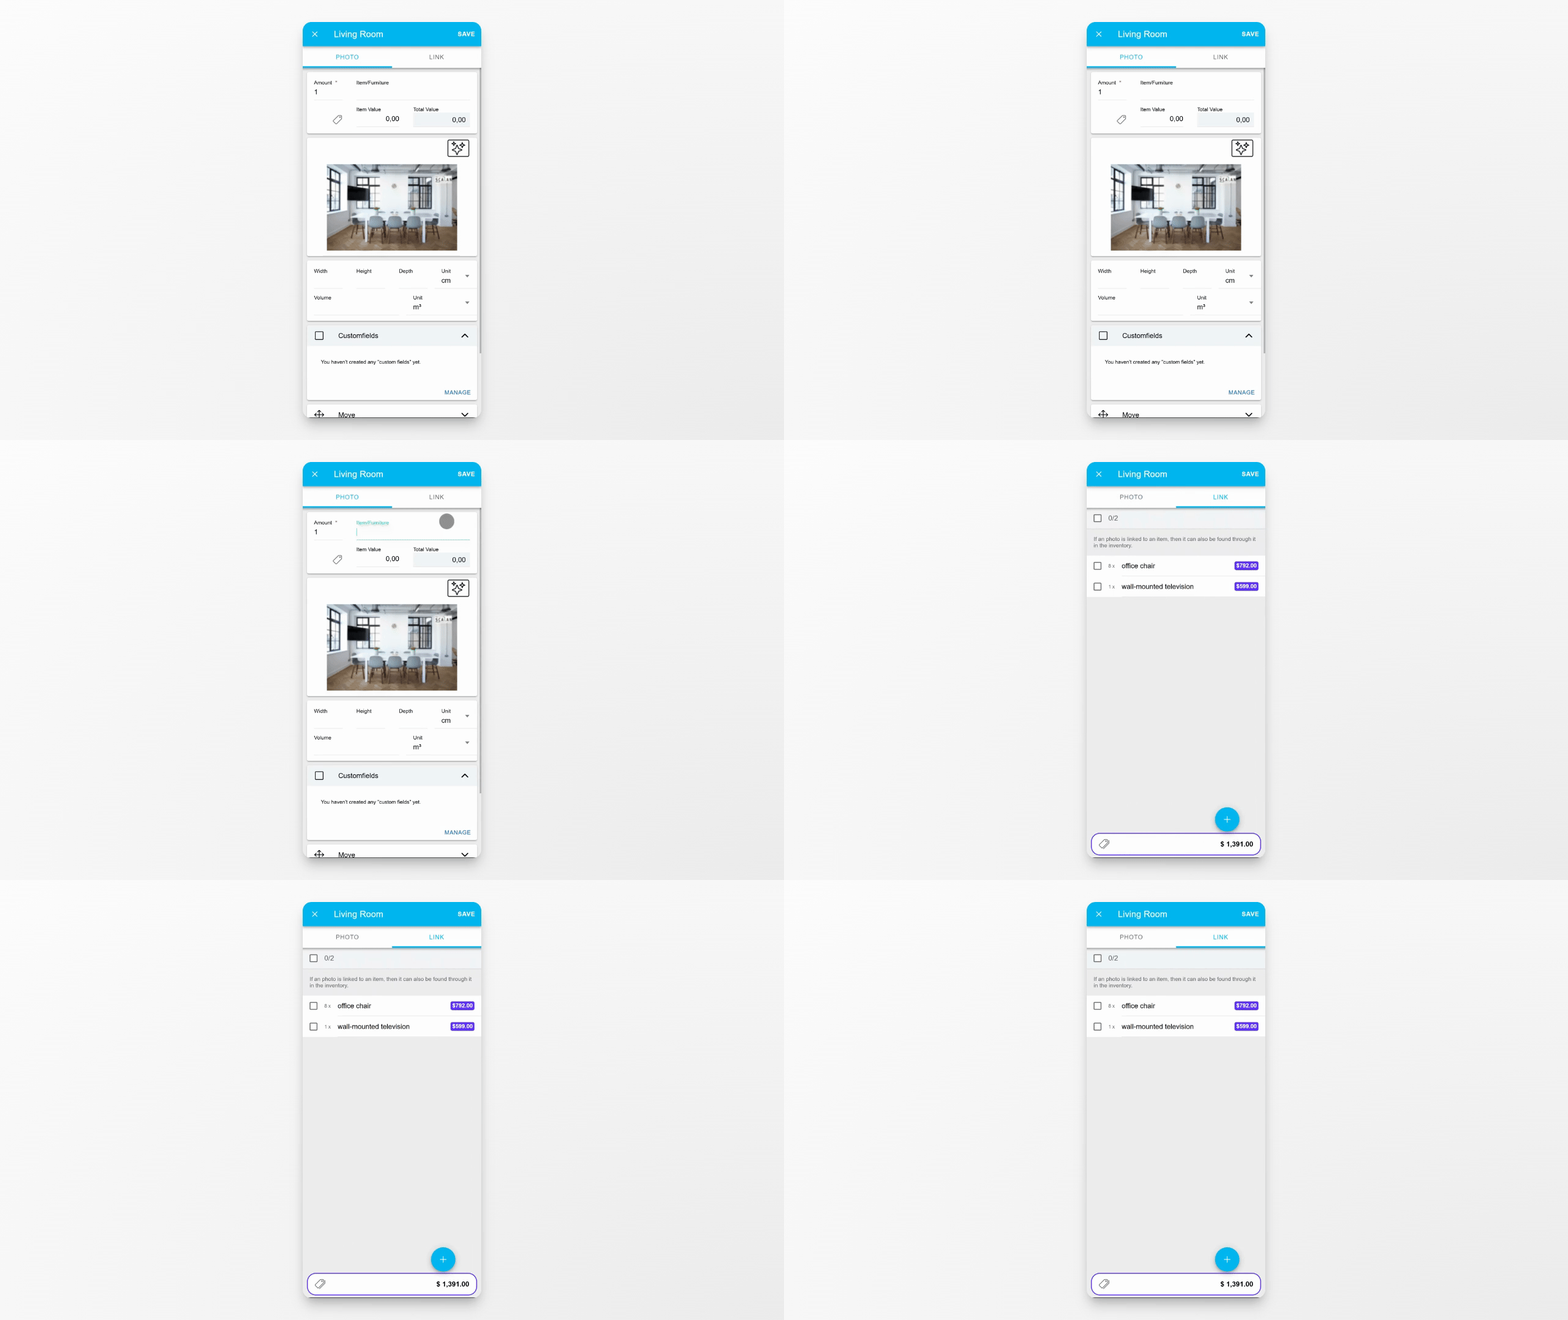
On the edit screen, enter a title for the photo and optionally add dimensions if needed.
Step 5: Link Items
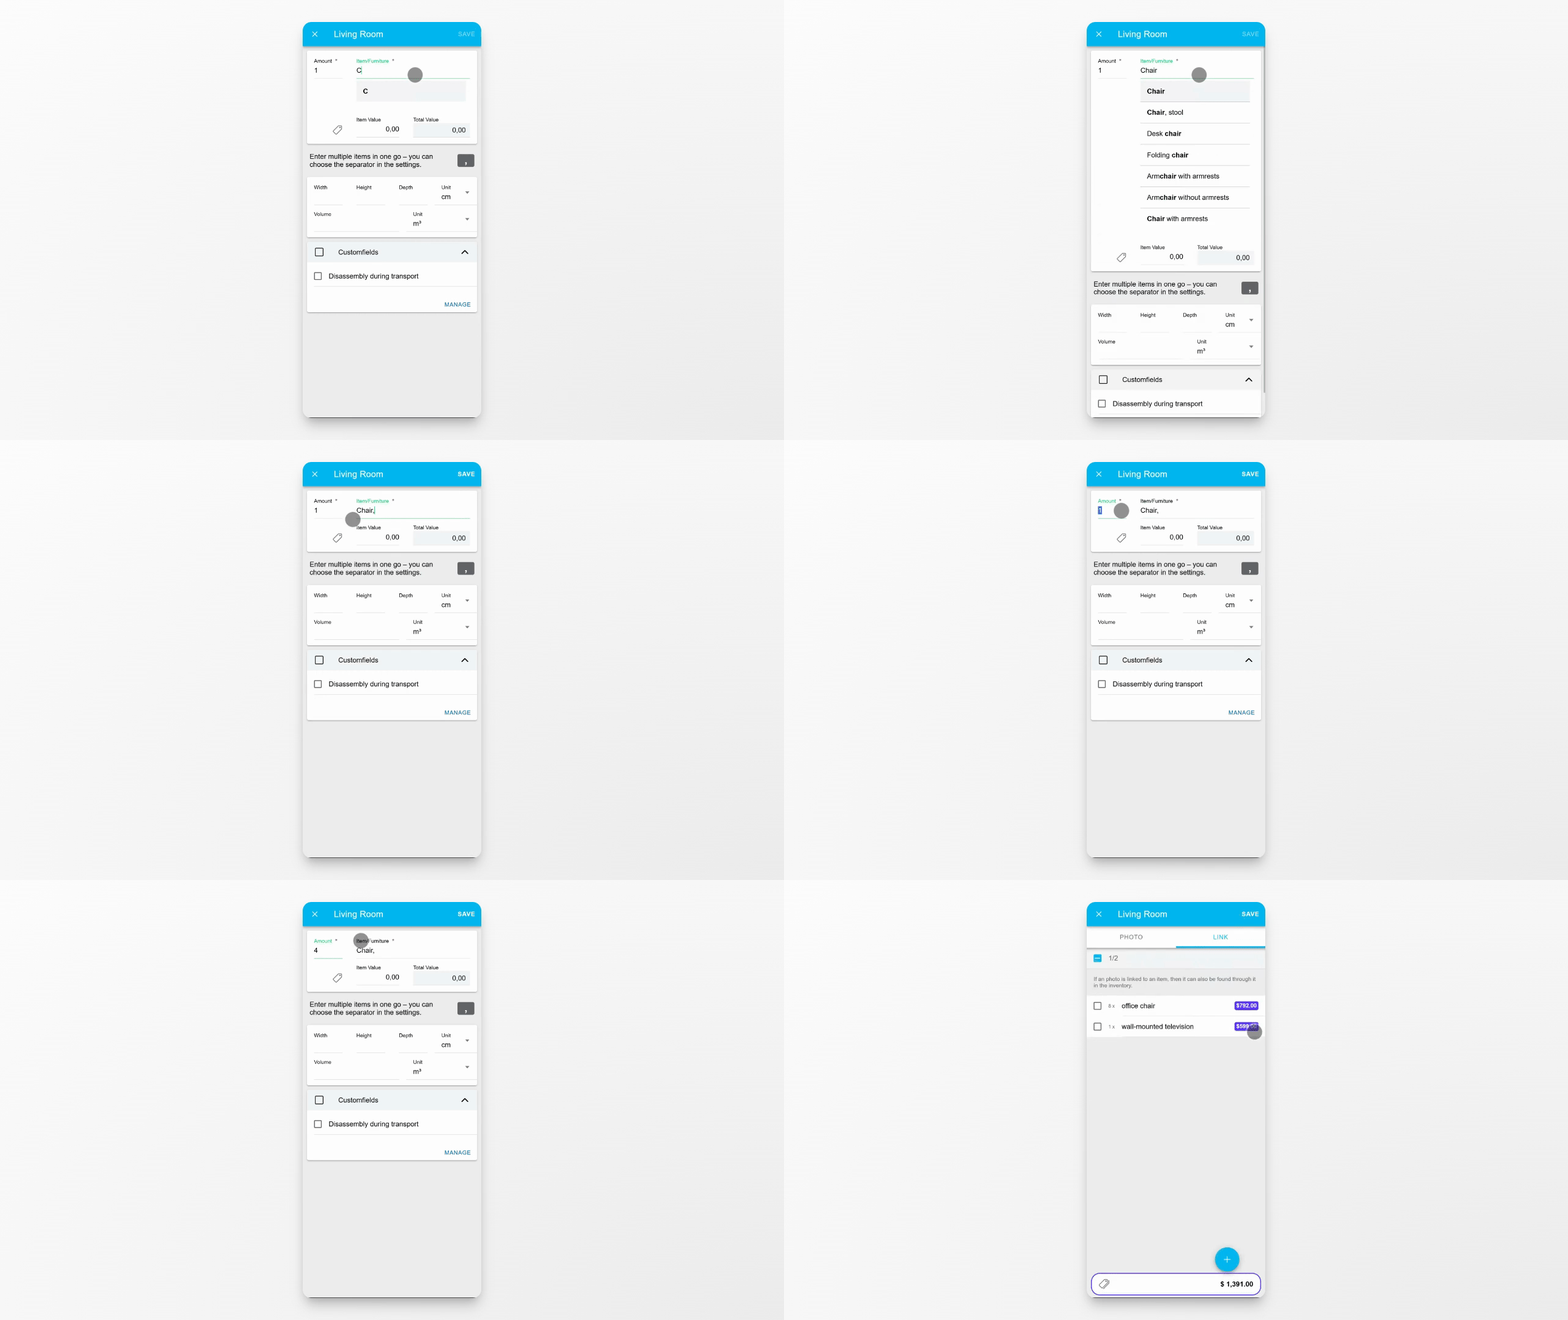
Go to the link tab. Here, you can assign existing items from the room or create new items directly to associate with the photo.
Step 6: Save Photo and Details
When finished, tap save to store all information for the photo and its linked items.
Conclusion
You have learned how to add a photo to a room, edit its details, link items, and save your changes. This process helps keep your room and inventory records complete and easy to search.