

Introduction
This article provides an overview of the features available in the box details view. Understanding these features helps you manage your inventory, track box status, and access important information efficiently.
Step 1: Choose a Box
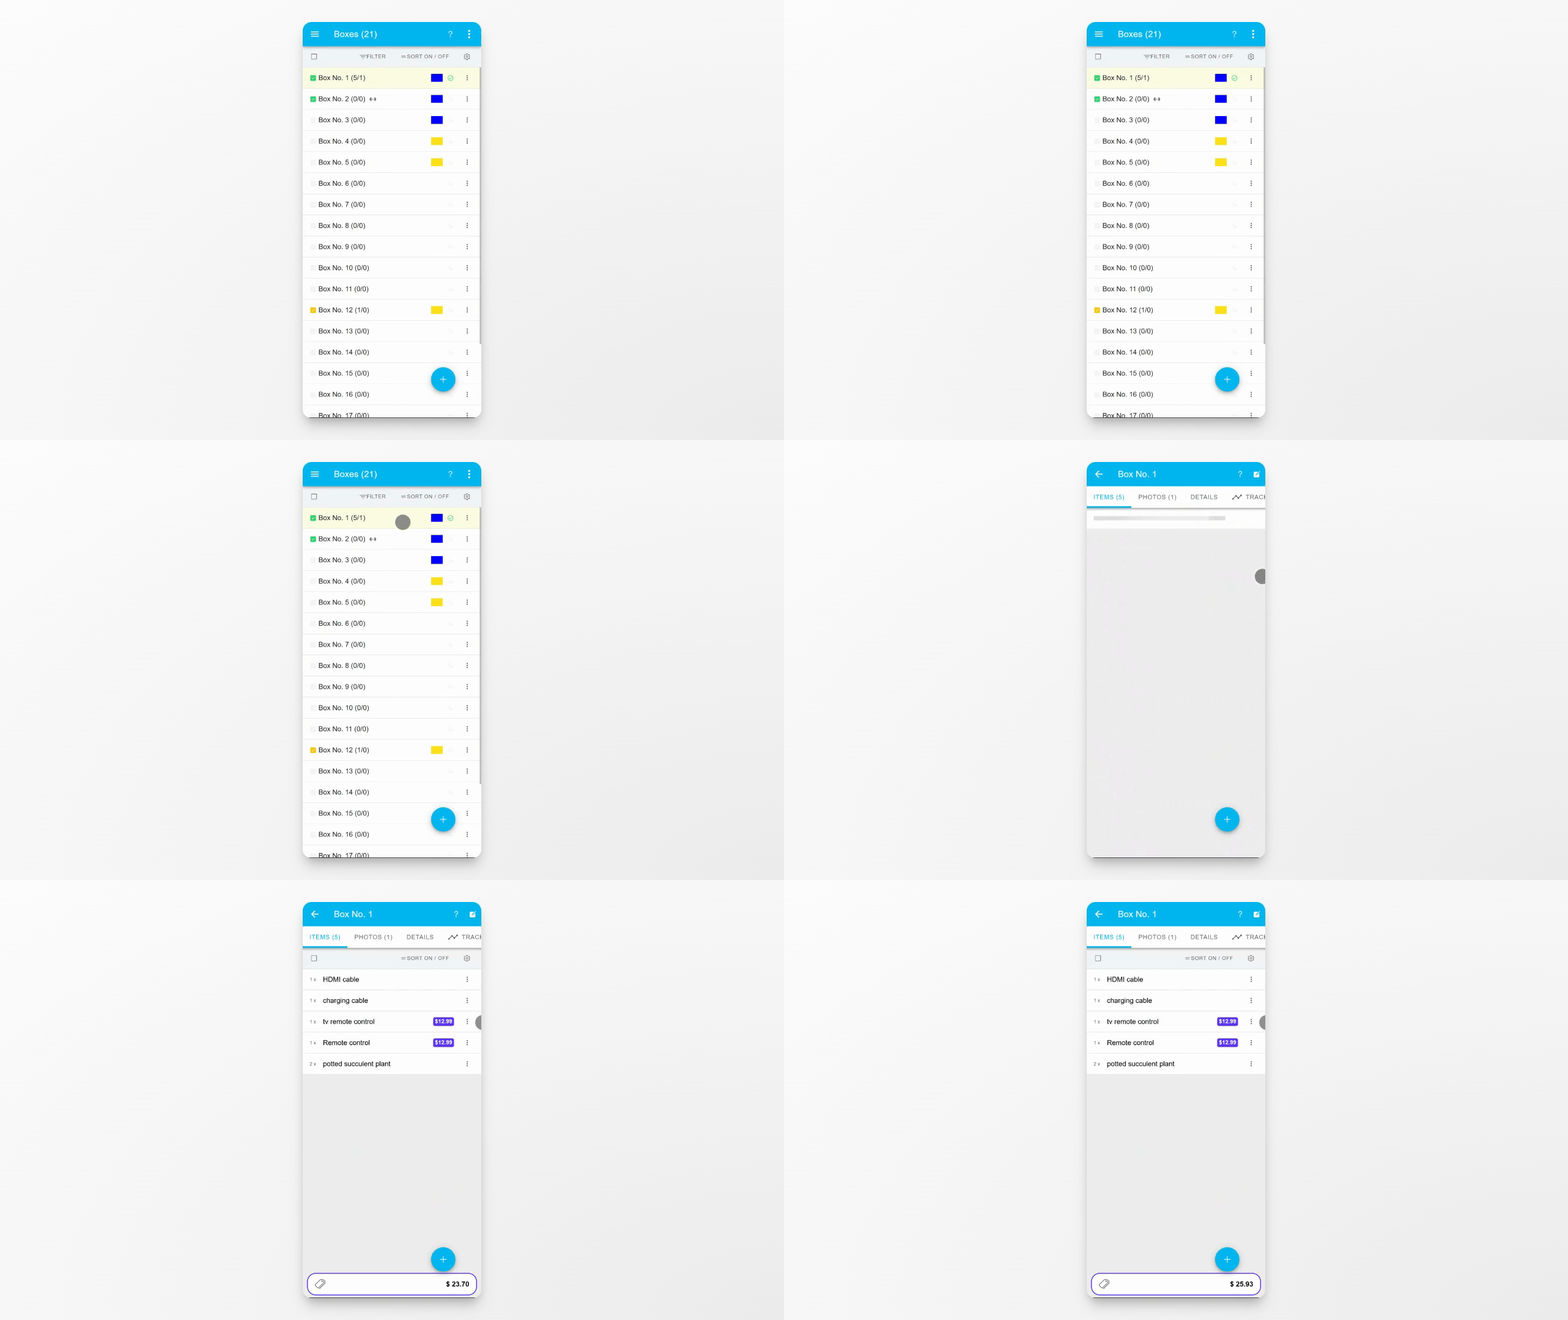
Select the box you want to view. The box details are organized into several sections: Items, Photos, Details, and Tracking Status.
Step 2: Add Items and Photos
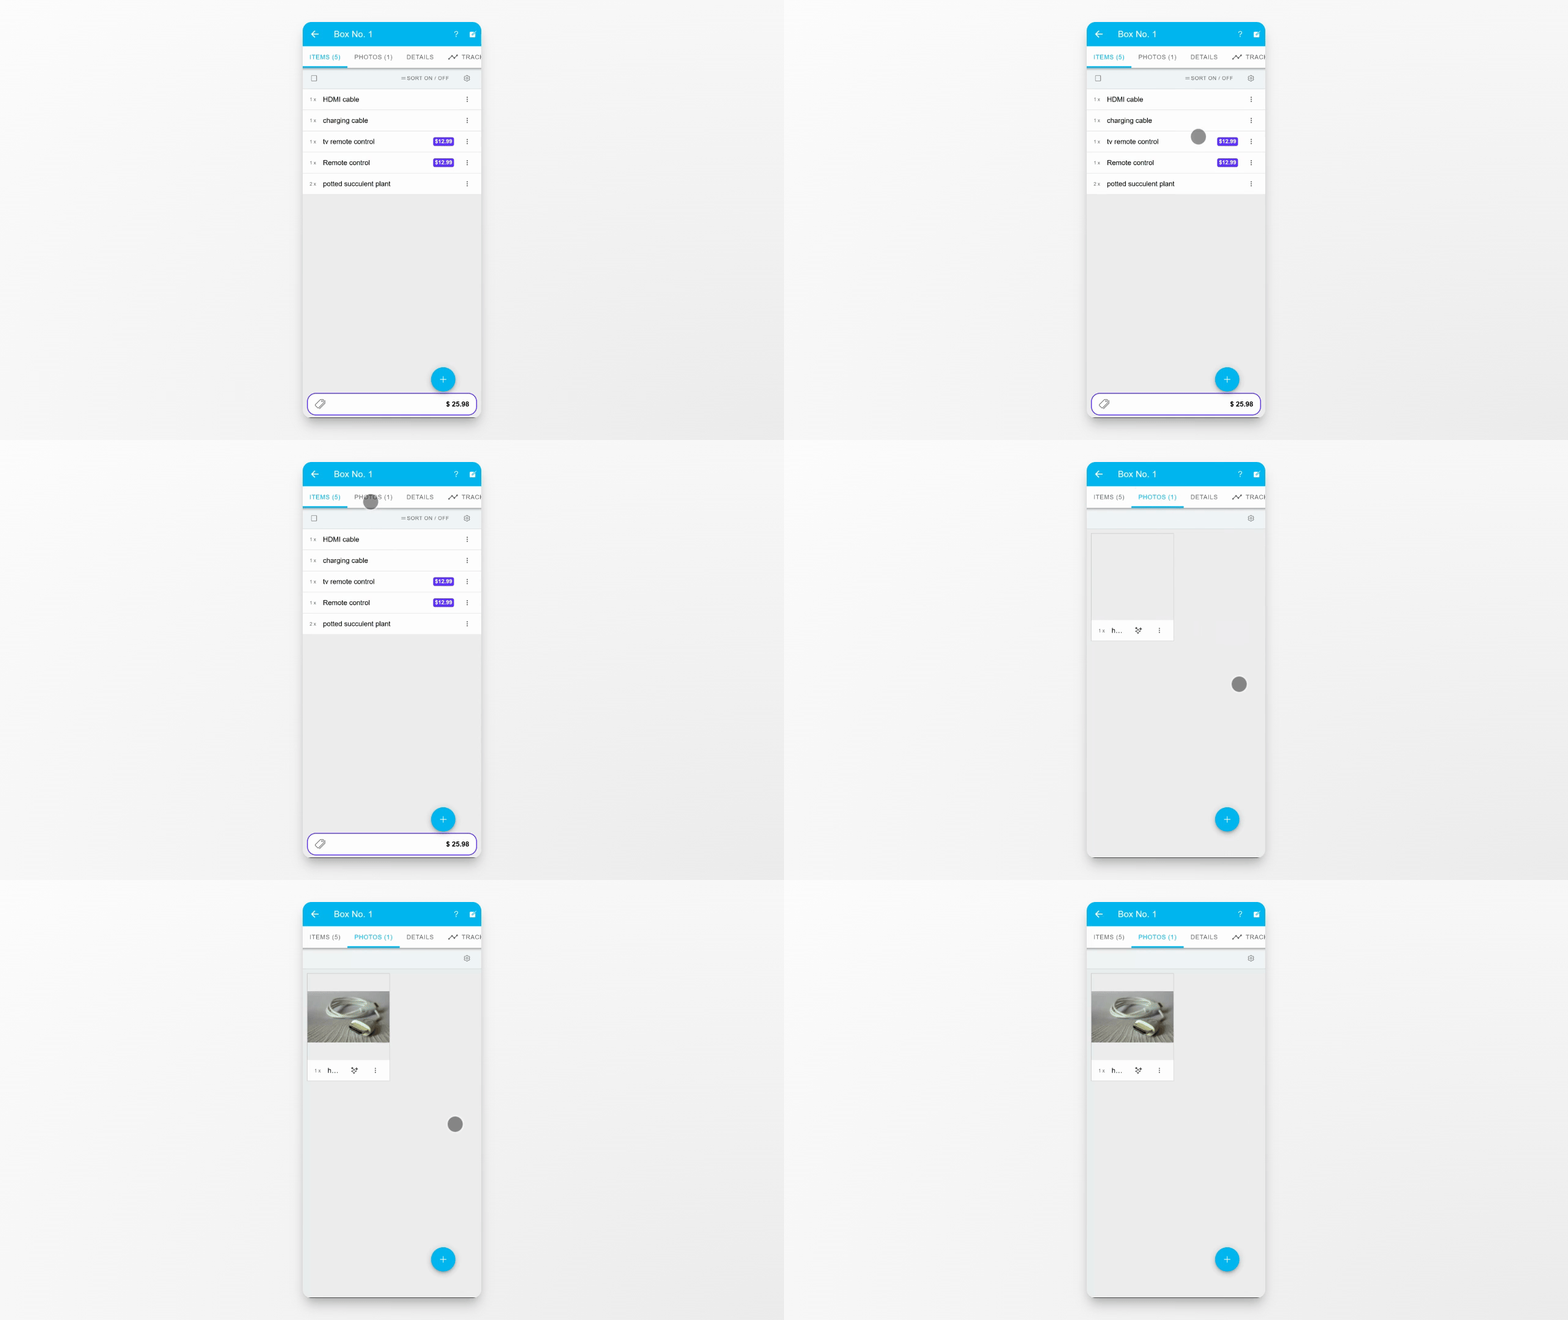
In the Items and Photos tabs, add objects and upload images related to the box.
Step 3: Review Box Details
The Details tab displays key information about the box, including its total inventory value, selected properties (such as heavy or breakable), assigned room, current transport status, and metadata like creation and last update timestamps.
Step 4: Print QR Code
Print the automatically generated QR code for the box directly from the details view.
Step 5: Track Box Status
In the Tracking Status section, view individual timestamps such as when the box was prepared for transport, arrived at a temporary storage location, or reached its final destination.
Conclusion
You have now explored the box details view, including how to manage items and photos, review important box information, print QR codes, and track the box's status throughout its journey.