

Introduction
This article explains how to create a new box using the Box Overview feature. You'll learn how to add a box, customize its details, and view it in your overview.
Step 1: Start Adding a Box
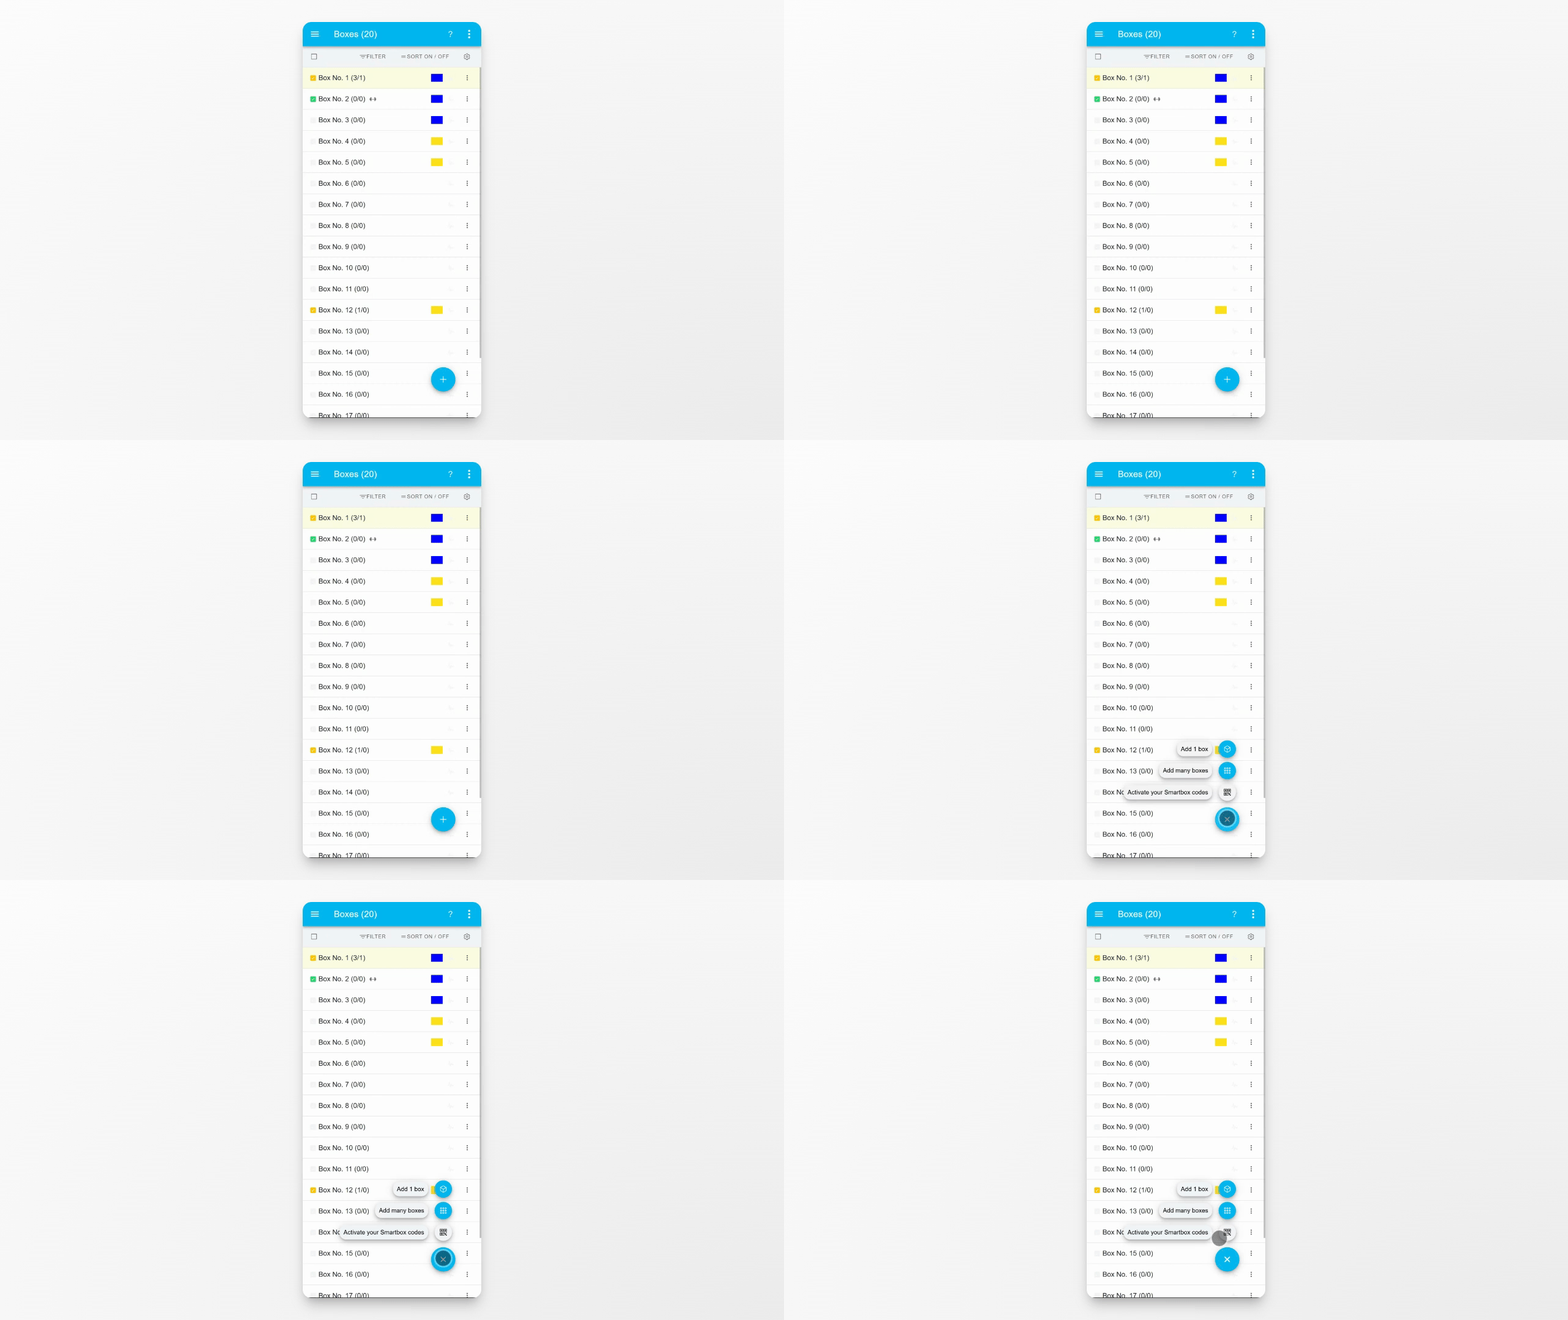
In the Box Overview, tap the plus button and select Add 1 box to begin creating a new box.
Step 2: Review or Edit Box Title
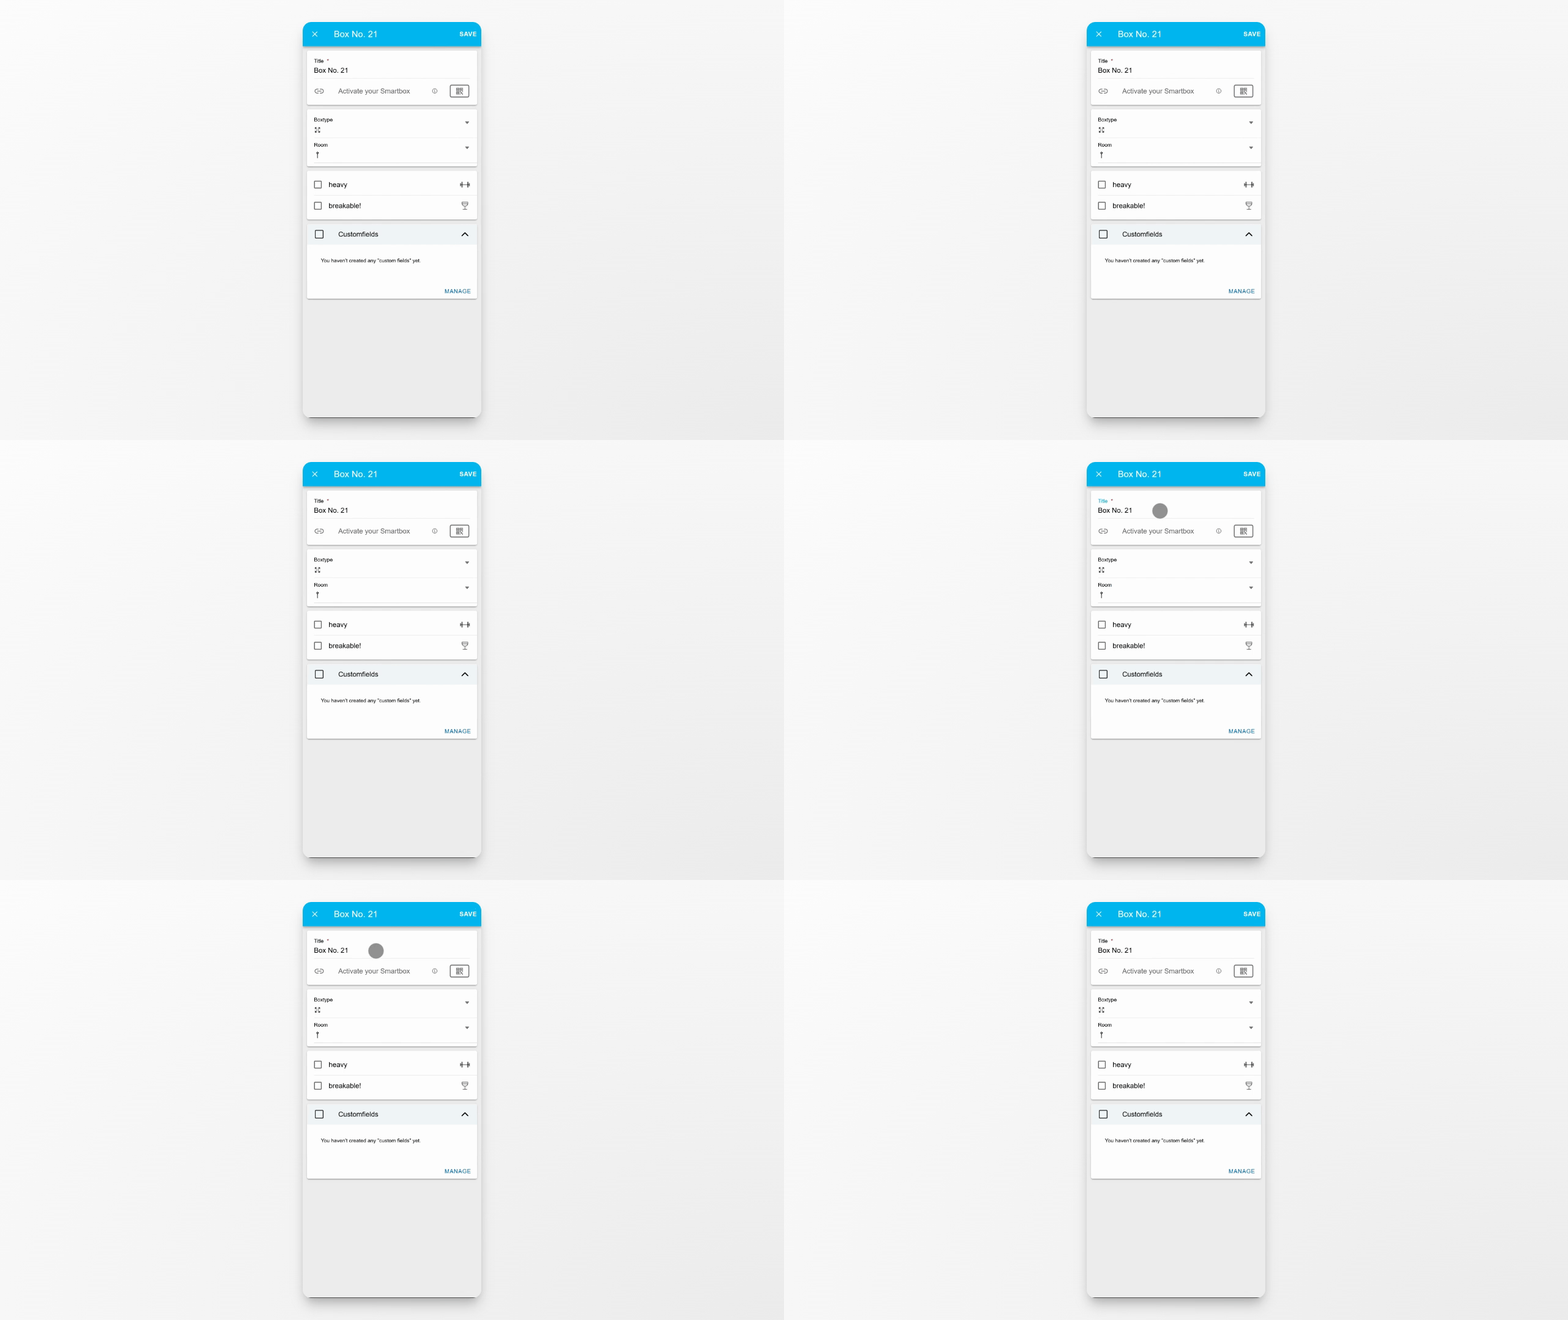
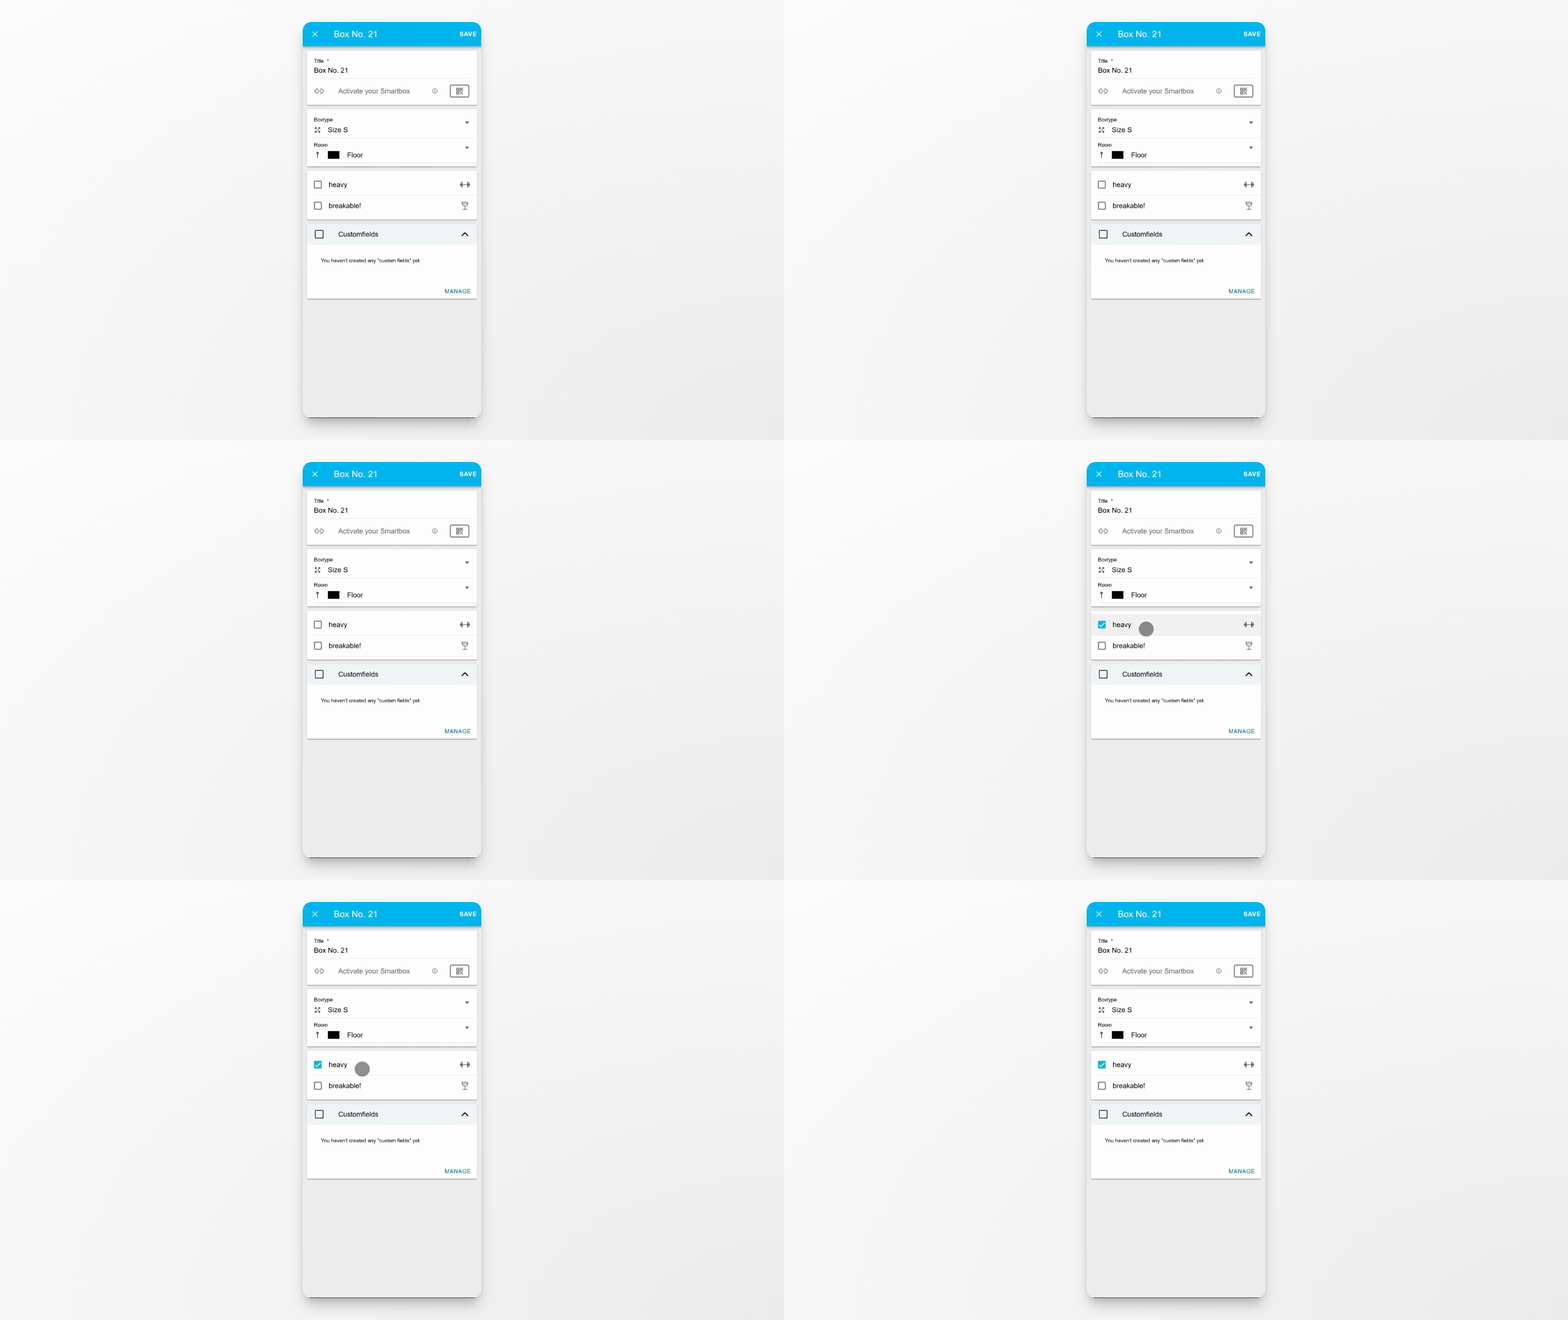
The box title is automatically filled with the next available box number. You can change this title at any time if you prefer a different name.
Step 3: Choose Box Size (Optional)
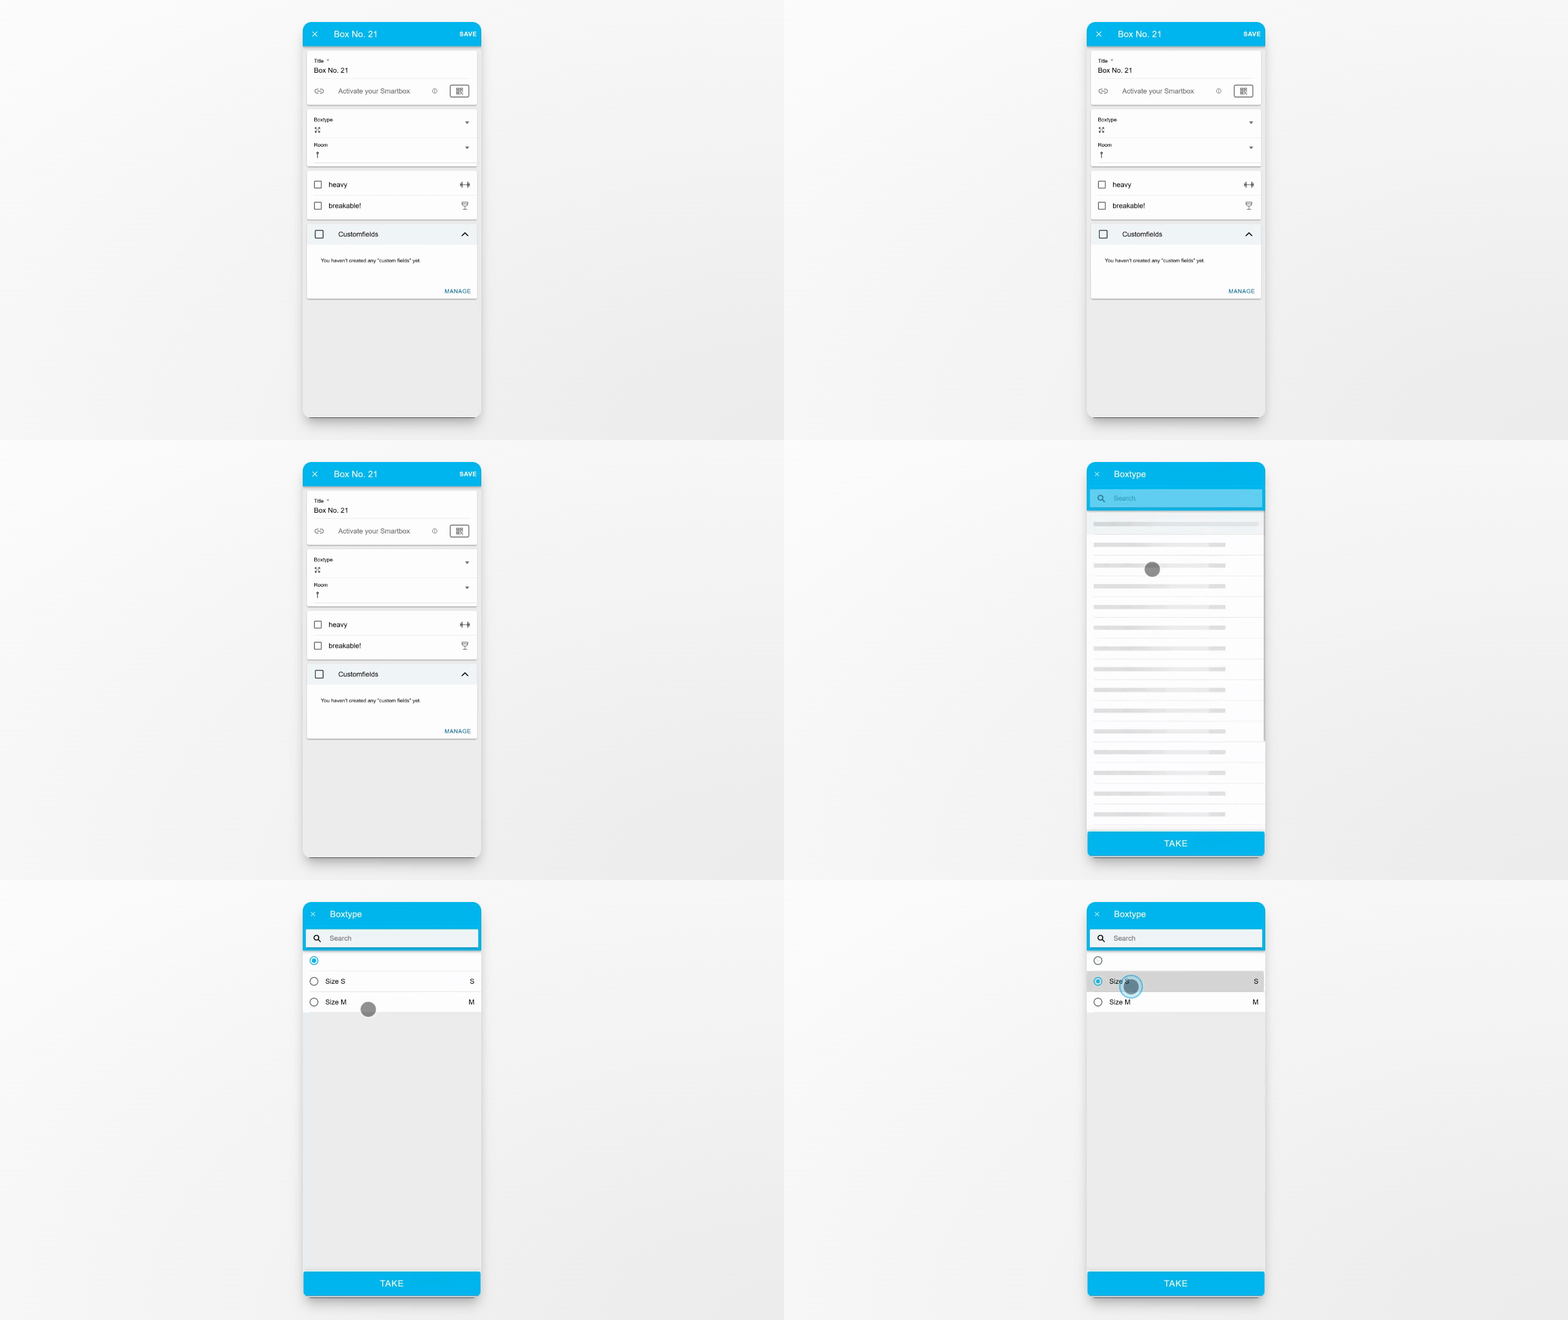
If desired, select the appropriate box size for your new box.
Step 4: Assign Room (Optional)
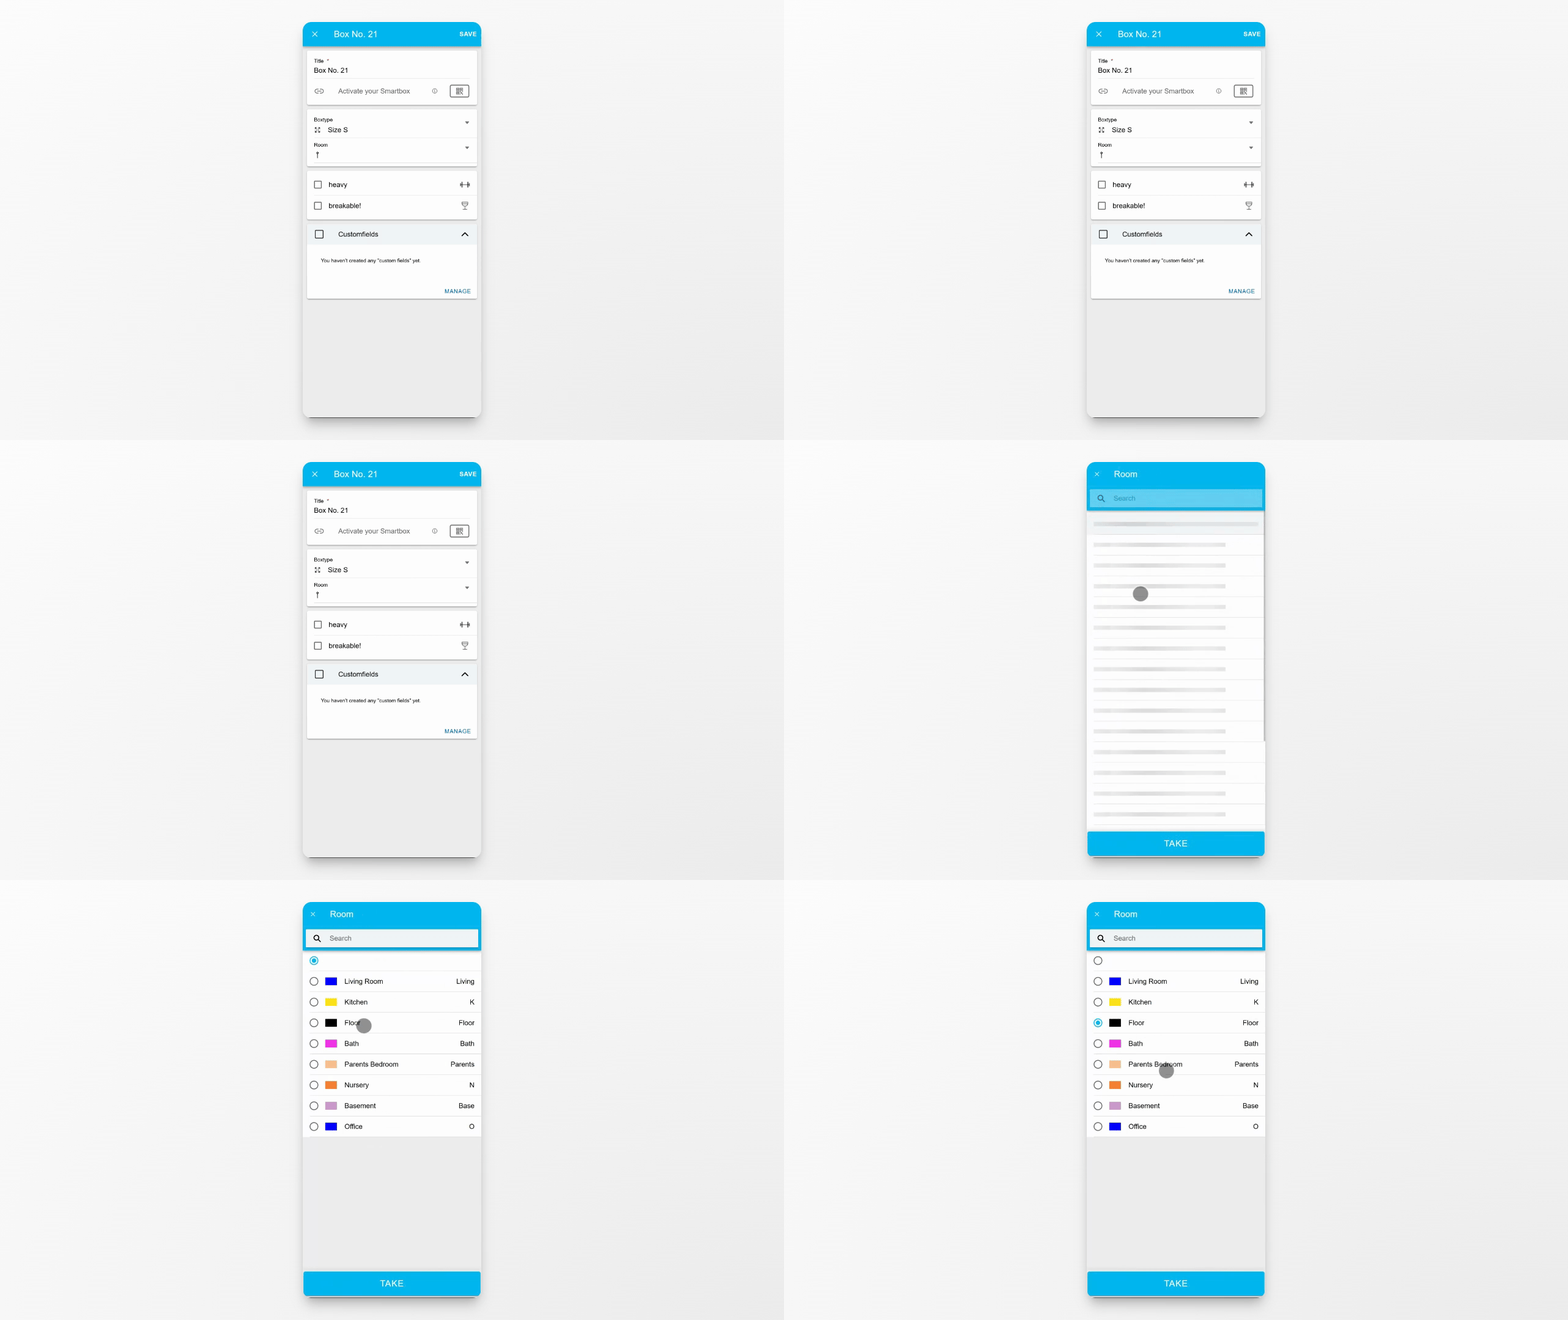
You can assign the box to a room immediately if you know where it belongs.
Step 5: Mark Box Attributes (Optional)
If you already know whether the box is heavy or breakable, mark these options accordingly.
Step 6: Save the New Box
Once all details are set, tap the Save button to create your box.
Conclusion
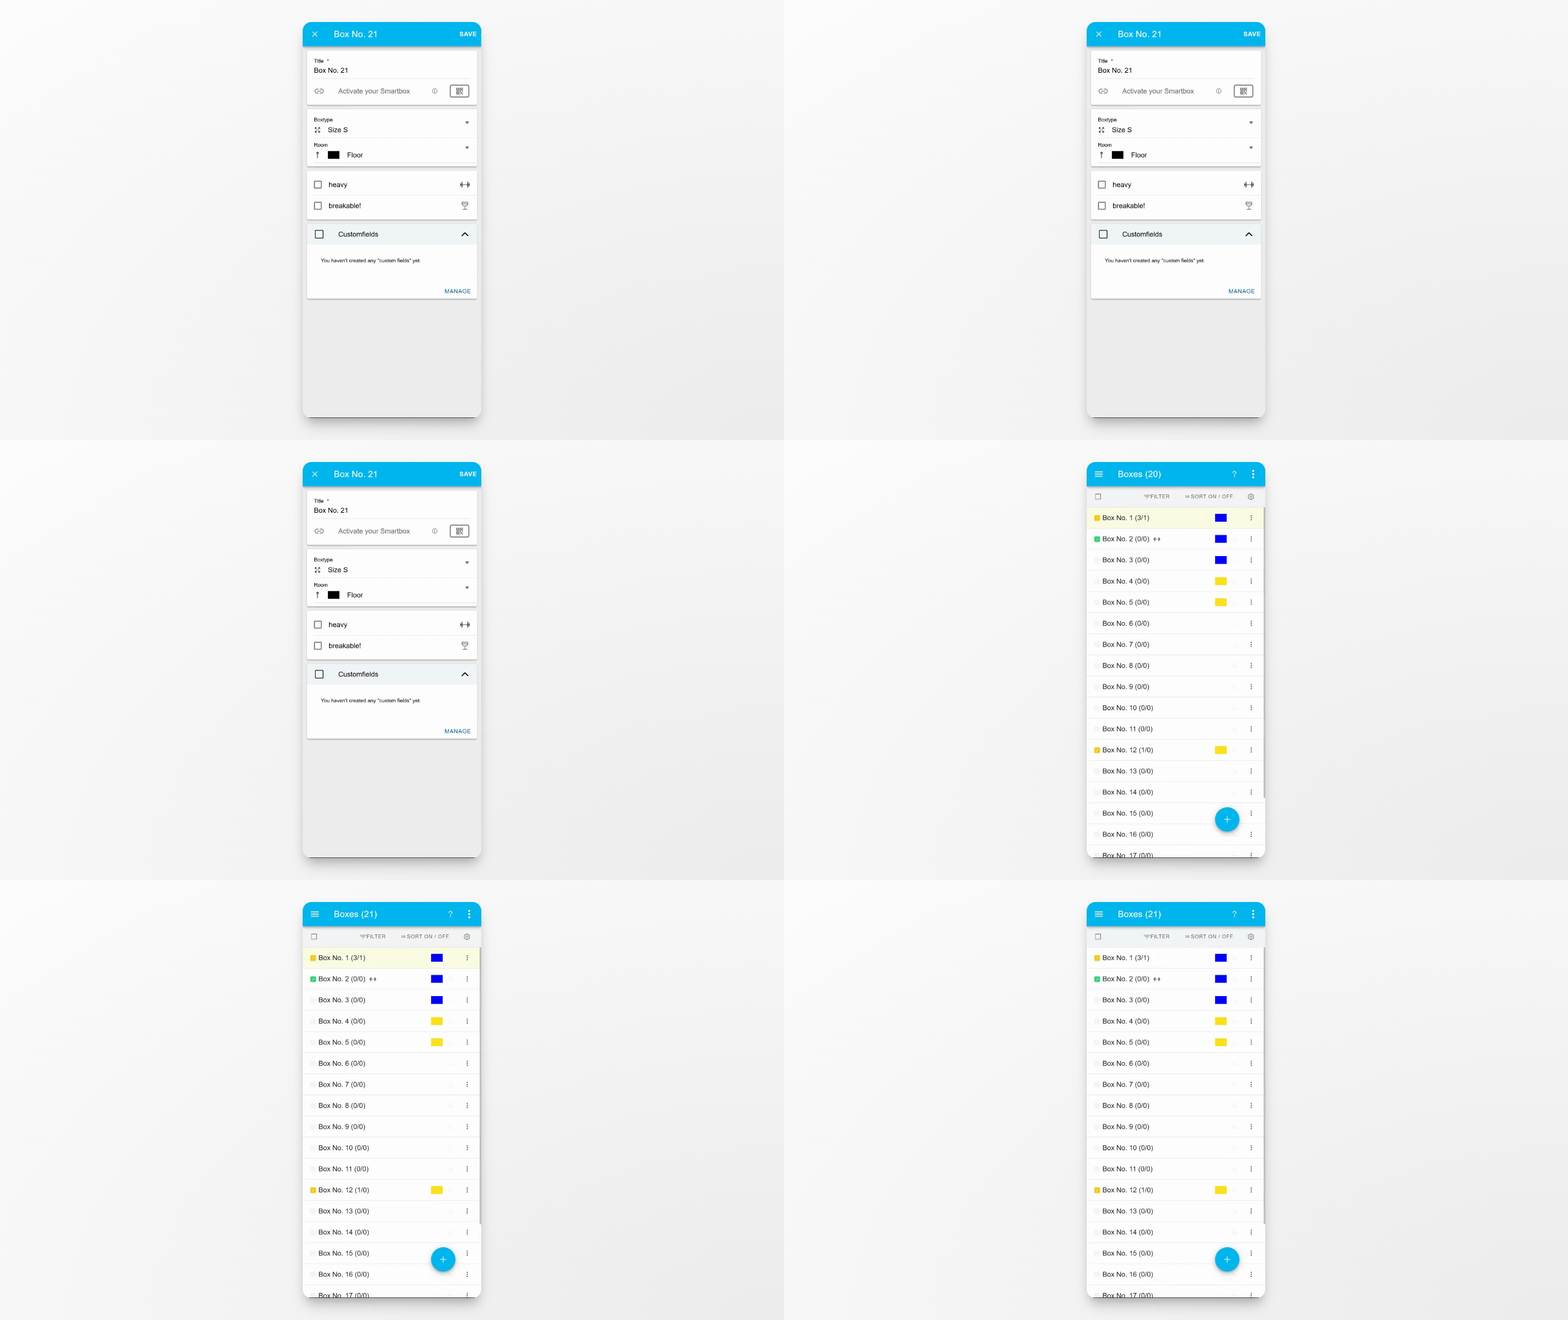
Your new box will now appear in the Overview, ready for further management or organization.