

Introduction
This article explains how to add a photo to a box, enter relevant details, and link items to the photo. This helps organize box contents and improves inventory management.
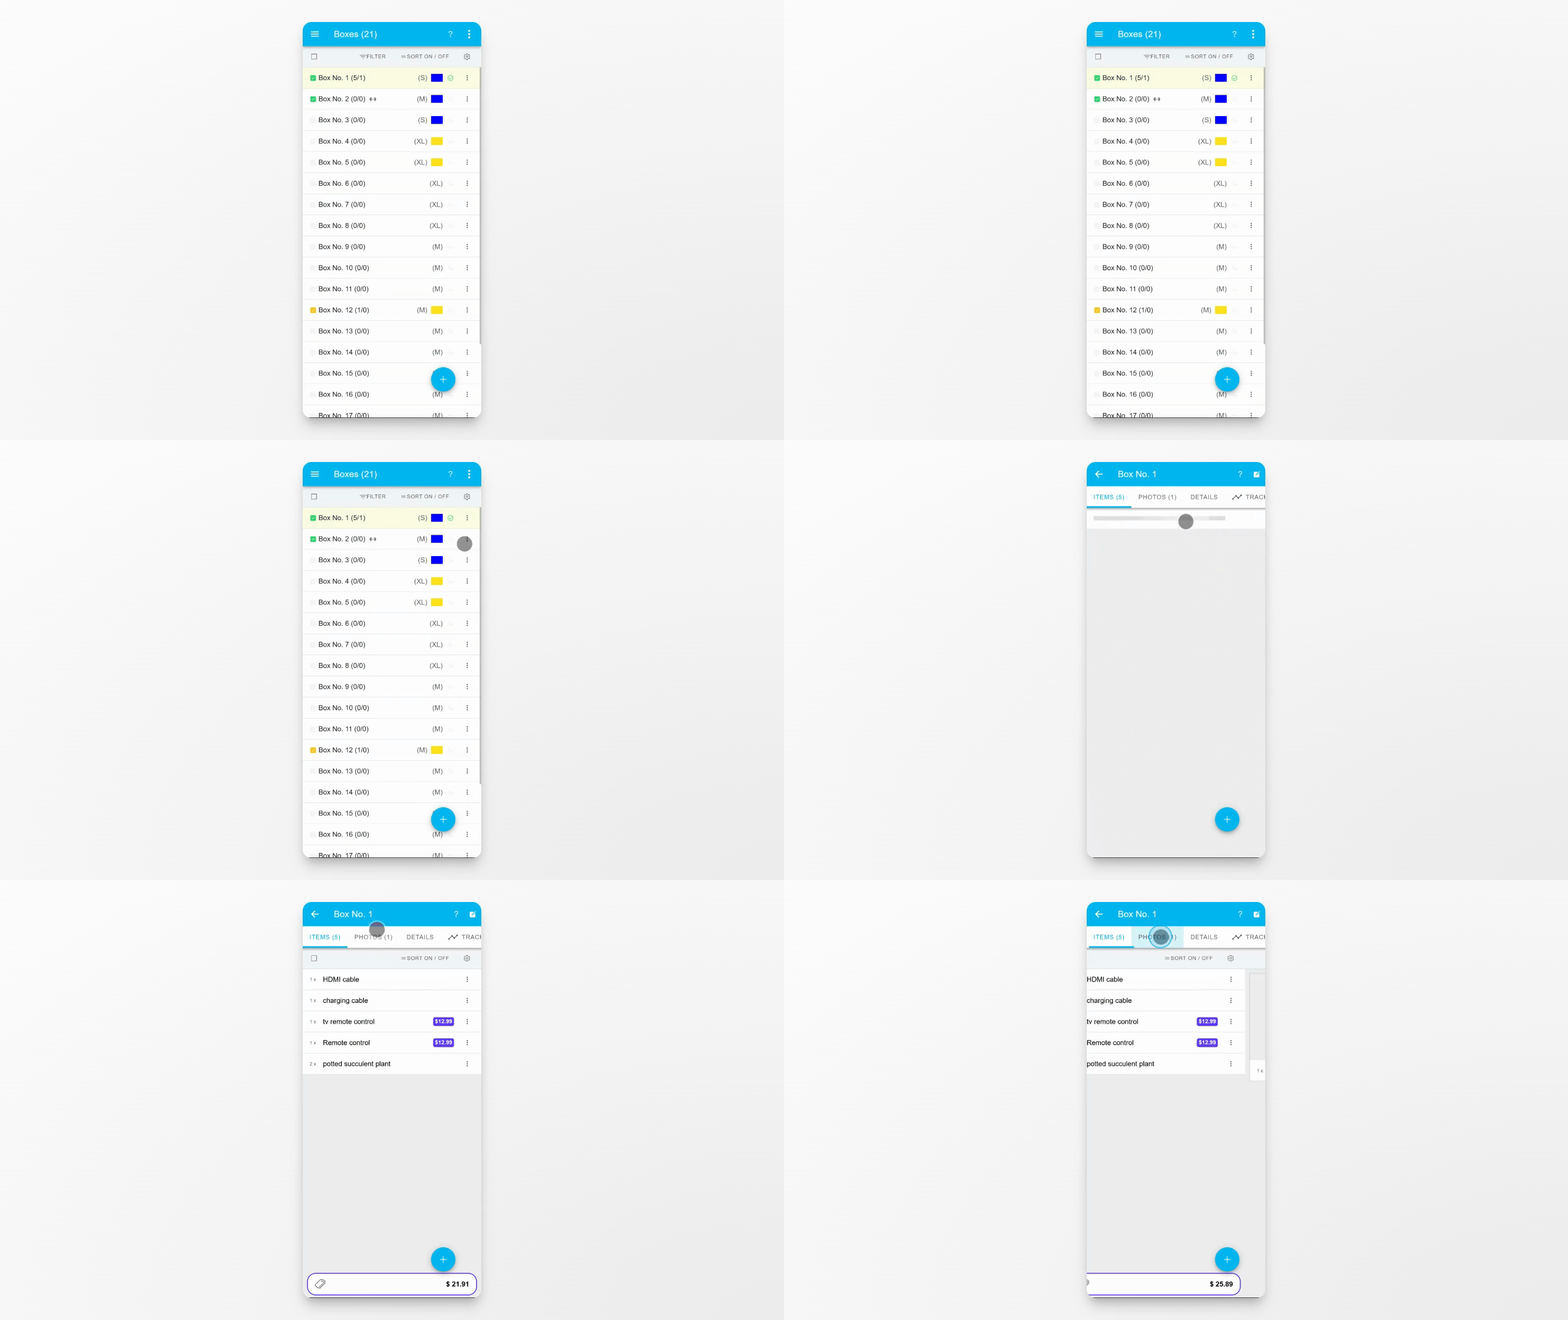
Step 1: Start Adding Photo
Tap the plus button to begin adding a new photo to your box.
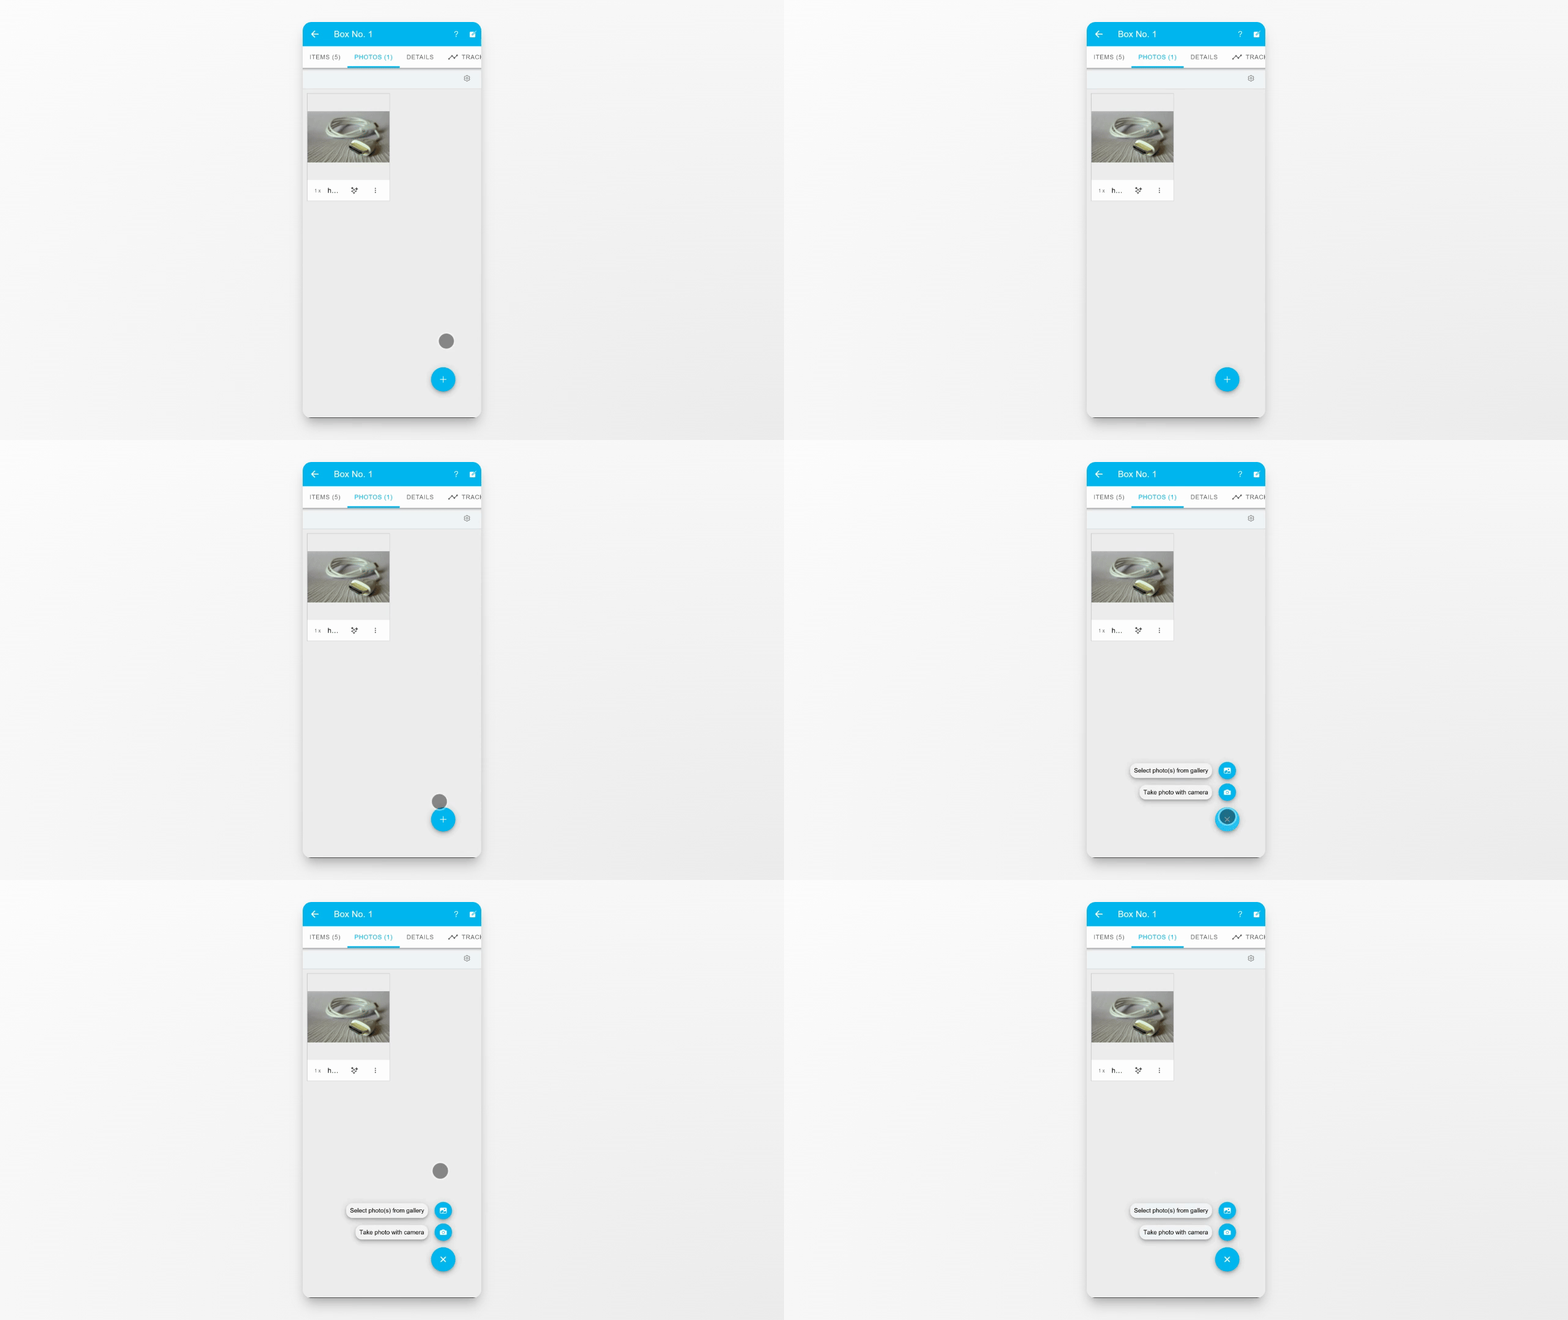
Step 2: Select Photo Source
Choose a photo by either using the camera or selecting one or more images from the Device Gallery.
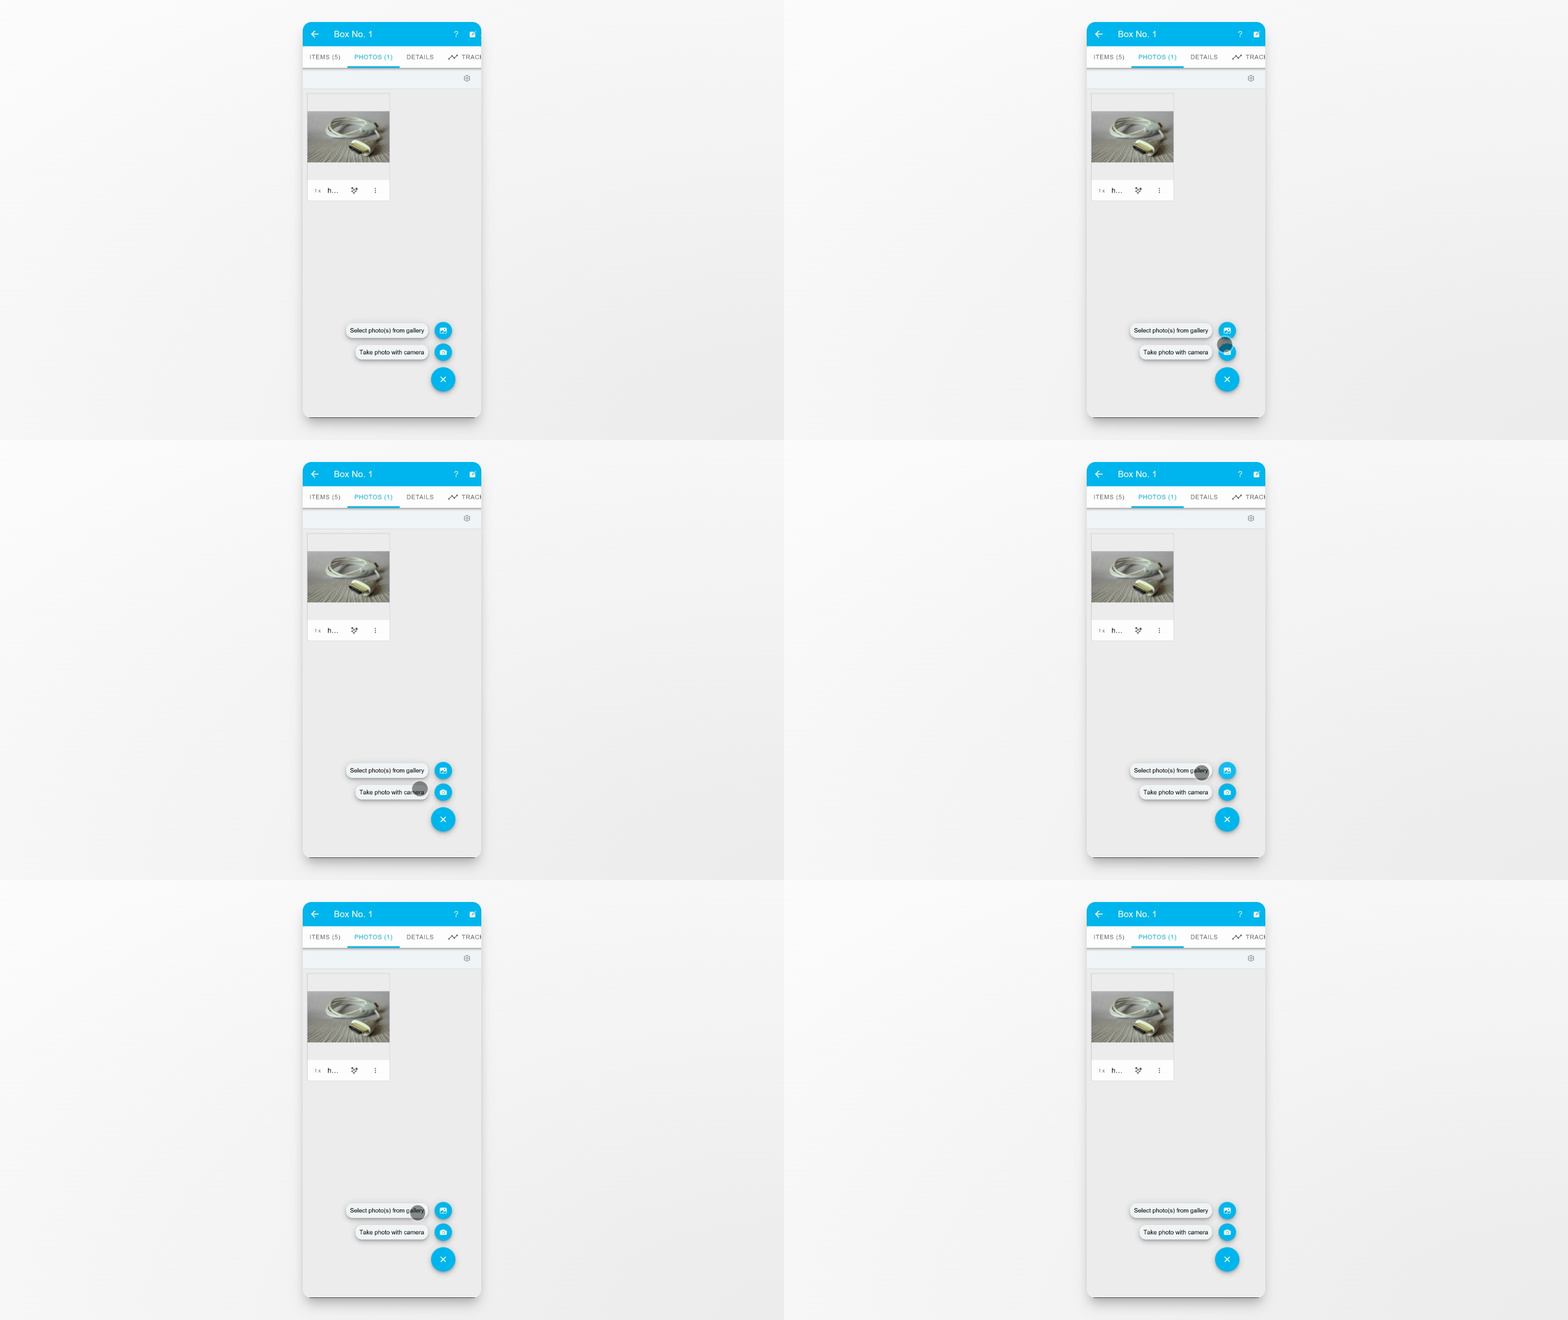
Step 3: Open Edit Screen
After selecting the photo, tap on it to open the edit screen.
Step 4: Enter Photo Details
Enter a title for the photo and optionally set an inventory value.
Unlike room images, there are no dimensions for box photos, as these do not affect volume calculations.
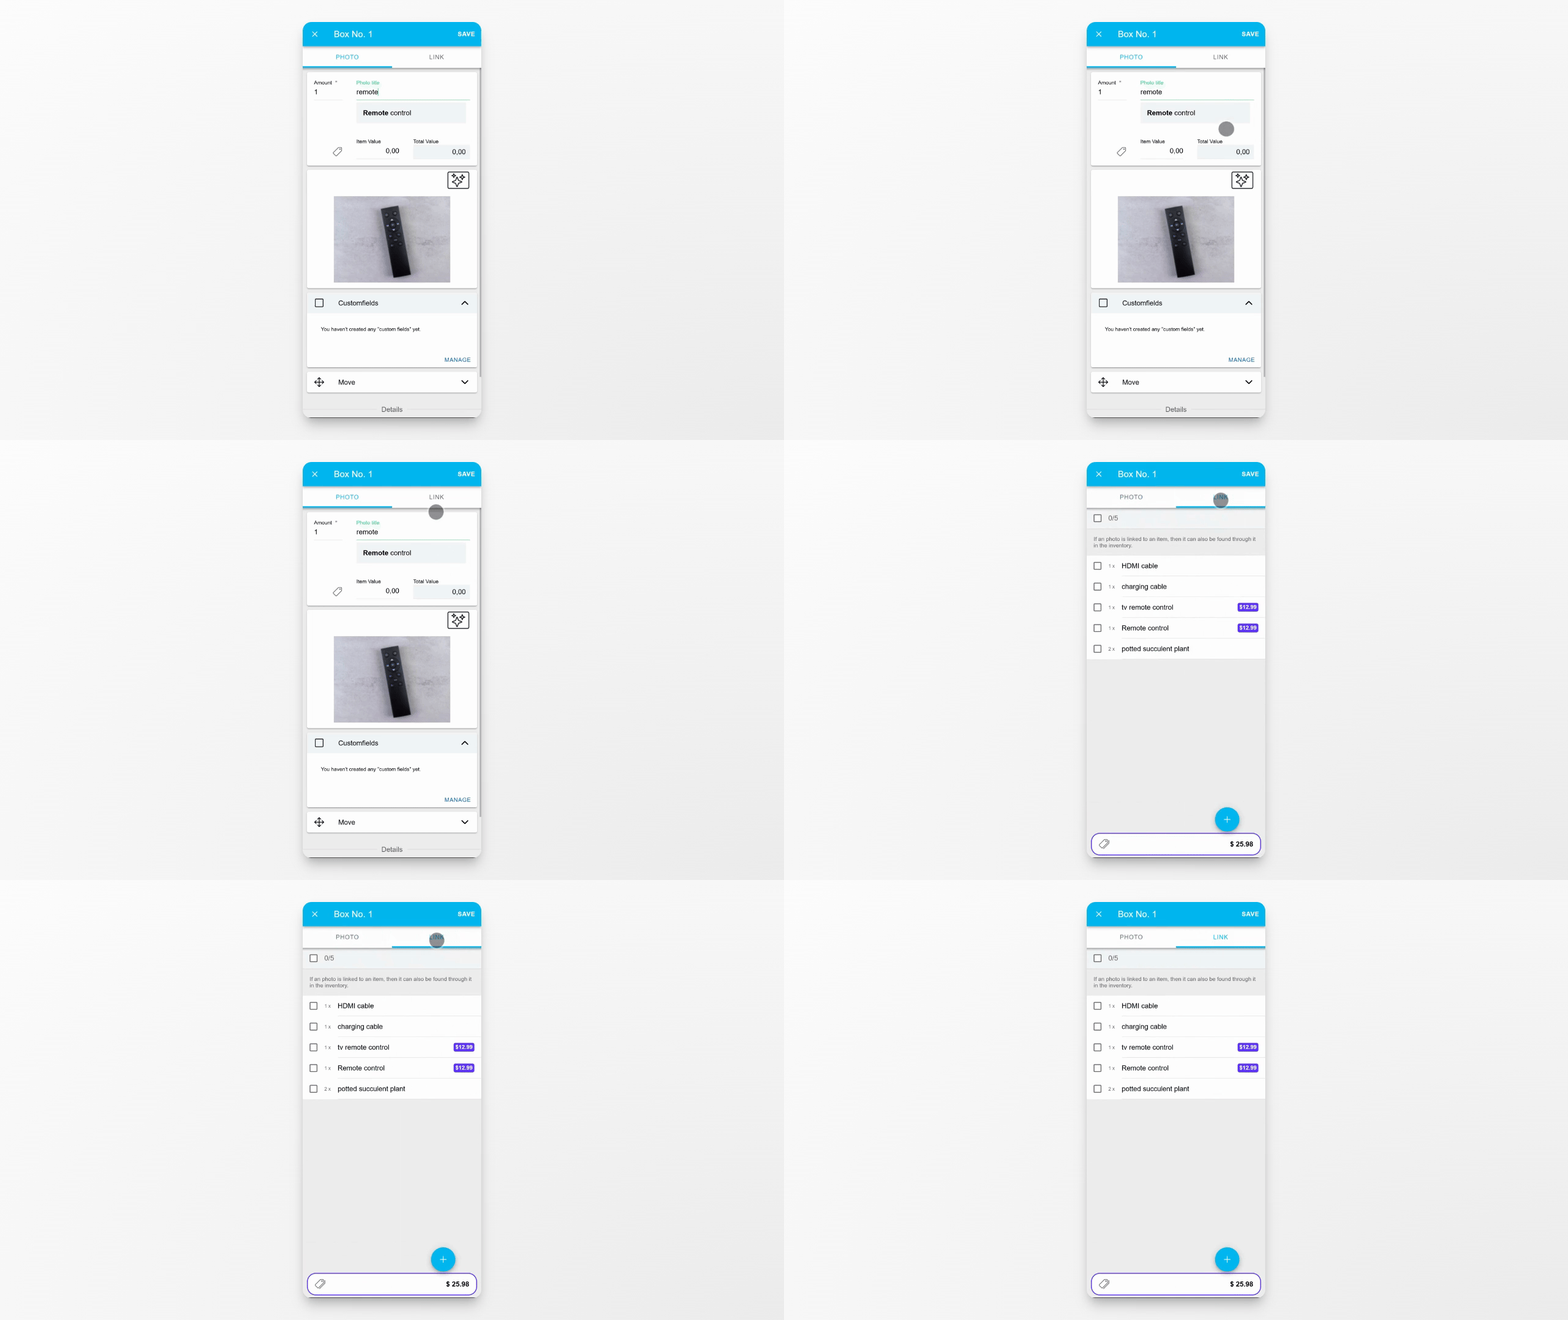
Step 5: Link Items to Photo
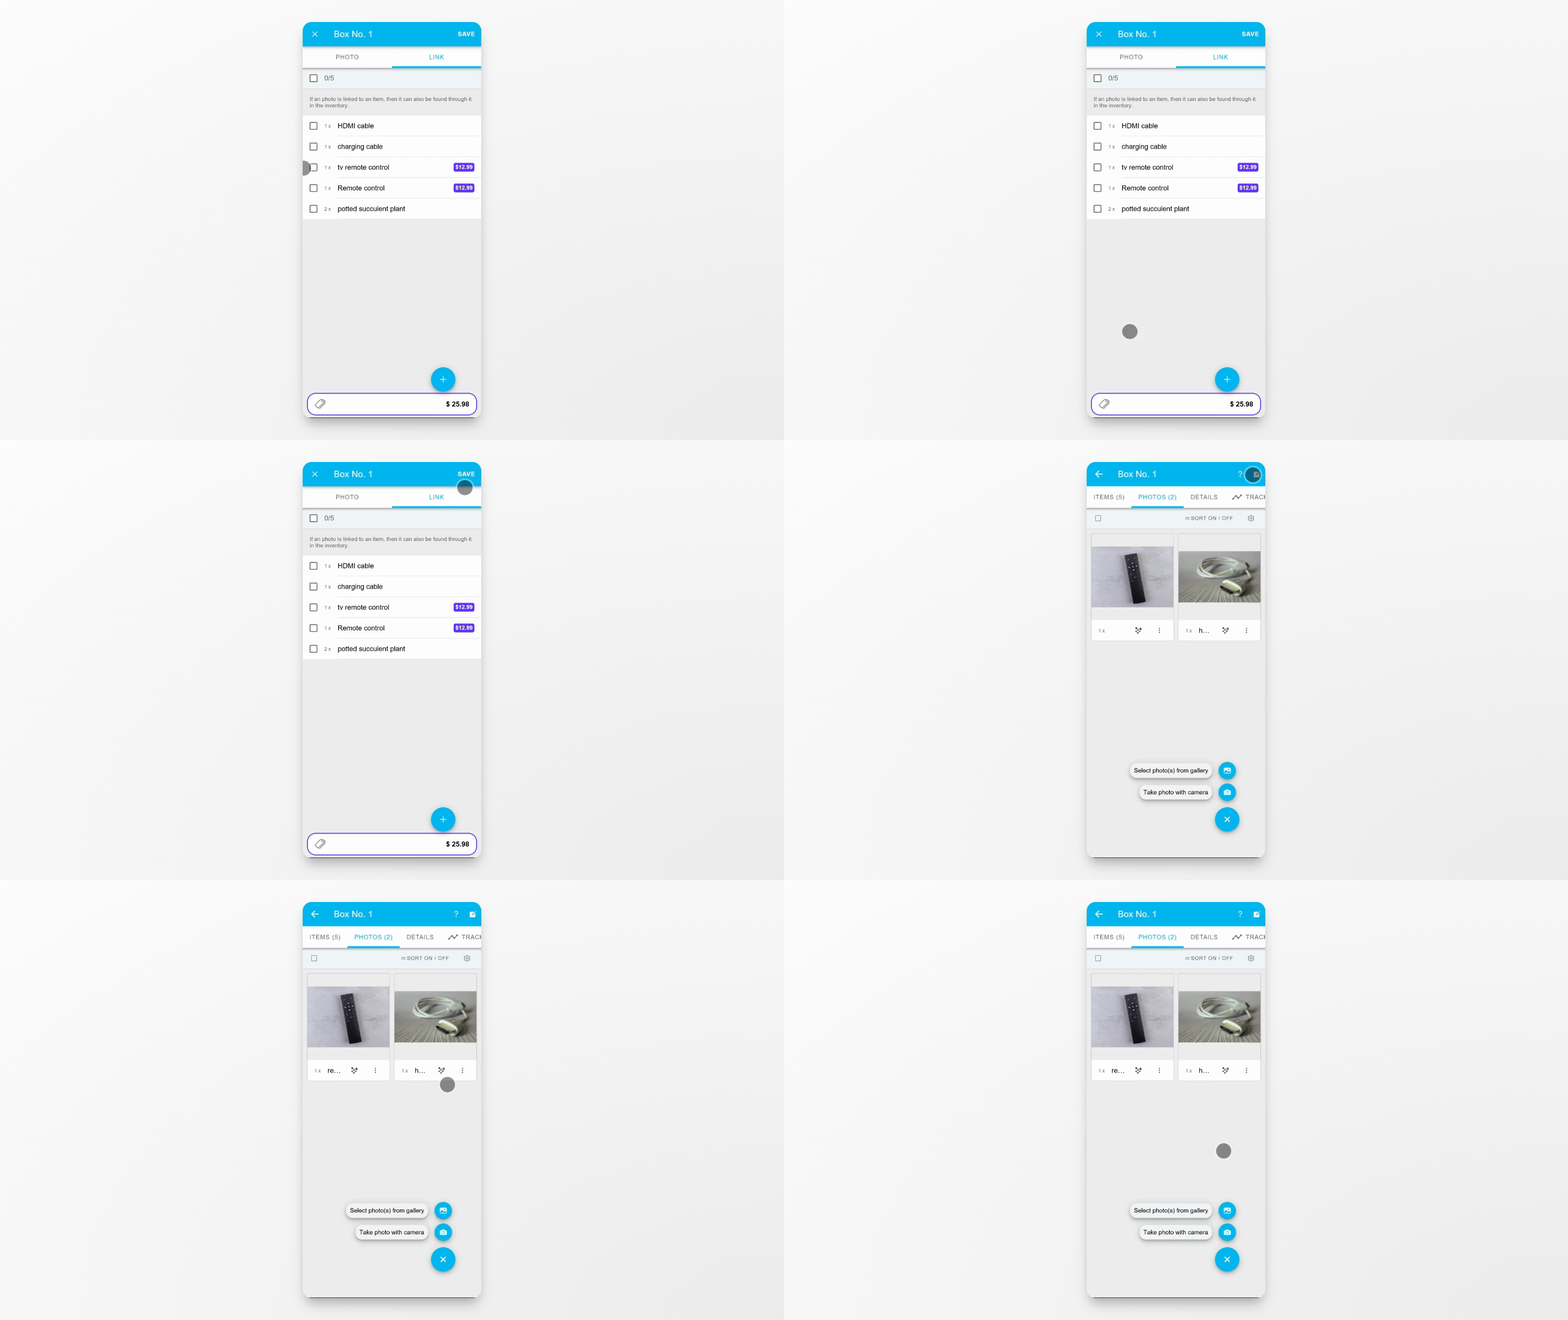
Go to the Link tab. Here, you can assign existing items from the box or create new items directly.
Linked items will automatically appear in the box items list and will be included in inventory search, since linked items are searchable through the photo.
Step 6: Save Photo and Details
When finished, tap Save. All information will be stored.
Conclusion
You have now added a photo to a box, entered details, and linked items. This helps keep your inventory organized and searchable.