

Introduction
This article explains how to create a new box size in the app. Defining custom box sizes helps you organize and manage your storage more efficiently by allowing accurate volume calculations. Follow these steps to add a new box size for future use.
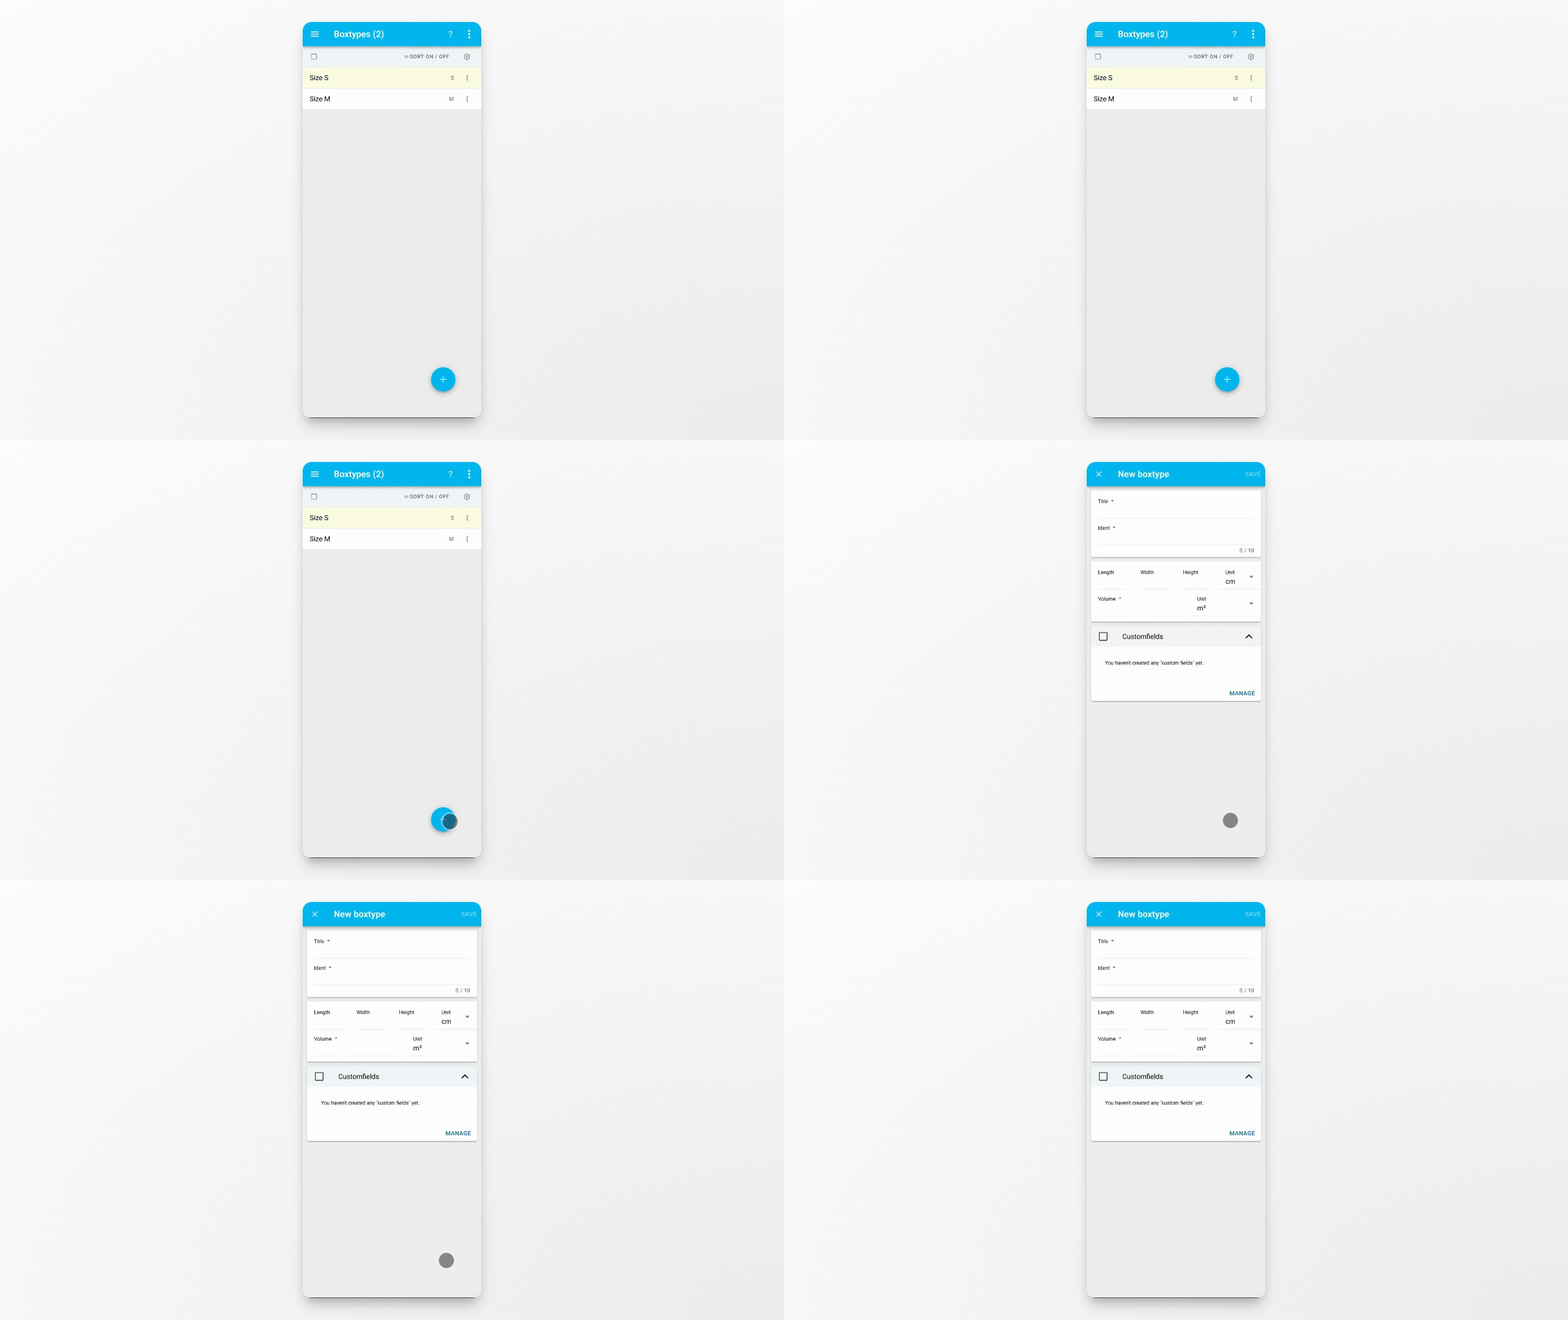
Step 1: Tap the Plus Button
On the input screen, tap the plus button to start creating a new box size. This is the same process as when adding a new box or room.
Step 2: Enter Box Type Title
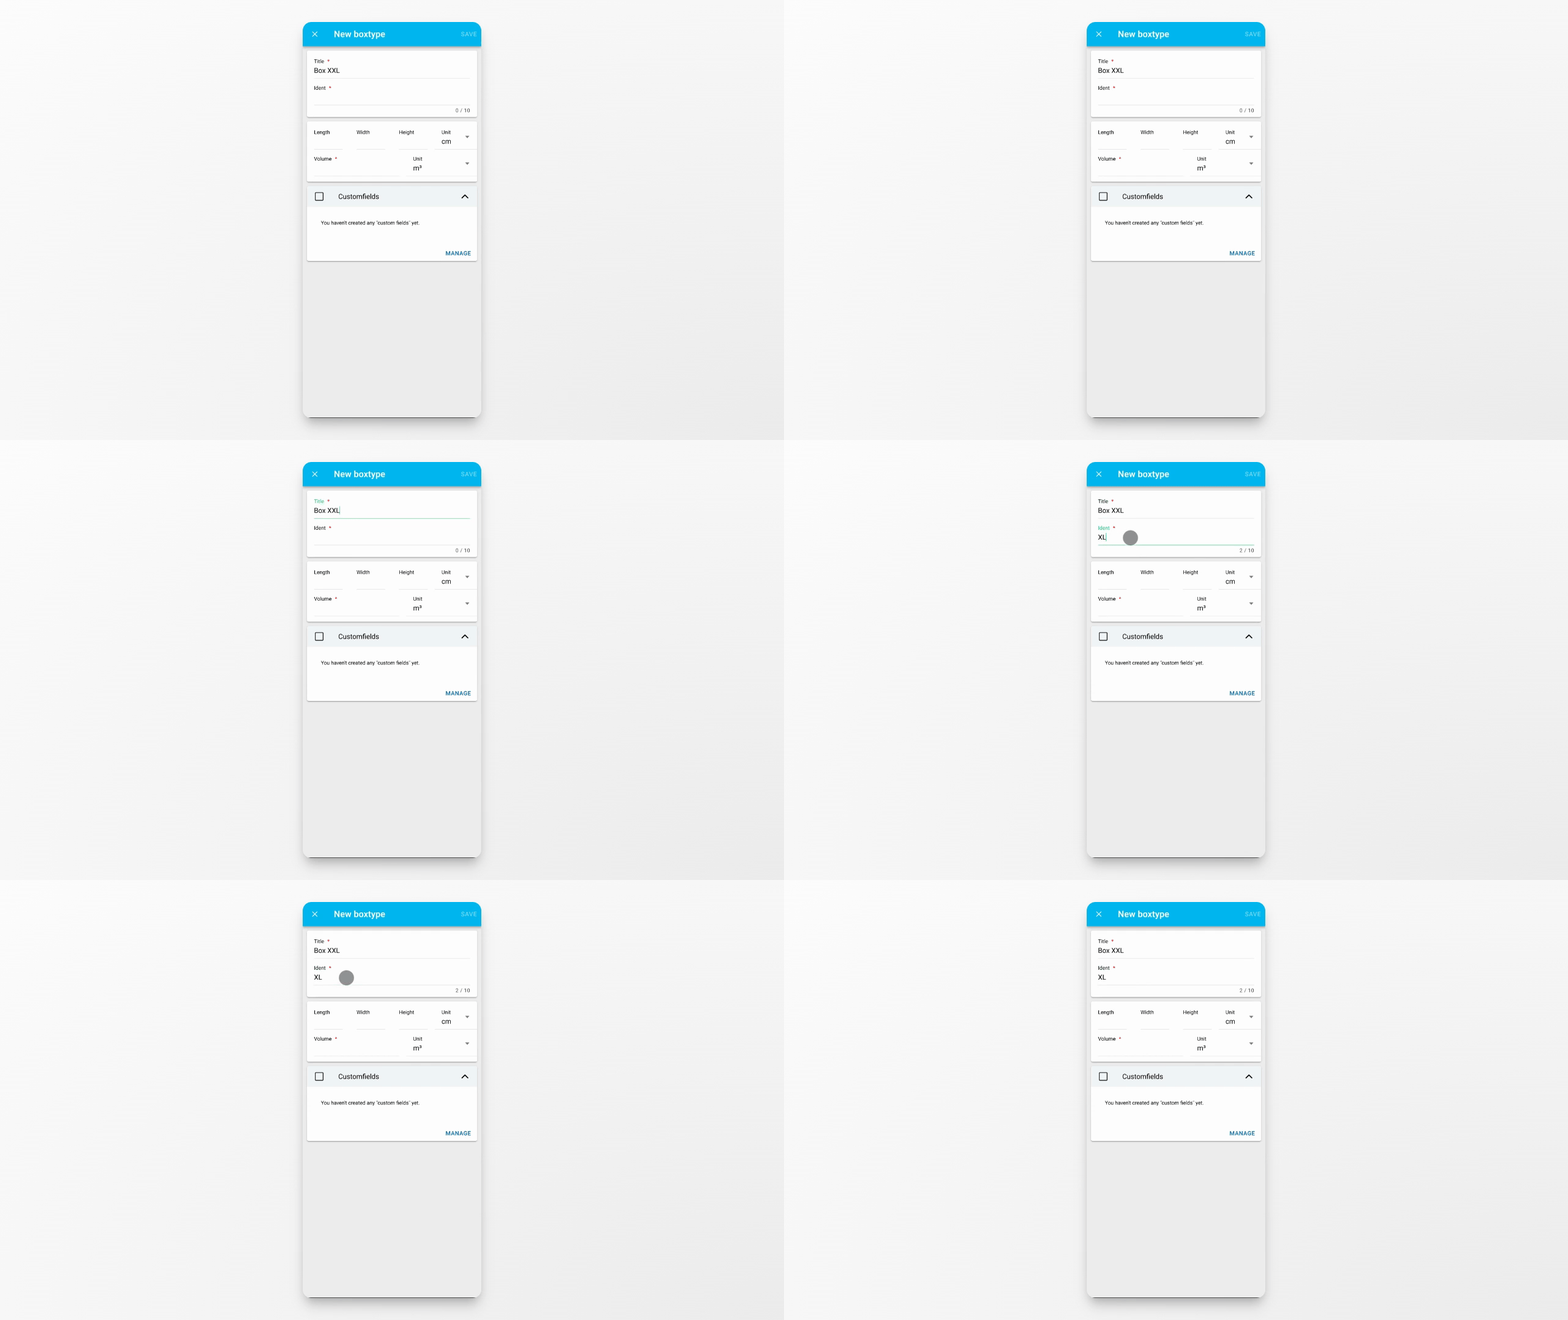
Type in the title for your new box type to identify it easily.
Step 3: Define a Shortcut
Set a shortcut, which is a short identifier used throughout the app for this box type.
Step 4: Enter Box Dimensions
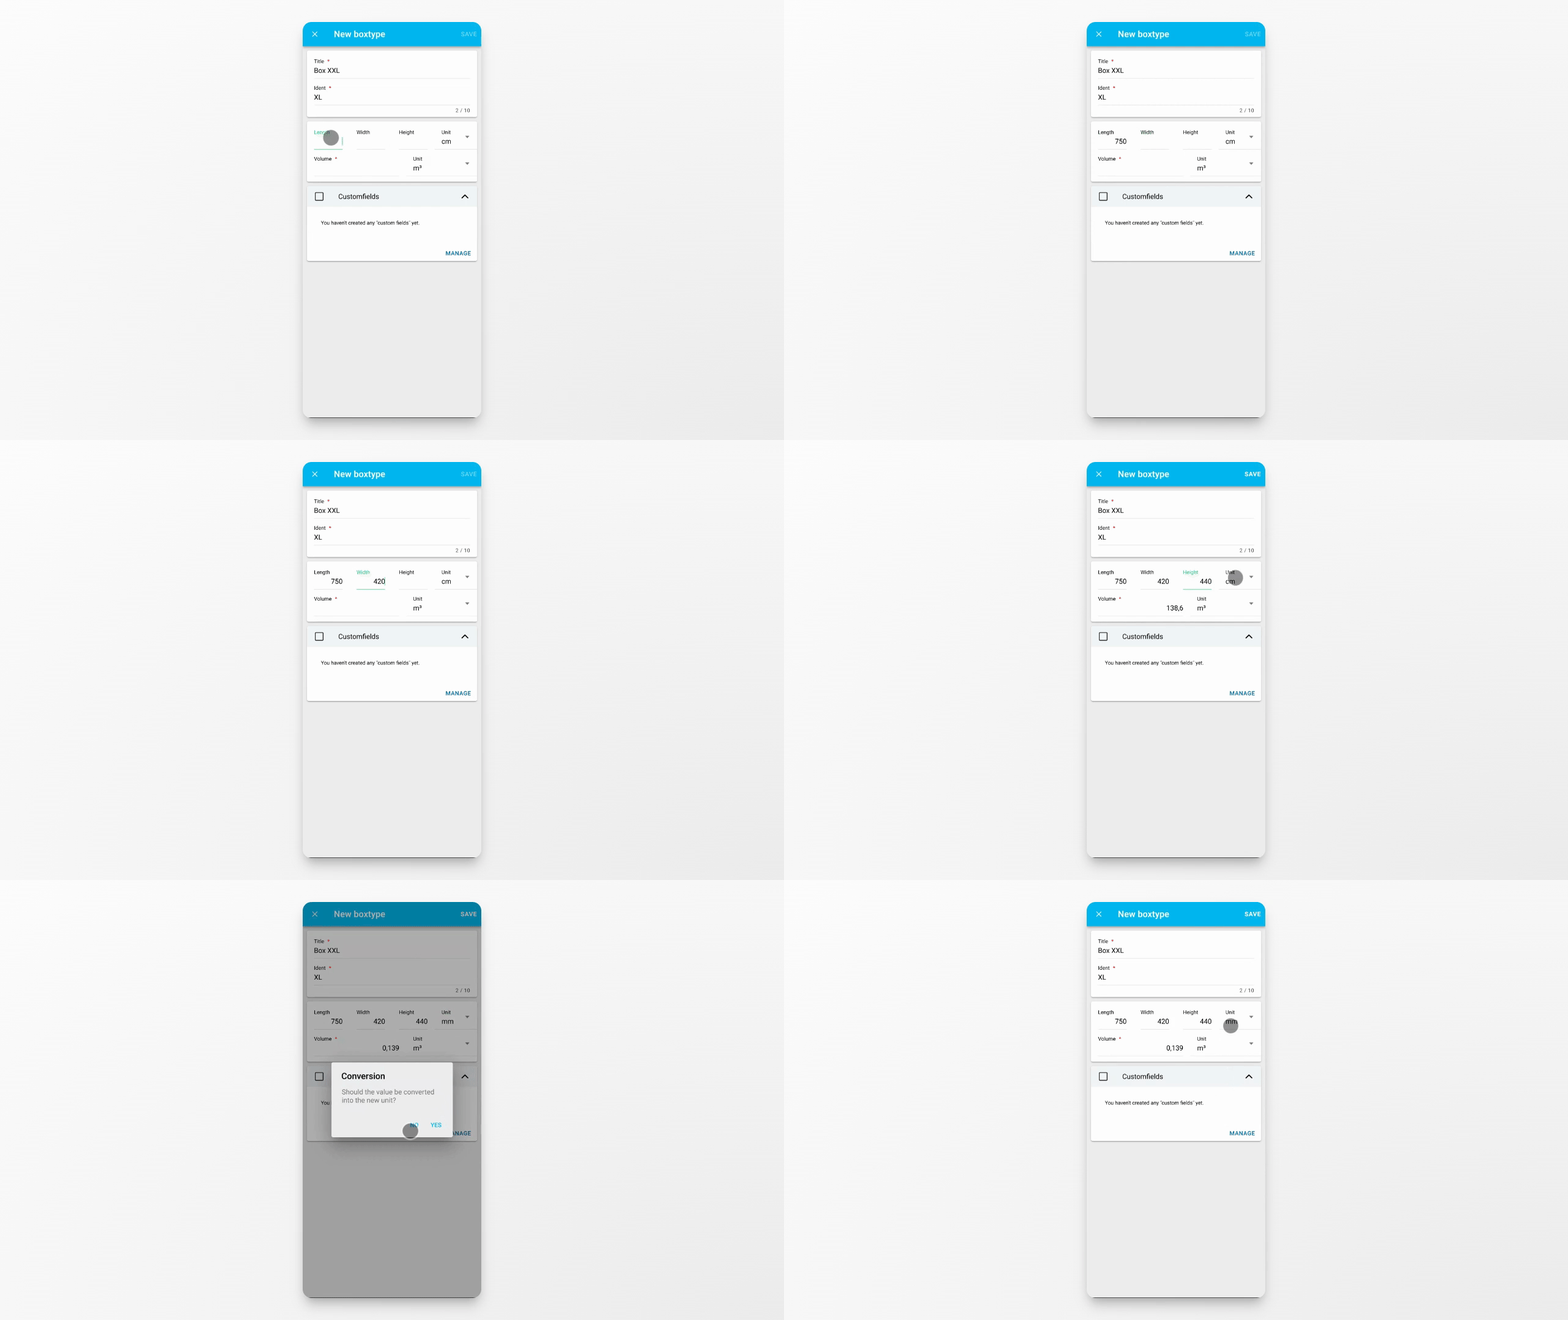
Fill in the width, height, and depth fields. These measurements will be used to automatically calculate the volume of the box type.
Step 5: Save the New Box Size
After entering all the details, tap Save. Your new box size will now be available for selection when creating boxes.
Conclusion
You have successfully created a new box size. This custom size is now available for use when adding new boxes, making it easier to organize and track your storage items.