

Introduction
This article guides you through the process of creating a new move in the app. You'll learn how to enter essential details, use helpful tools, and customize your move setup for a smooth experience.
Step 1: Enter Move Details
Enter the title of your move and select the moving date to begin setting up your move.
Step 2: Specify Number of Boxes
Indicate the number of boxes you expect to need for your move.
Step 3: Use the Box Estimation Assistant
If you're unsure about the number of boxes, use the built-in assistant to estimate the required amount. The assistant will ask you a few quick questions to provide an estimate.
Step 4: Enter Move Addresses
Optionally, enter the from and to addresses for your move.
Step 5: Choose Automatic Setup Options
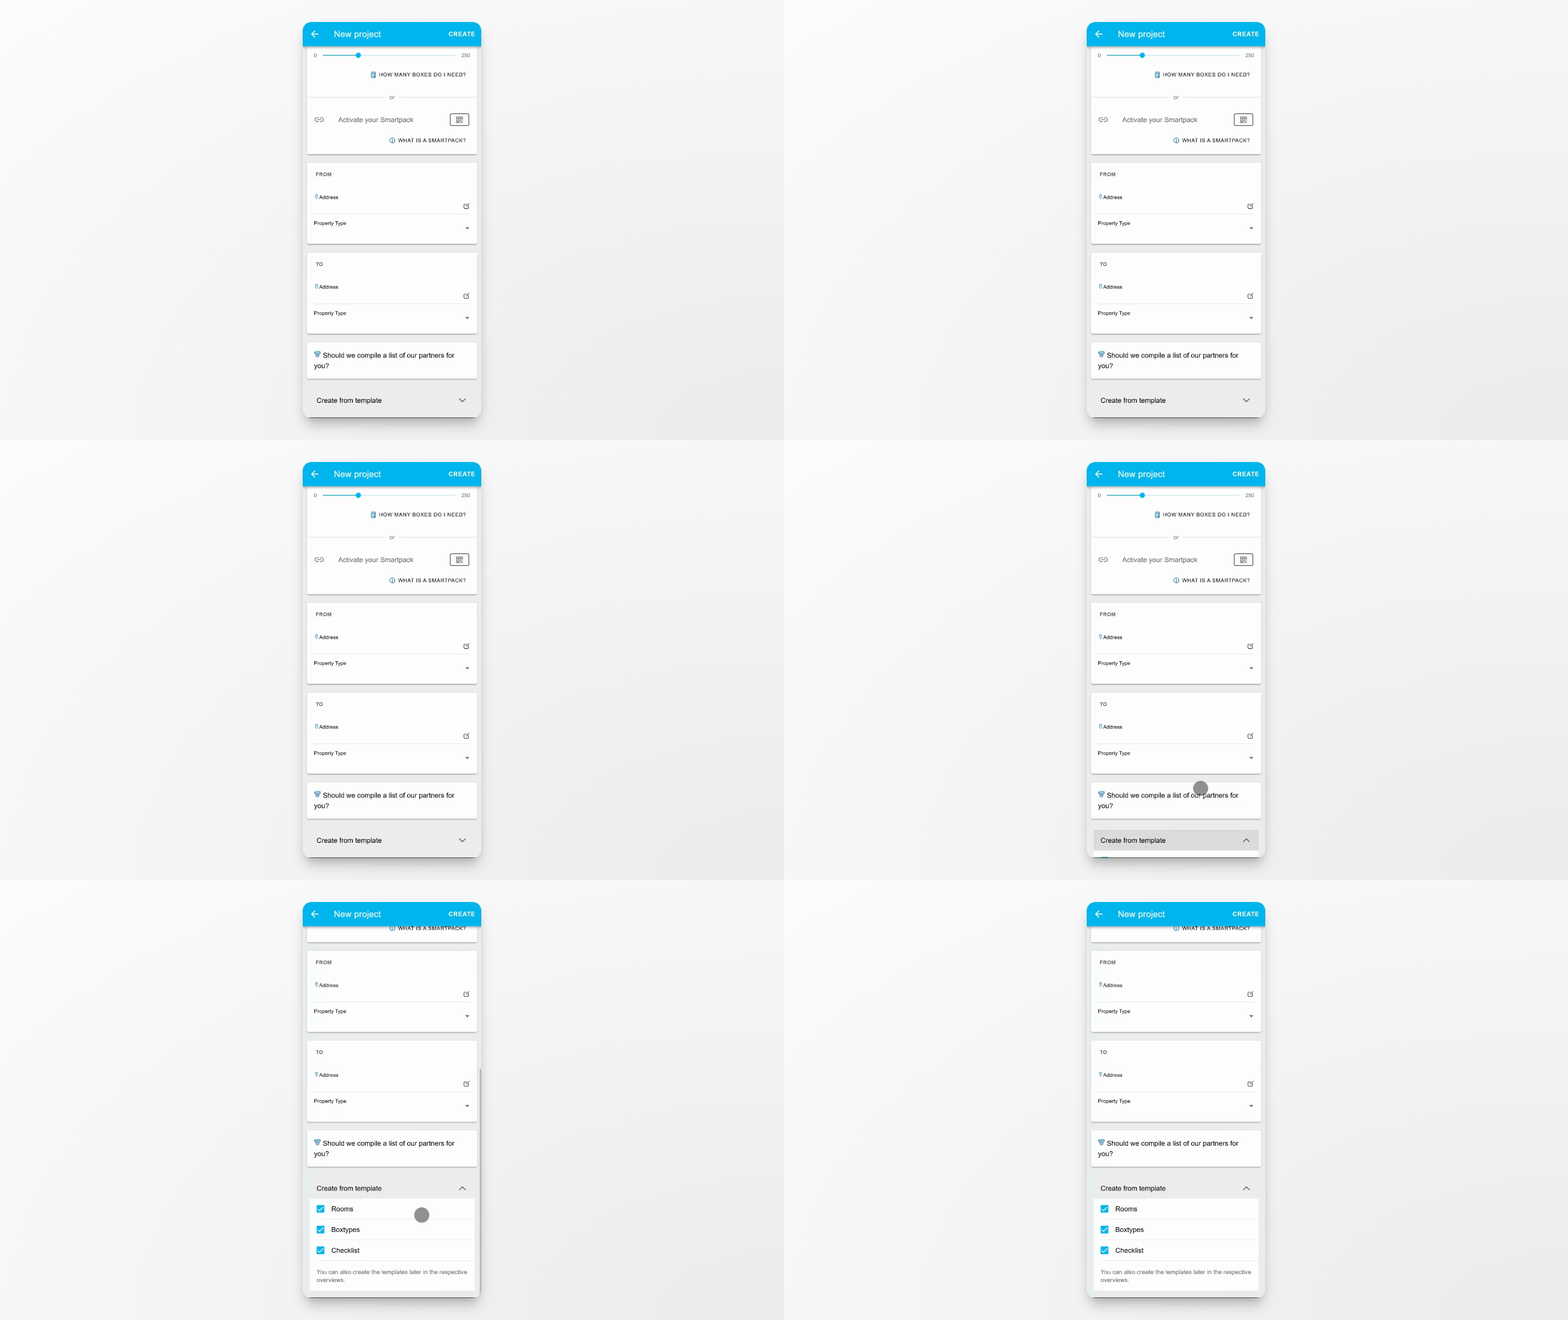
Select whether the app should automatically create rooms, box types, and a checklist for you. Uncheck any option if you prefer to set them up manually.
Step 6: Add Nearby Partners
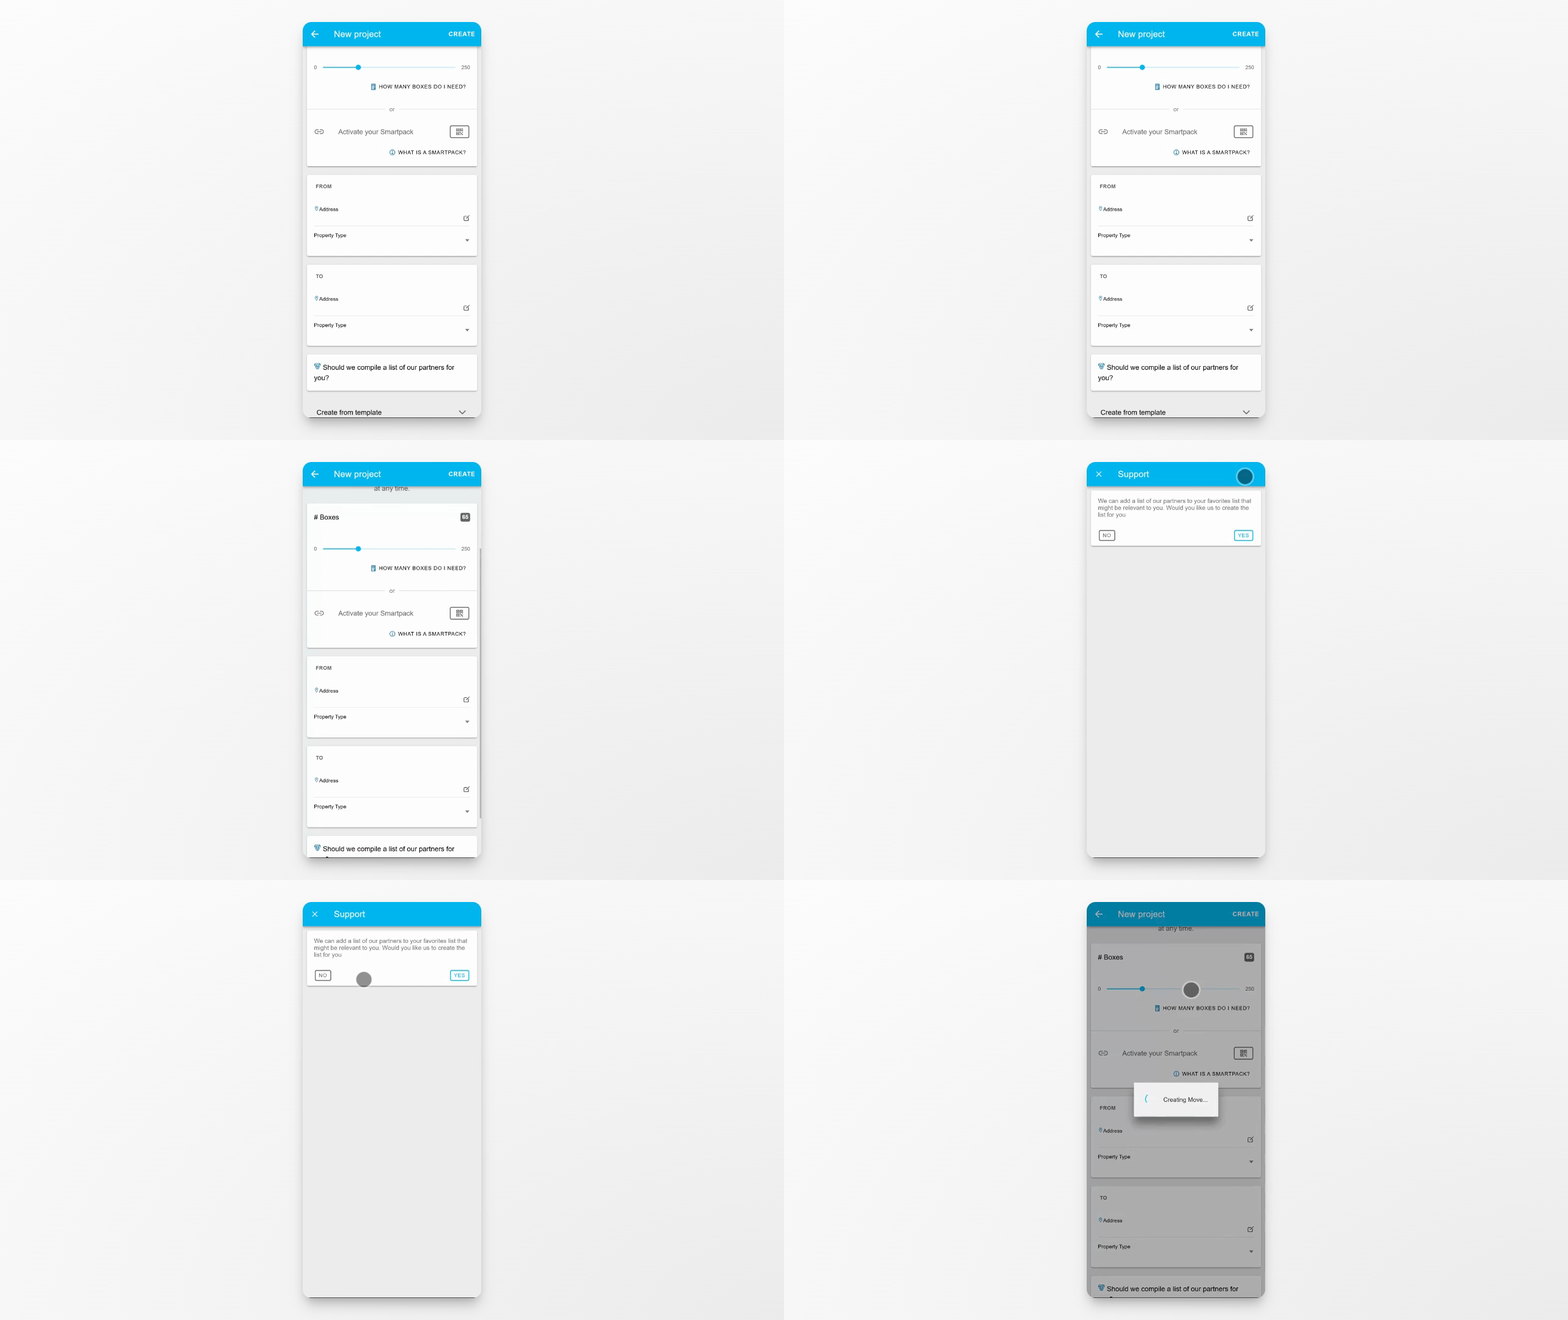
To add nearby partners to your personal favorite list, provide at least one address. The app will then ask if your email address may be shared with these partners.
Step 7: Create the Move
Once all information is set up, tap Create to finalize and create your new move.
Conclusion
You have now created a new move in the app by entering key details, customizing options, and finalizing the setup. You're ready to manage your move efficiently with all your information organized.