
Introduction
This article explains how to add and configure custom fields for all available object types in the system. Custom fields allow you to capture specific information for Moves, Items, Photos, Rooms, and Checklists, making your data collection more flexible and tailored to your needs.
Step 1: Add a New Custom Field
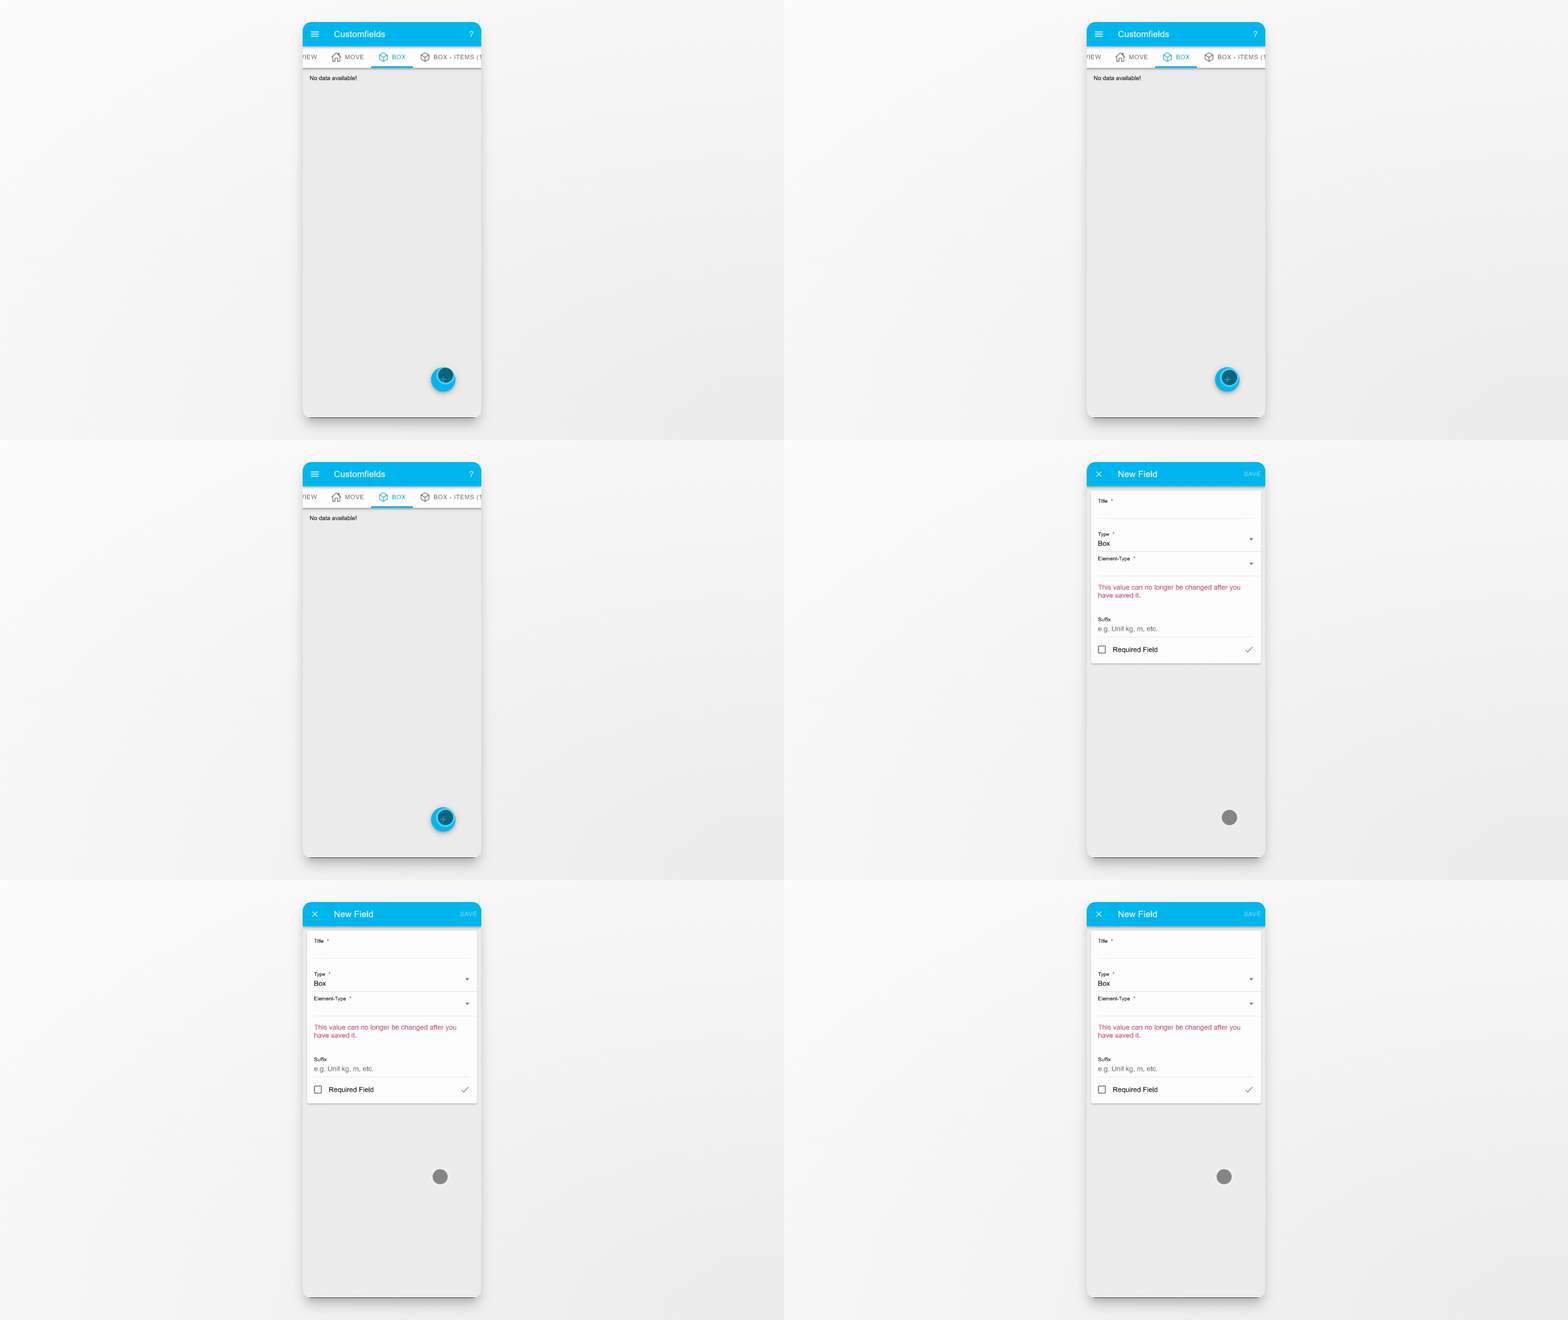
Click the plus button to add a new custom field to your chosen object type.
Step 2: Set the Title
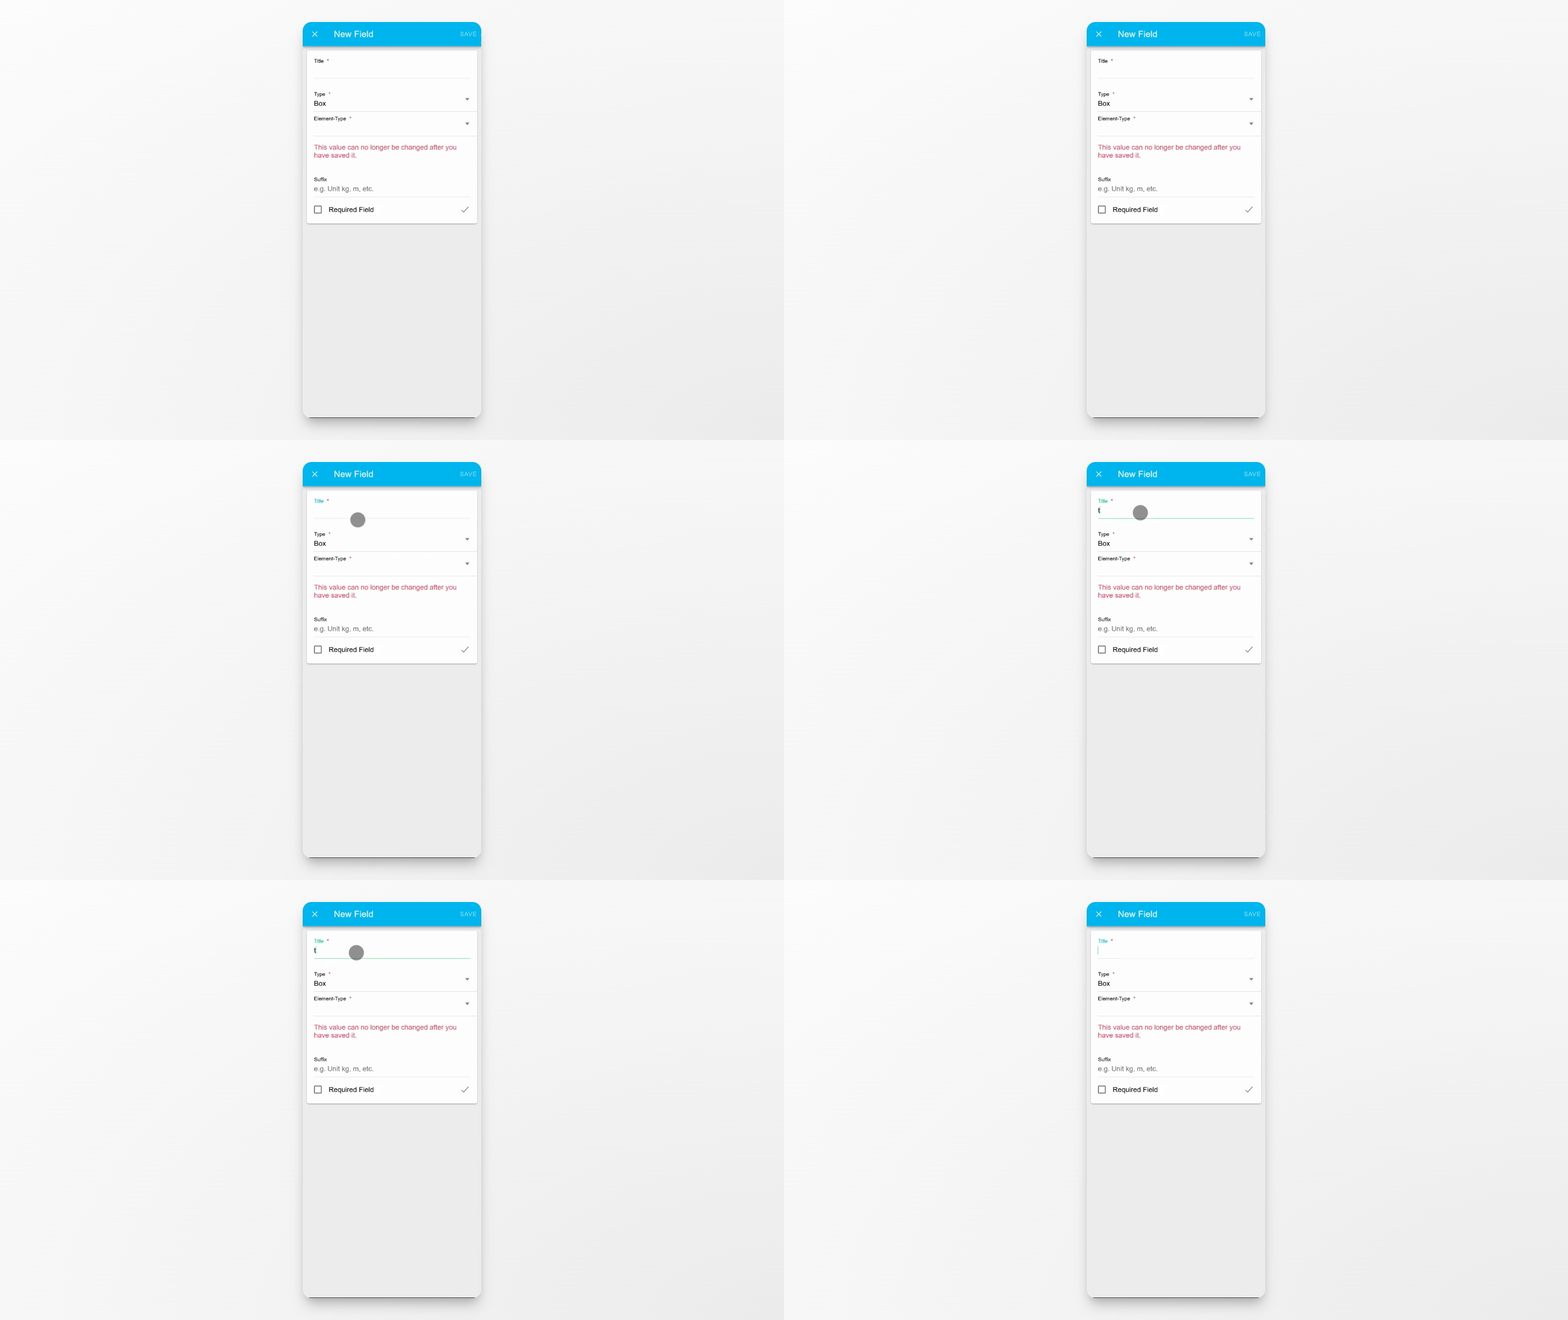
Enter a title for your custom field to describe the information you want to collect.
Step 3: Choose the Element Type
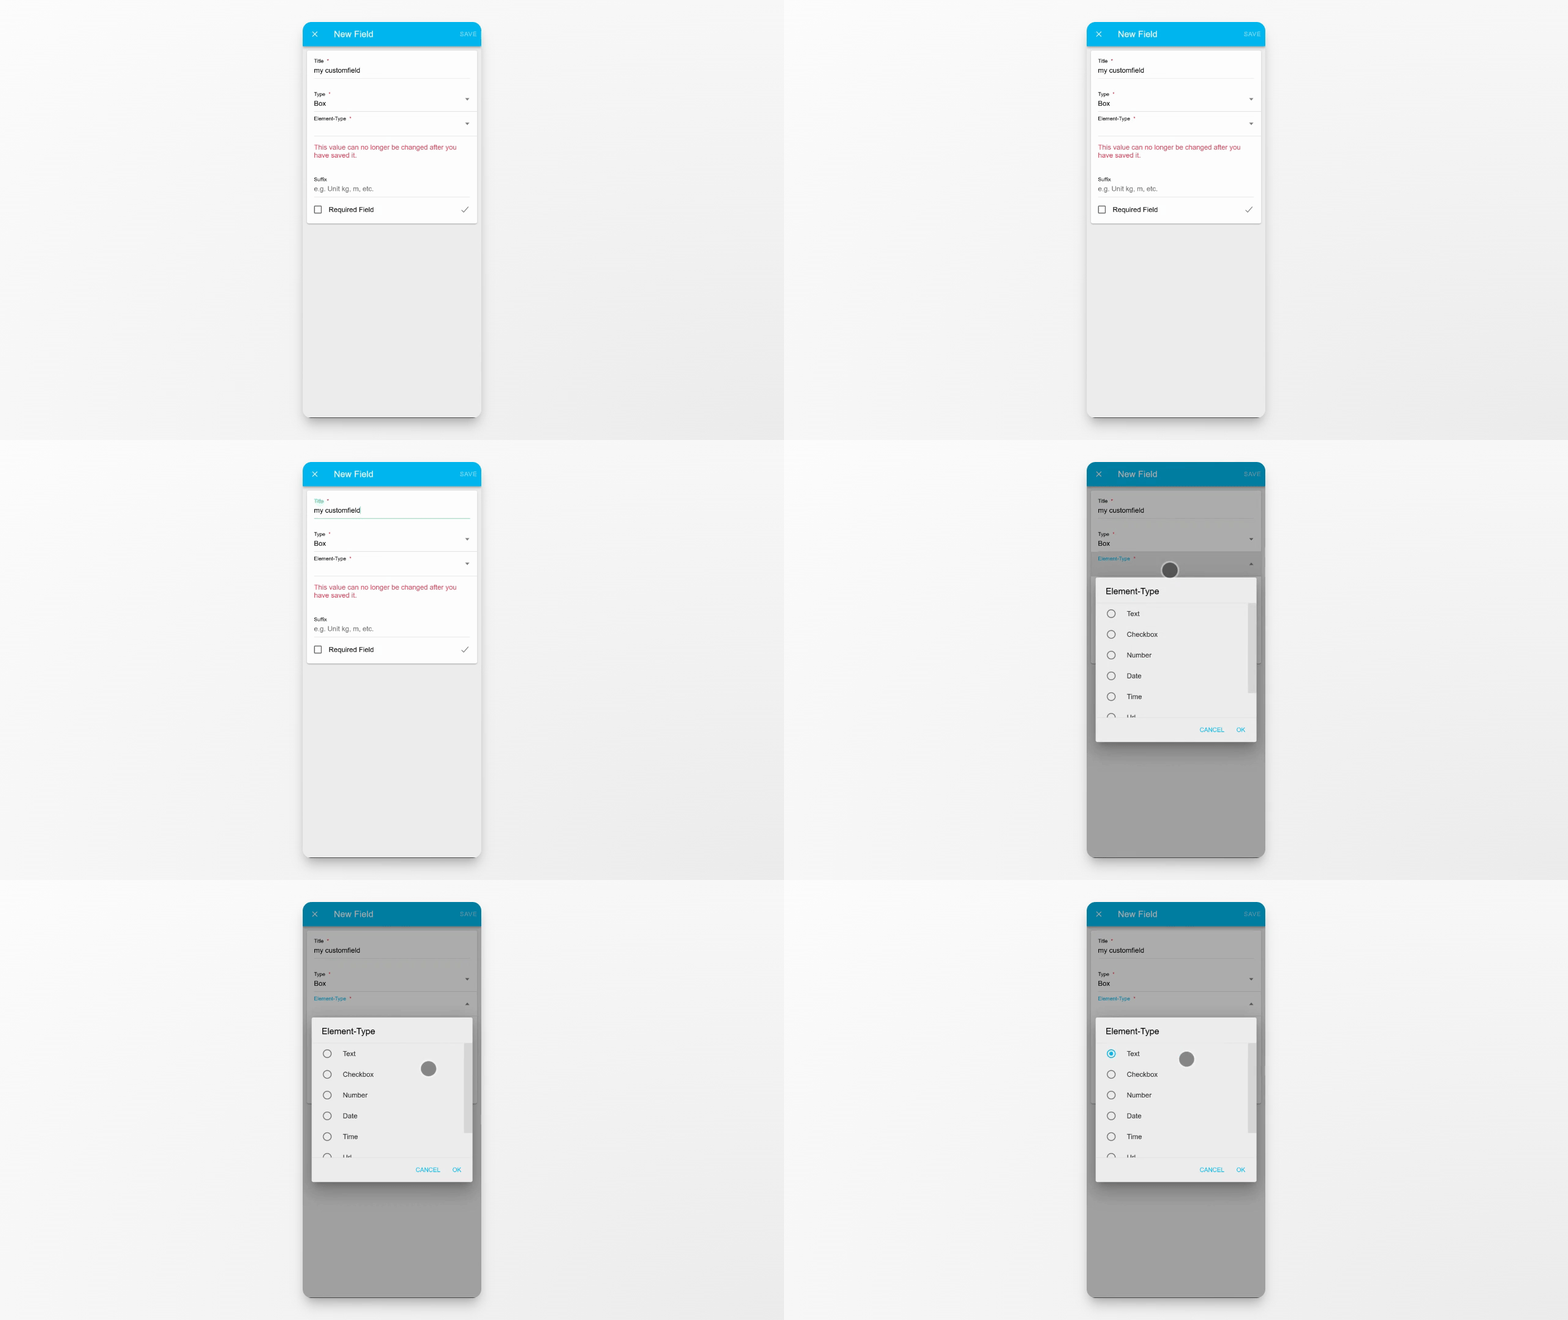
Select the appropriate element type for your custom field. Available types include text, checkbox, number, date, time, health, and Email.
Step 4: Mark as Required (Optional)
If you want to ensure that users must enter a value, mark the custom field as required.
Step 5: Save the Custom Field
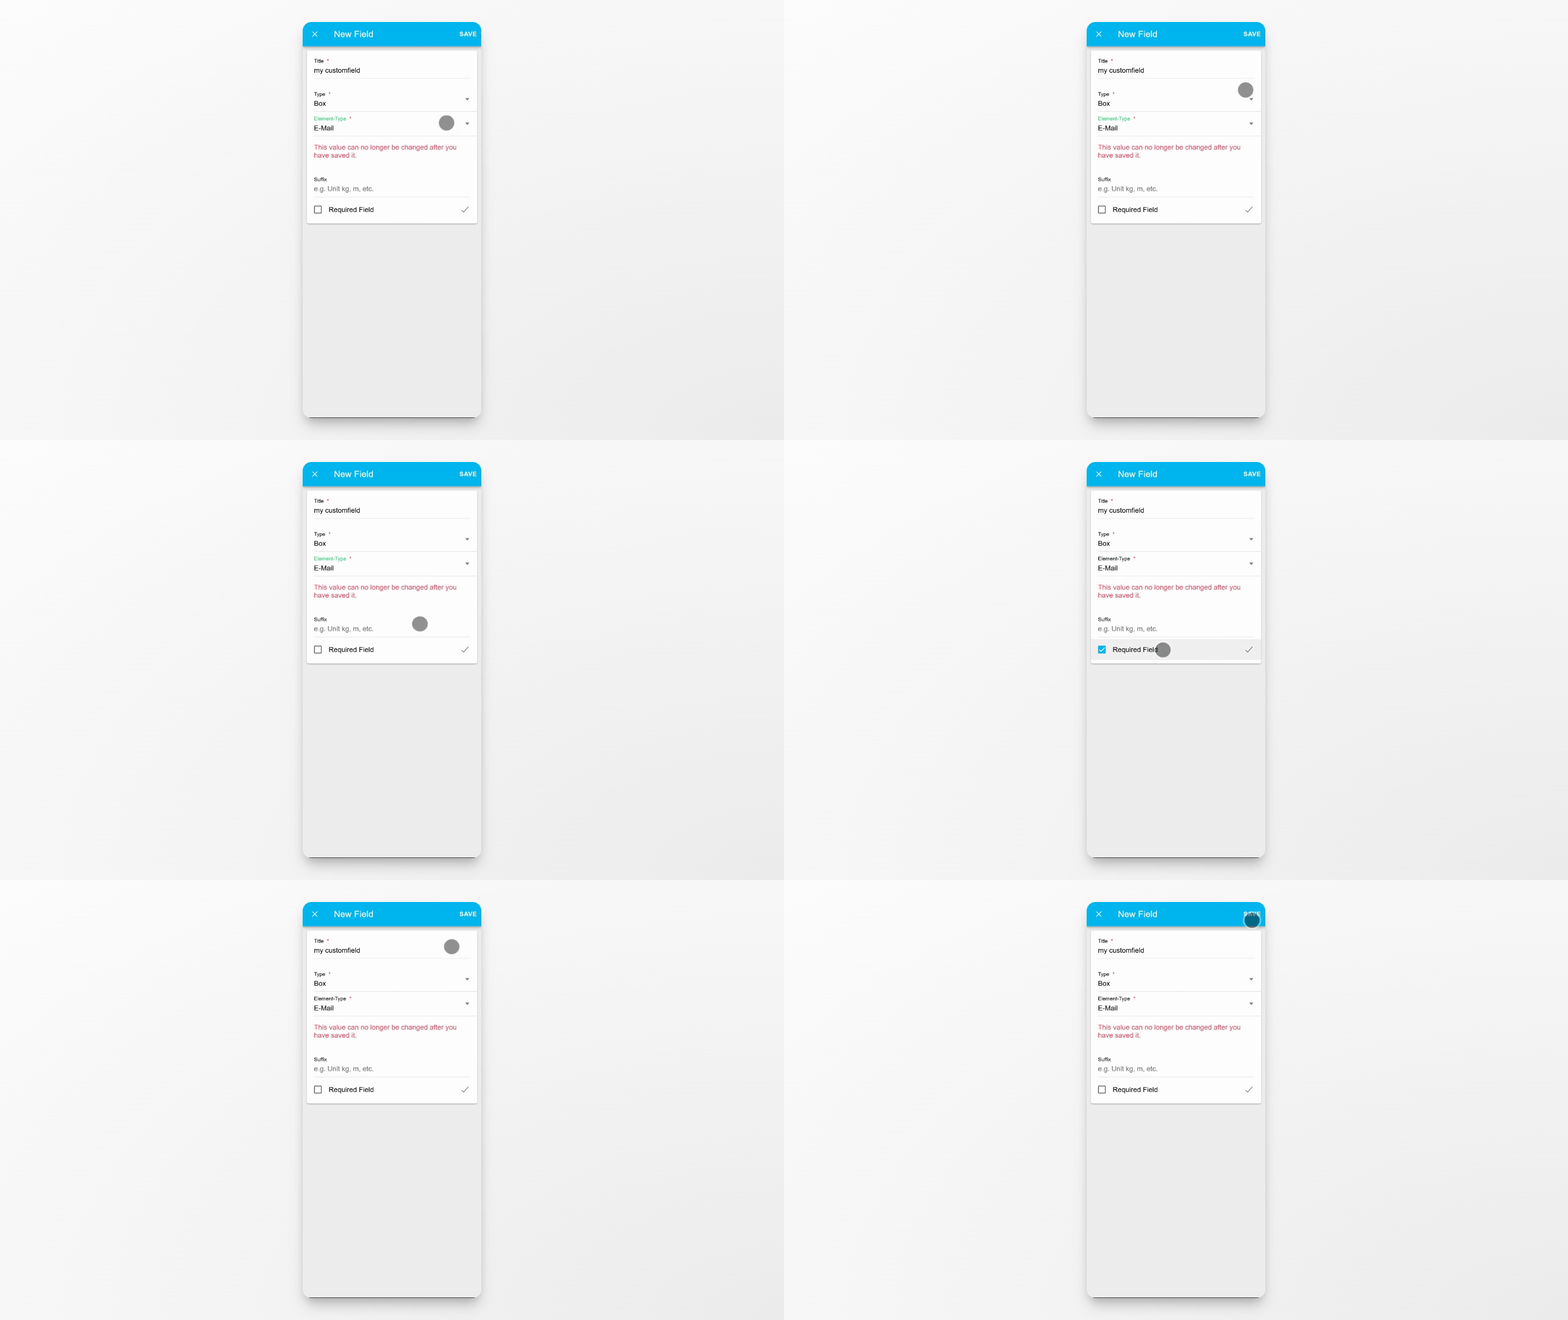
When you are finished configuring the custom field, click Save. The new custom field will now be available for use.
Conclusion
You have learned how to add and configure custom fields for various object types in the system. Use these fields to capture the exact information you need for your workflow.