
Introduction
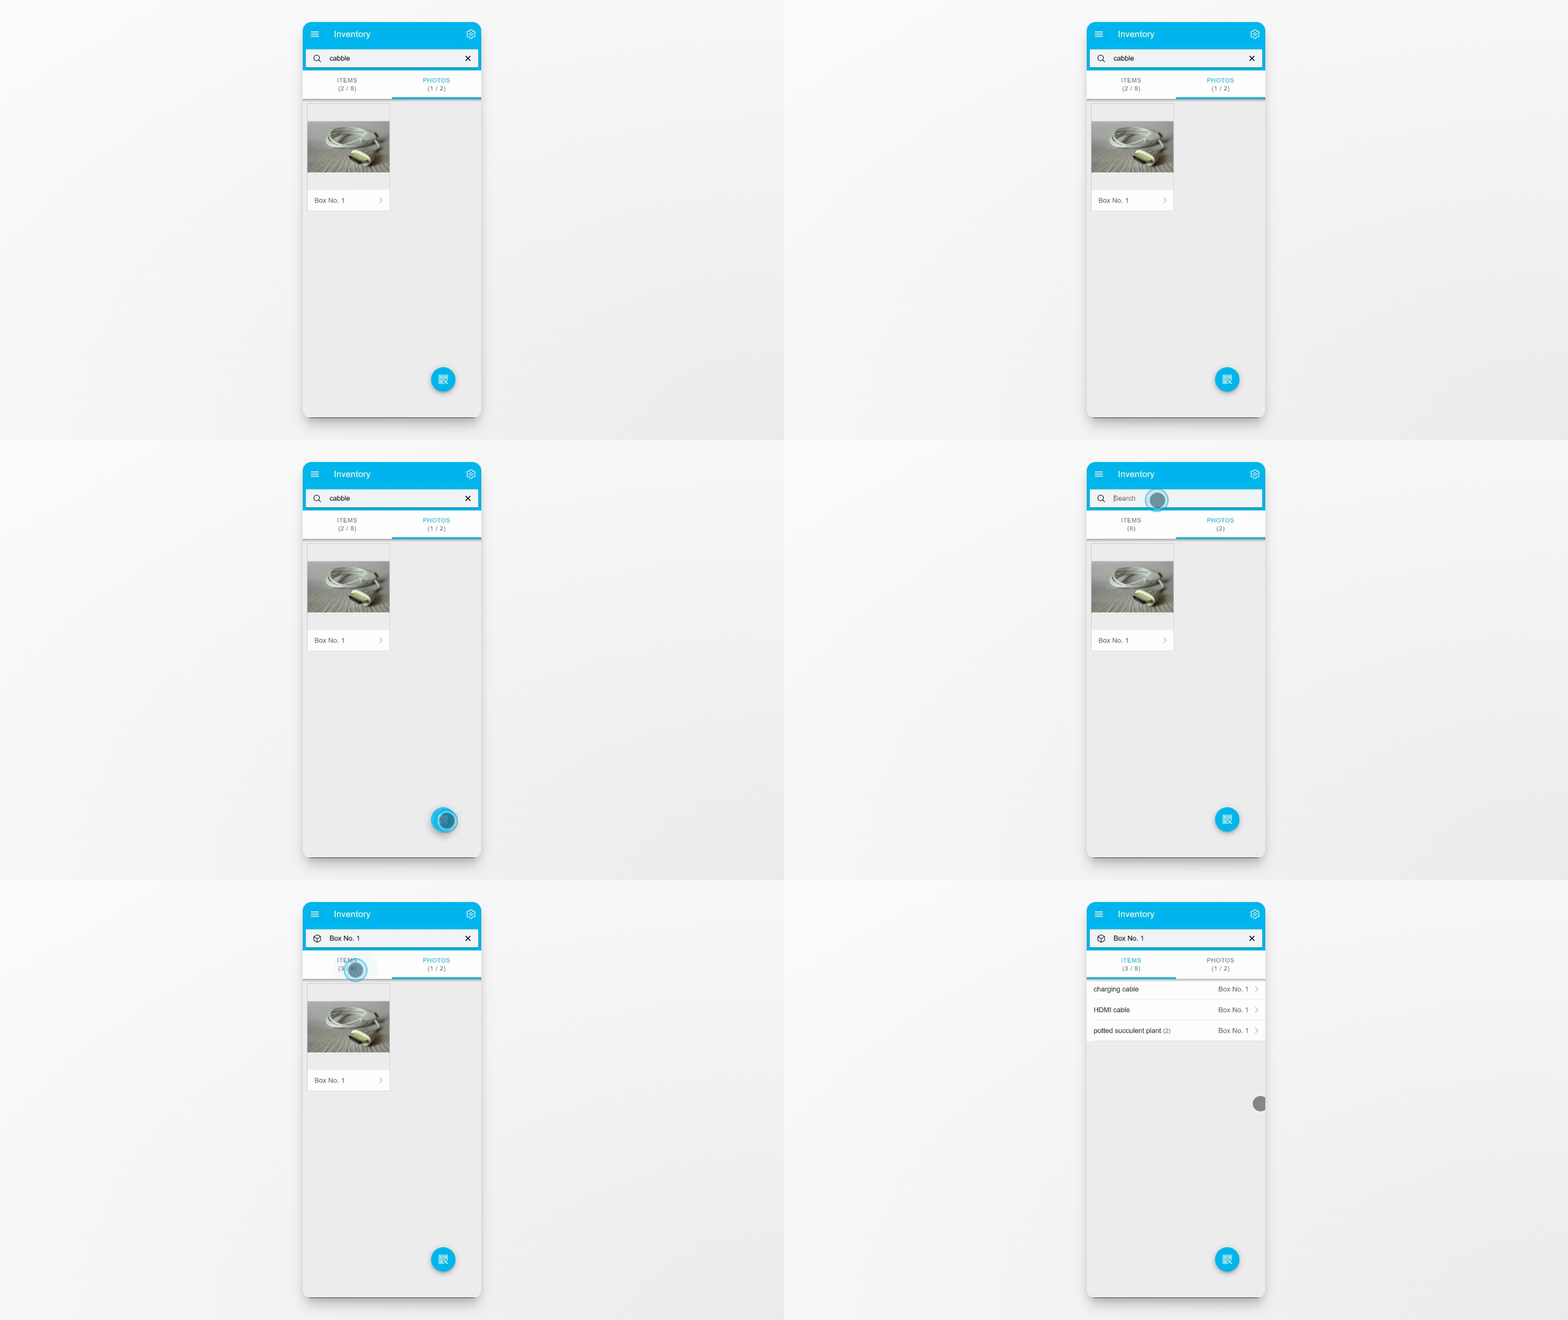
This article explains how to use the inventory search feature to quickly locate items, view their details, and utilize photos and QR codes for easier management. Understanding these features helps streamline your inventory process.
Step 1: Search for Items
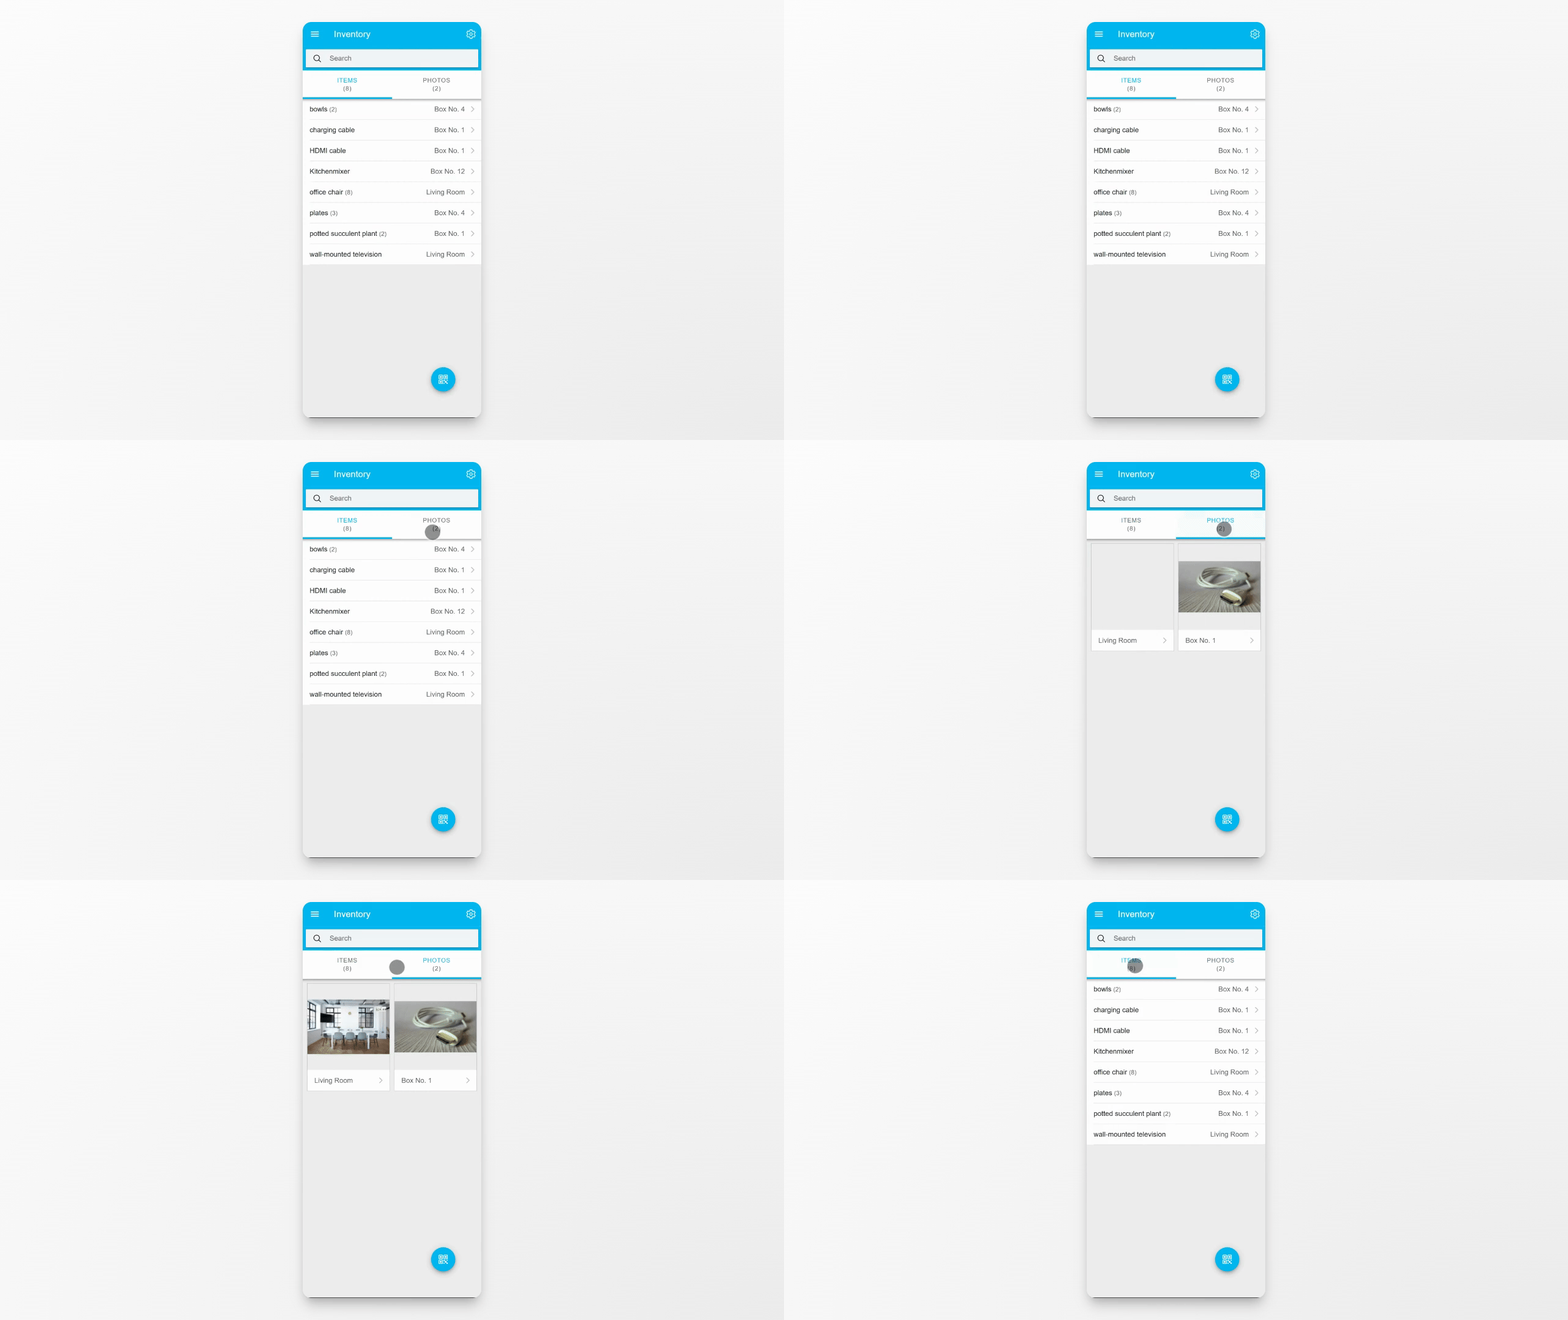
Use the search bar to type the name of the item you are looking for. The search is forgiving, so even small spelling mistakes will still help you find the correct result.
Step 2: View Item Location
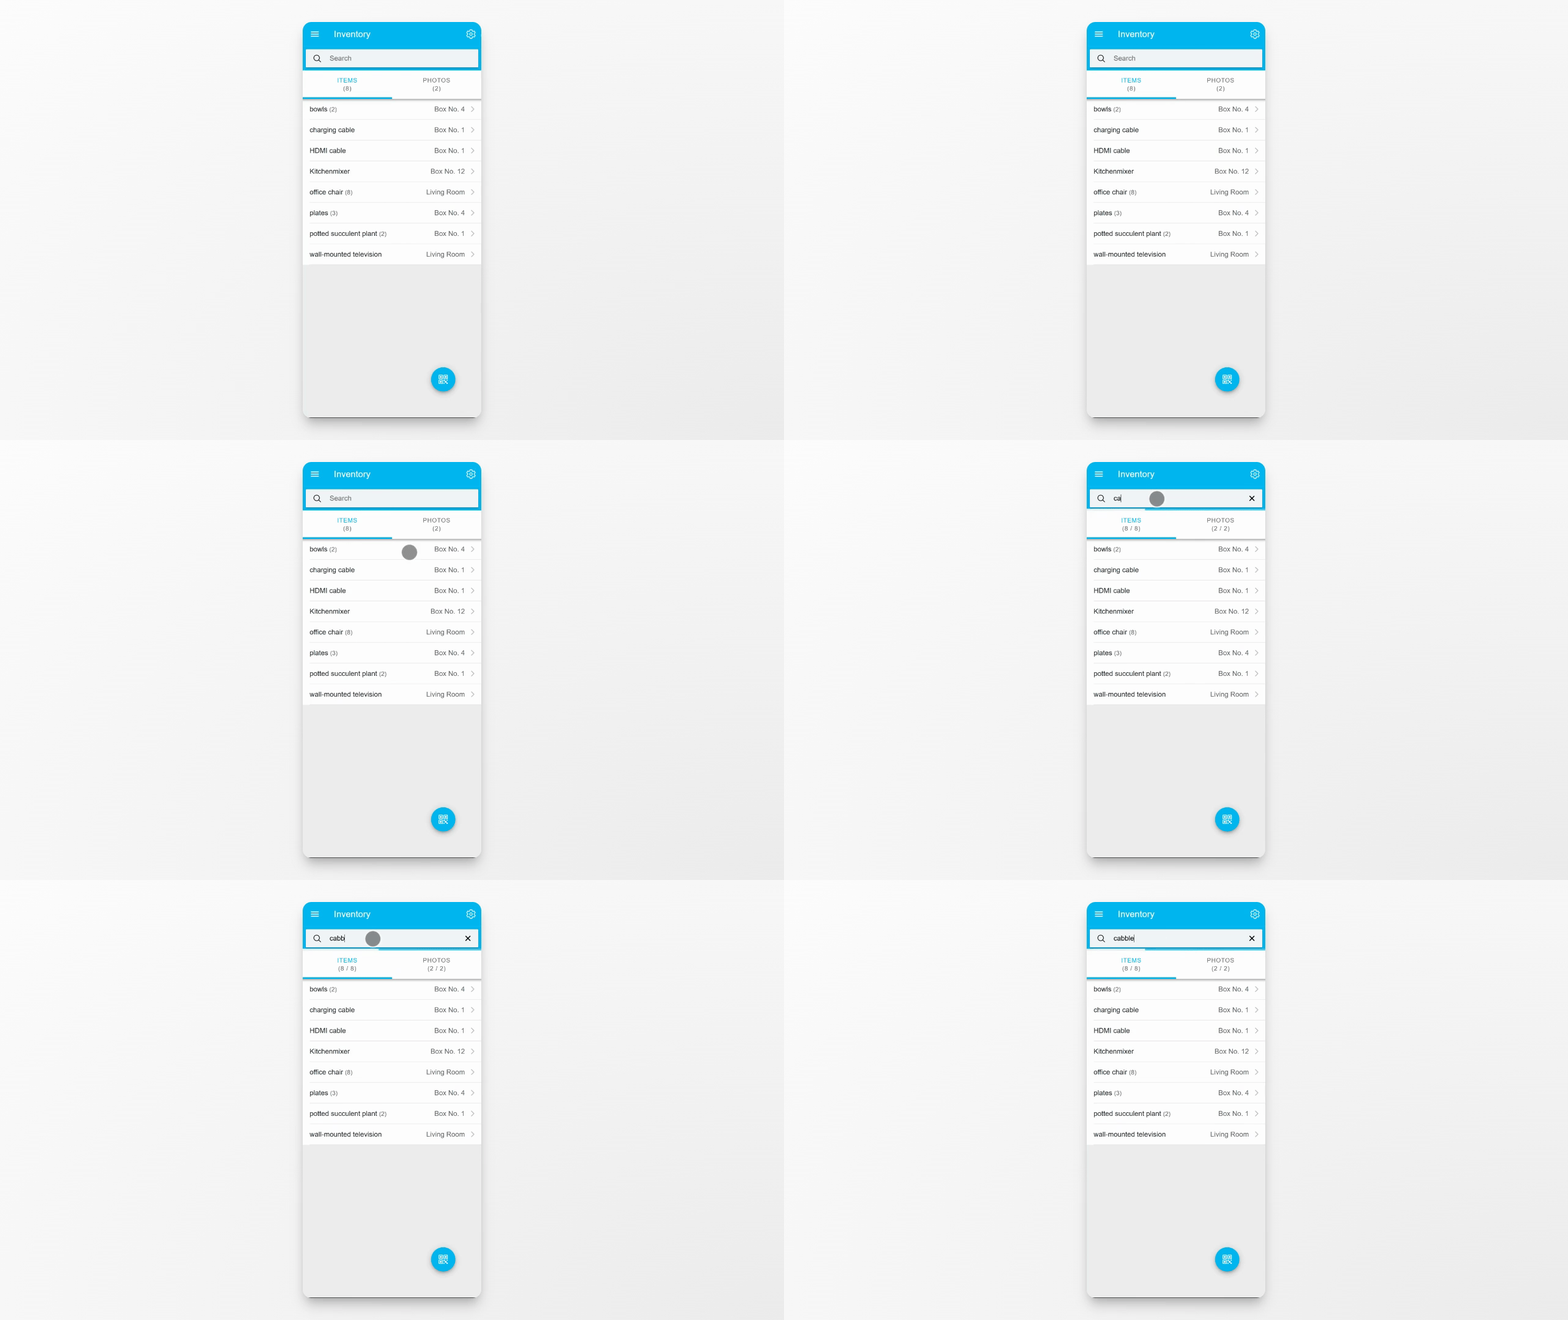
Once you find the item, you can immediately see its location, including the specific box or room it belongs to.
Step 3: Access Item Details
Tap on the item details to be taken directly to the corresponding box or room for more information.
Step 4: Enlarge Item Photos
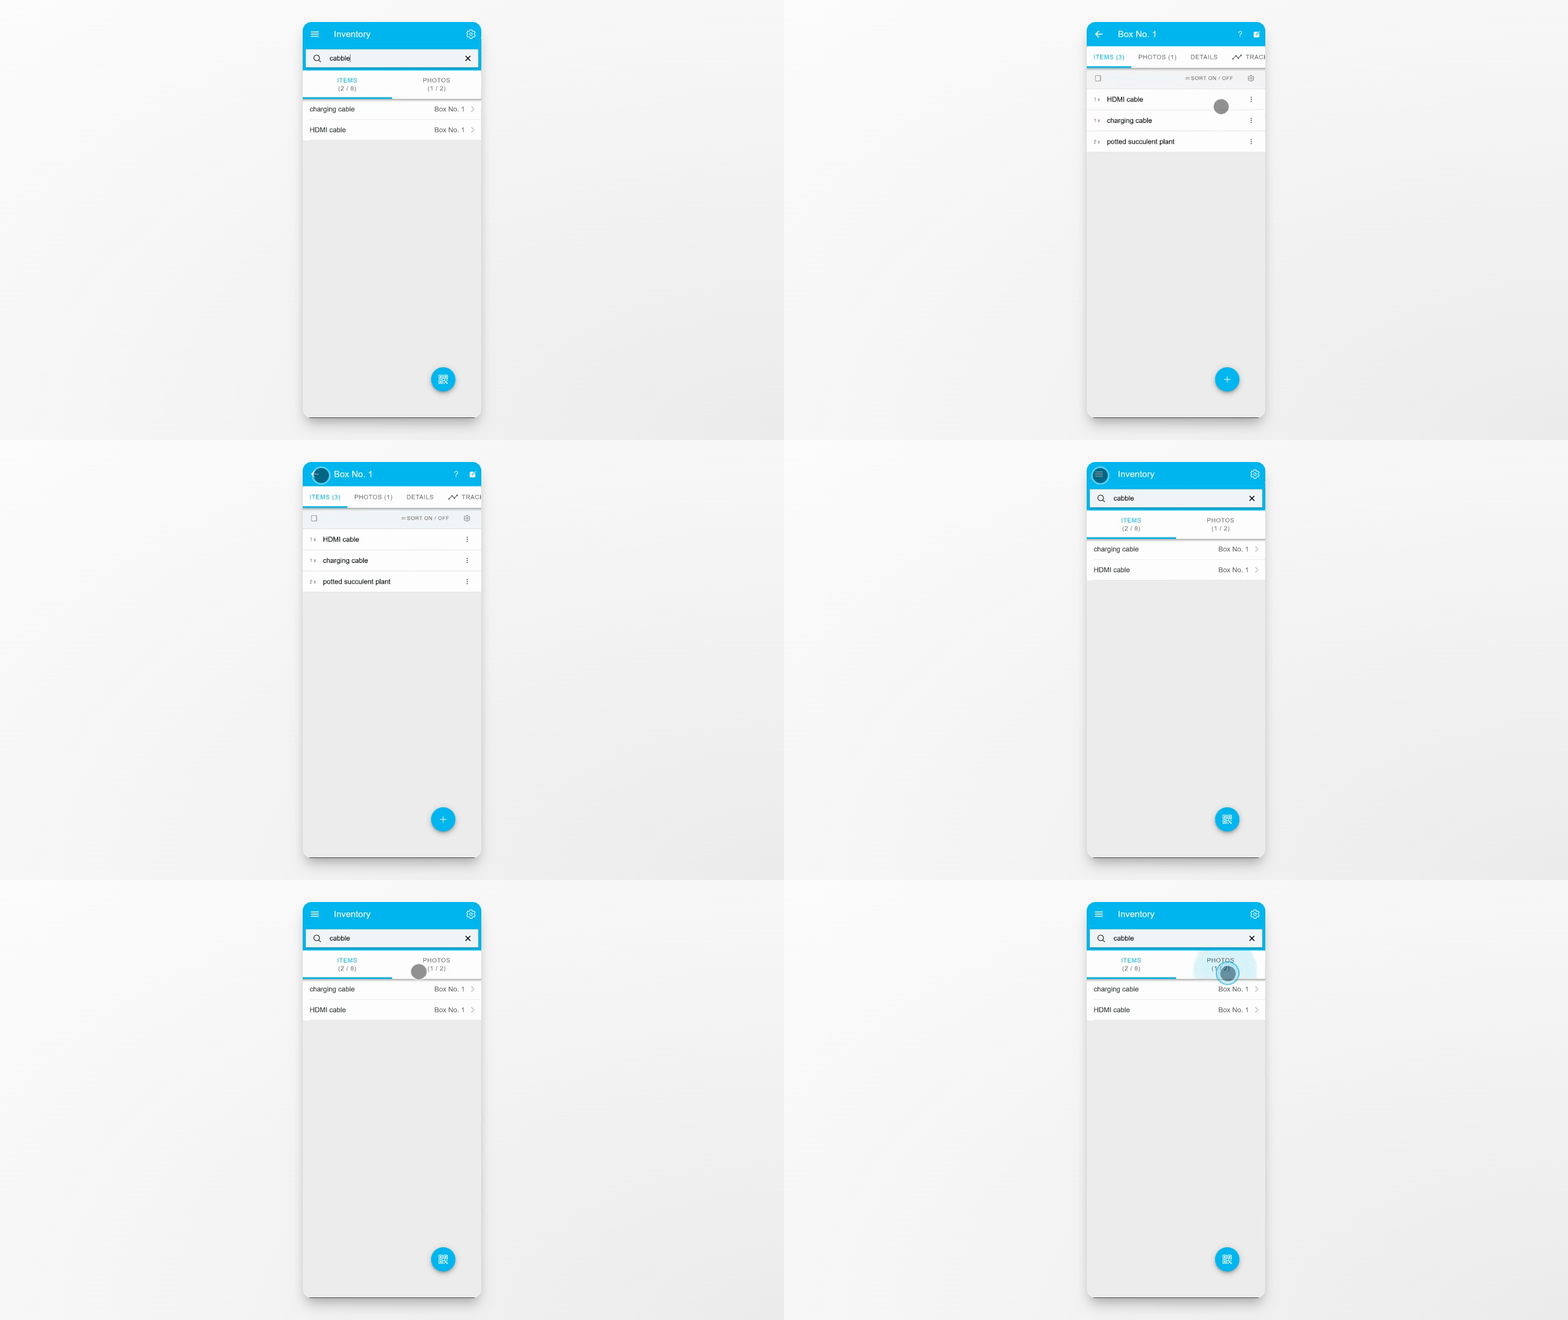
Tap on a photo to enlarge it and take a closer look at the item.

Step 5: Scan Box QR Codes
Scan the QR code printed on each box to jump directly to its details in the inventory system.
Conclusion
You have learned how to search for items, view their locations, access details, enlarge photos, and use QR codes in the inventory system. These features help you manage and find inventory items efficiently.